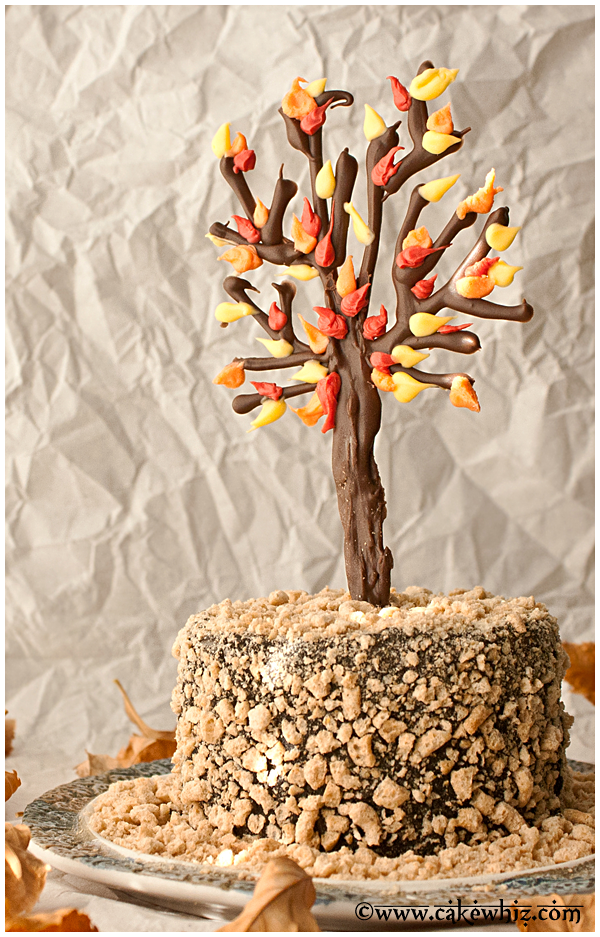
Quick and easy chocolate tree cake with colorful leaves, homemade with simple ingredients. Perfect for Fall, Autumn, Thanksgiving parties.
I love using chocolate for cake decorating, as shown by this Chocolate Leaves Cake, and many others in my archives. Now, many cake decorators have strong preferences when it comes to decorating cakes. Some bakers prefer decorating with buttercream. If that is the case with you, then try this Easy Rustic Cake {Tiered cake}, while others work their magic with Marshmallow Fondant and Modeling Chocolate. I like to work with all mediums because it allows me to think outside the box and get creative with my designs. This cake is an easy way to start working with chocolate if it isn't something you have done before.
Want to Save This Recipe?
Enter your email & I'll send it to your inbox. Plus, get great new recipes from me every week!
By submitting this form, you consent to receive emails from CakeWhiz
Table of contents
How to make chocolate tree cake?
- Bake, cool, level, stack, and ice cake- Smoothly.
- Cover cake- In chopped nuts or crushed graham crackers.
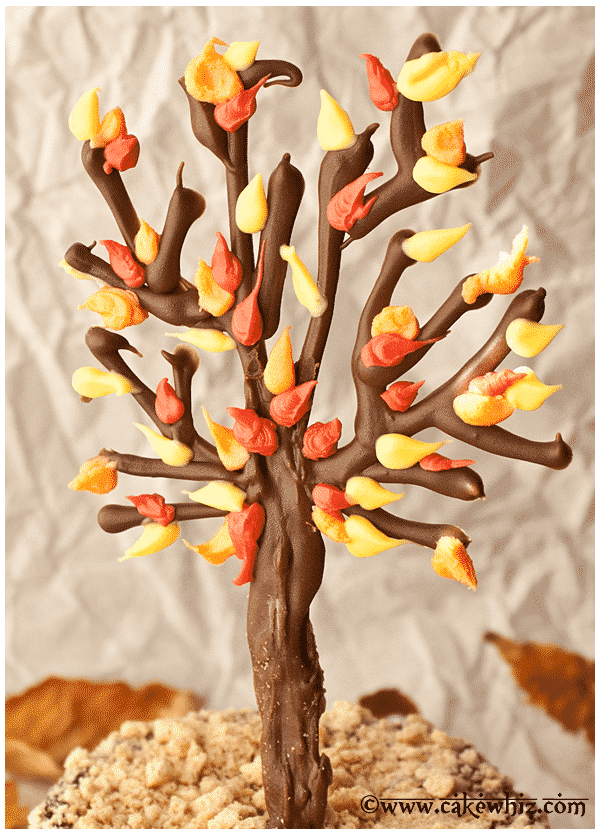
- Make the tree branches- By piping chocolate on wax paper.
- Make leaves- Using red, one yellow, orange chocolate.
- Chill- To allow the chocolate to set.
- Attach lollipop stick- On the backside of tree.
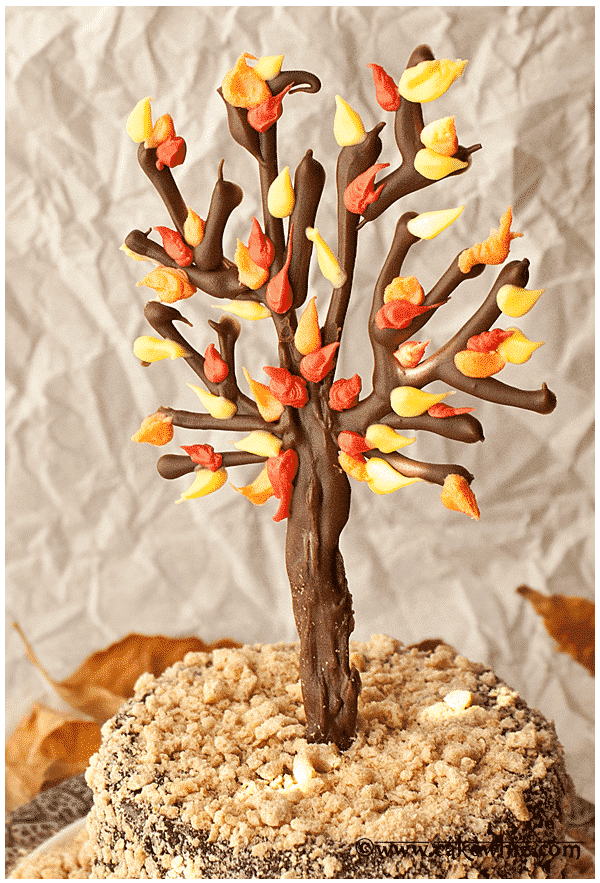
- Push the tree- On top of your dessert.
Variations
Try other cake flavors- Such as Moist Carrot Cake, Easy Spice Cake {Chai Tea Cake}, Easy Pumpkin Cake {With Cake Mix}, or this Easy Ginger Cake .
Pair with another frosting- Such as Chocolate Whipped Cream {3 Ingredients}, Caramel Frosting {3 Ingredients}, Chocolate Cream Cheese Frosting, or Chocolate Buttercream Frosting.
Use crushed pretzels- Instead of nuts or graham crackers. This adds a salty crunch to the cake.
Add green leaves too- Fill a 4th piping bag with green and add more colored leaves. You can also use only green leaves and make a Spring/Summer cake.
Make different size trees- You can make big chocolate trees to decorate cakes and smaller ones to decorate cupcakes or mini cakes.
Make a large cake- This is a mini cake, but you can make a single large cake as well.
Tips and techniques for tree cake
I highly recommend sketching a tree design first- Because this ensures the shape turns out exactly how you want. If you are good at art work, you can freehandedly pipe the chocolate design but I don’t do that.
Make extra mini trees- Because they are very fragile and some may break in the process. Be gentle with them too.
Try not to touch them too much- Because the warmth of your fingers can cause them to melt or create smudge marks.
The size of the tree should reflect the size of your cakes- Don't make a really big tree for a small cake.
How to pipe leaves? Squeeze the piping bag at a 45 degree angle and pull away.
Make sure to go over the tree trunk portion in chocolate a few times- Because this makes it thicker and stronger.
Storage of decorated cakes
Refrigerate- In a sealed container for up to 3 days.
Freeze- I do not recommend freezing this cake because the crushed graham crackers will become wet and soggy upon thawing.
More easy decorated cakes
- Chocolate Pretzel Cake {With Ganache Frosting}
- Fondant Turkey Topper {For Cakes and Cupcakes}
- How To Make Gold Cake {With Edible Spray}
- Easy Candy Corn Cake {With Frosting}
- Easy Cereal Cake
Recipe
Chocolate Tree Cake
Want to Save This Recipe?
Enter your email & I'll send it to your inbox. Plus, get great new recipes from me every week!
By submitting this form, you consent to receive emails from CakeWhiz
Ingredients
- 4 Chocolate coffee cake Round, Mini size, Dimensions, 4x3 each
- 3 cups Chocolate ganache frosting
- 1 cup Graham crackers Roughly chopped
- 2 cups Dark chocolate Melted
- ½ cup Red candy melts Melted
- ½ cup Yellow candy melts Melted
- ½ cup Orange candy melts Melted
Instructions
- Bake cakes and allow them to cool completely.
- While the cakes are baking and cooling, prepare the frosting.
- Trim the domes of the cakes (if any) and level them.
- Place each cake on individual serving dishes and ice them smoothly.
- Cover the entire cake in chopped nuts or crushed graham crackers to create a rustic appearance.
- Make the trees now. Start off by drawing a rough sketch of a tree on a sheet of paper.
- Tape this sheet down on a cookie tray.
- Place a sheet of wax paper on top of this sketch and secure it in place with tape.
- Outline the tree sketch. It does not need to be perfect. Make sure to go over the tree trunk portion a few times, in order to make it thicker and stronger.
- Chill tray in freezer for 5 minutes and allow the chocolate to set.
- Fill a piping bag with red candy melts. Fill another piping bag with yellow candy melts and fill a third piping bag with orange candy melts. Cut the ends with scissors to make very small openings.
- Remove tray from freezer.
- Pipe leaves randomly on the tree branches, using all three colors of melted chocolate. Squeeze at a 45 degree angle and pull away.
- Chill tray in freezer again for 5 minutes to allow the chocolate to set.
- Then, remove from freezer and gently peel the wax paper away from the tree.
- Pour some melted dark chocolate along the backside of the tree trunk and stick a lollipop stick here. Let it set.
- Push the chocolate tree into your mini cakes gently. Enjoy!
Notes
- Read all my tips above.
- Leftovers can be stored in a sealed container in the fridge for up to 3 days.
Nutrition
An automated tool is used to calculate the nutritional information. As such, I cannot guarantee the accuracy of the nutritional information provided for any recipe on this site.



CakeWhiz
Thanks Uru! This is probably one of my easiest Autumn cakes that even beginners can make
Uru
I bet they are fragile, but what stunning creations!! Delicious autumn creations