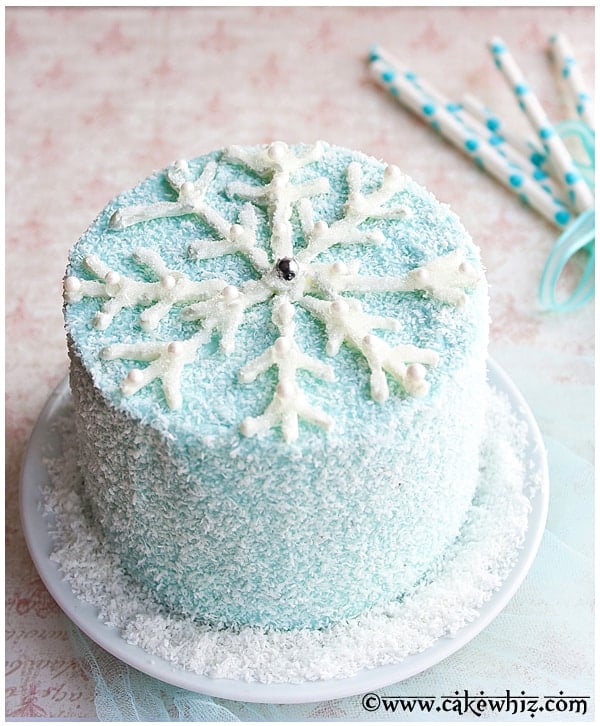
Easy snowflake cake, homemade with simple ingredients. This Winter cake is decorated with white chocolate, sparkling sugar, blue buttercream icing. Great to serve at Christmas parties too.
With this super chilly weather, I was inspired to make this quick and easy cake. After browsing lots of Winter cake designs and ideas, I decided to keep mine very simple so that it does not take too long and even beginners can make it. Many of my friends like to use their snowflake shaped pans, which is also a great idea but those pans are expensive and I didn't want to spend money on something that I won't use often. By the way, if you love this theme as much as I do, and you want to take it even further, add these Snowflake Cupcakes {Winter Cupcakes} and Snowflake Cookies {Snowflake Oreos} to your party menu.
Want to Save This Recipe?
Enter your email & I'll send it to your inbox. Plus, get great new recipes from me every week!
By submitting this form, you consent to receive emails from CakeWhiz
Table of contents
How to make easy snowflake from scratch with white chocolate?
- Bake and cool cakes- Fill and frost them.
- Add shredded coconut- Over the entire cake.
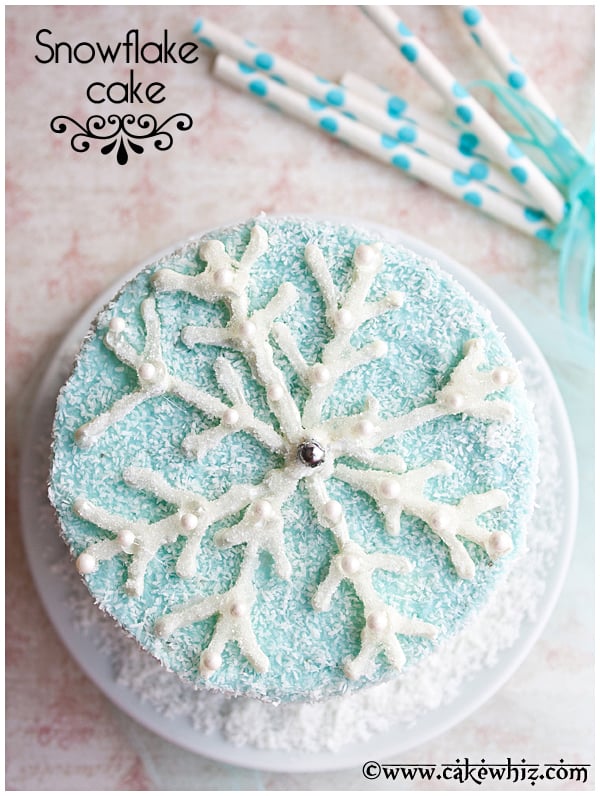
- Make snowflake- Using a snowflake pattern and melted white chocolate.
- Allow the chocolate to set- Remove gently from wax paper.
- Place it on the cake- Do this very gently.
Variations for winter cake
Make it pink- Using pastel pink frosting and melted pink chocolate. That would be perfect for girls birthday parties.
Frozen birthday cake- If your kids are a fan of the Frozen movie, use my instructions below to make a beautiful and easy Frozen birthday cake. Add a single white candle in the center.
Make a sheet cake- You can make multiple chocolate snowflakes in various sized. Stick them on an iced rectangular cake. That would easily serve a crowd at parties.
Make mini chocolate snowflakes- Use them to decorate Cake Pops and Cake Balls.
Cover the cake in something other than desiccated coconut- Such as shredded coconut, sanding sugar, white sprinkles, white edible pearls or even shredded white chocolate curls.
Make it white- Use pure white colored frosting instead of the light blue color for a white winter land cake effect.
Make the snowflake with thick Royal Icing- instead of melted white chocolate.
Try different cake flavors- Such as Moist Triple Chocolate Cake {From Scratch}, Best Vanilla Cake Recipe {From Scratch}, or this Best Red Velvet Cake {From Scratch}.
Try different frosting flavors- Such as White Chocolate Buttercream Frosting, Best Cream Cheese Frosting, or even Lemon Frosting (Lemon Buttercream).
Add a filling- Such as Cherry Pie Filling, Homemade Strawberry Jam, or Raspberry Pie Filling. You can even add nut butters, preserves or fresh fruits.
Tips and techniques for winter wonderland cake
Cool cakes completely before icing- Because this prevents the frosting from melting and sliding right off the cake.
Freeze the snowflake for 5 minutes- Because this makes removing it from the wax paper even easier.
Draw an outline of your round cake pan on a sheet of paper- Because this will ensure that your chocolate decoration is the same size as your cake when you assemble it.
How to make a snowflake template? Use a pencil to draw a snowflake design inside the circle you already drew. This will be your snowflake template. You can also print a picture of a snowflake and use that as a template.
How to make snowflake design? Place a sheet of wax paper on top of the template. Secure it in place with tape. Fill a piping bag with melted white chocolate and outline this snowflake design. Make sure your piping is thick, which makes the chocolate snowflake strong and firm. This reduces the likelihood of it breaking when you remove it from the wax paper.
Decorate the snowflake quickly- So that the chocolate doesn't dry before the decorations get a chance to stick.
Make extra chocolate decorations- That's because they are fragile and can easily break when you are removing from wax paper.
Storage of homemade decorated cake
Refrigerate- Leftovers can be stored in a sealed container for up to 3 days.
Freeze- Frosting and cakes can be stored separately in sealed containers for up to 1 month. When you are ready to enjoy this dessert, thaw to room temperature and decorate, as per instructions below.
More Winter desserts
- Snowman Cupcakes (With Donut Toppers)
- Easy Snowman Cake (Frosting and Fondant)
- Poinsettia Cupcakes (With Buttercream)
- Snowman Cookies (Snowman Oreos)
- Snow Ice Cream
- Penguin Cookies (With Nutter Butter)
- Penguin Cake
Recipe
White Snowflake Cake (Winter Cake)
Want to Save This Recipe?
Enter your email & I'll send it to your inbox. Plus, get great new recipes from me every week!
By submitting this form, you consent to receive emails from CakeWhiz
Ingredients
- 2 Funfetti cake Dimensions: 6x2 each
- 4 cups Buttercream icing Colored light blue
- 2 cups Desiccated coconut
- 1 cup Melted white chocolate
- ¼ cup Sparkling sugar
Instructions
- Bake cakes and allow them to cool completely.
- While cakes are baking and cooling, prepare the frosting.
- Place one cake on a serving dish.
- Spread a thin layer of frosting on top.
- Place the second cake on top of the frosting and press gently to secure into place.
- Ice the entire cake smoothly in buttercream.
- Cover the entire cake in desiccated coconut. Keep aside.
- Make the chocolate snowflake now. Draw an outline of your round cake pan on a sheet of paper. This will ensure that your chocolate snowflake is the same size as your cake.
- Use a pencil to draw a snowflake design inside the circle. This will be your snowflake template.
- Place a sheet of wax paper on top of this paper template. Secure it in place with tape.
- Fill a piping bag with melted white chocolate and outline this snowflake design. Make sure your piping is thick, which makes the chocolate snowflake strong and firm. This reduces the likelihood of it breaking when you remove it from the wax paper.
- Sprinkle white sparkling sugar all over the snowflake before the chocolate hardens.
- Place an edible silver pearl in the center.
- Stick some white pearls randomly all over the snowflake.
- Allow the chocolate to completely set. Then, remove the tapes and gently peel the snowflake away from the wax paper. Tip: If you place this snowflake in the freezer for 5 minutes, removing it from the wax paper becomes even easier.
- Gently, place this chocolate snowflake topper on top of your frosted cake. Enjoy!
Notes
- Read all my tips above.
- Leftovers can be stored in a sealed container in the fridge for up to 3 days.
Nutrition
An automated tool is used to calculate the nutritional information. As such, I cannot guarantee the accuracy of the nutritional information provided for any recipe on this site.

Sarah Toasty
This cake makes me want to thrown on the Frozen soundtrack! Ditto to the hot cocoa, but I don't think the condo association would think too highly of me starting a fire in here… Yessss avocado cake!
Kayle
SO BEAUTIFUL!!!
yummychunklet
Perfect temperature theme cake!
Mimi
How pretty and perfect for this weather!
Belinda Chiu
Ridiculous how cold it is, but this makes it all worthwhile!!
foodie girl
Gorgeous design!
I Wilkerson
This is a perfect winter cake--so beautiful!
Dina
it's lovely! you're so talented!
Jocelyn
Wow this is so gorgeous! Super beautiful!
Sarah
Simple, beautiful, and perfect for Christmas! I think that next time I will probably shred the coconut a bit smaller so that it's slightly less discrete, but your directions are perfect, and I'm so excited to serve this for Christmas. I was going to post a picture of these as well as your peppermint cookies because I made them both (I'm on a bit of a baking kick right now, ha!), but I don't think I can on here!
Abeer Rizvi
I am soooo happy to hear you have been baking up a storm and enjoying my recipes! I would love to see your pictures. You can email me: abeer{@a}cakewhiz.com (Remove the parentheses)
Justi
Omg daughter loved this for her birthday. Thanks for the step by step directions as I’m new to baking and decorating. Was a hit!