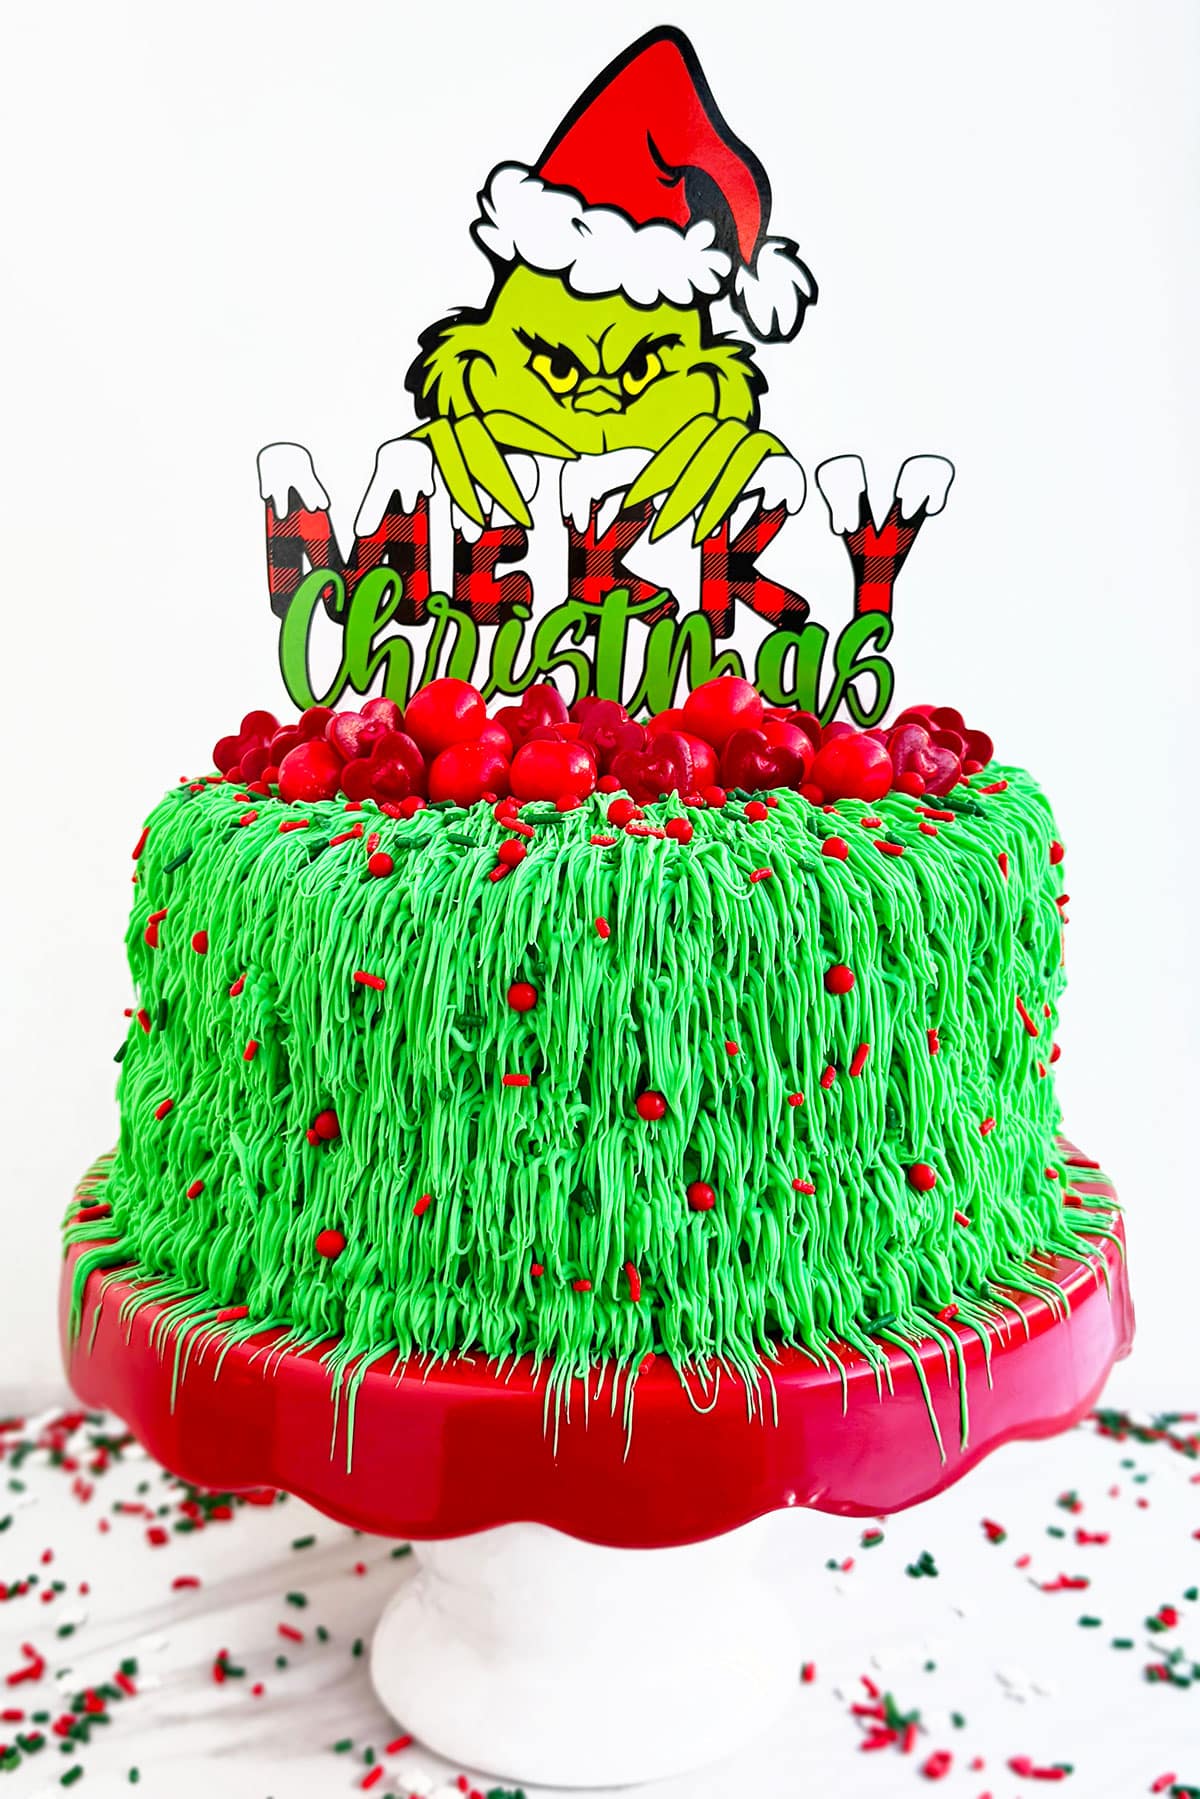
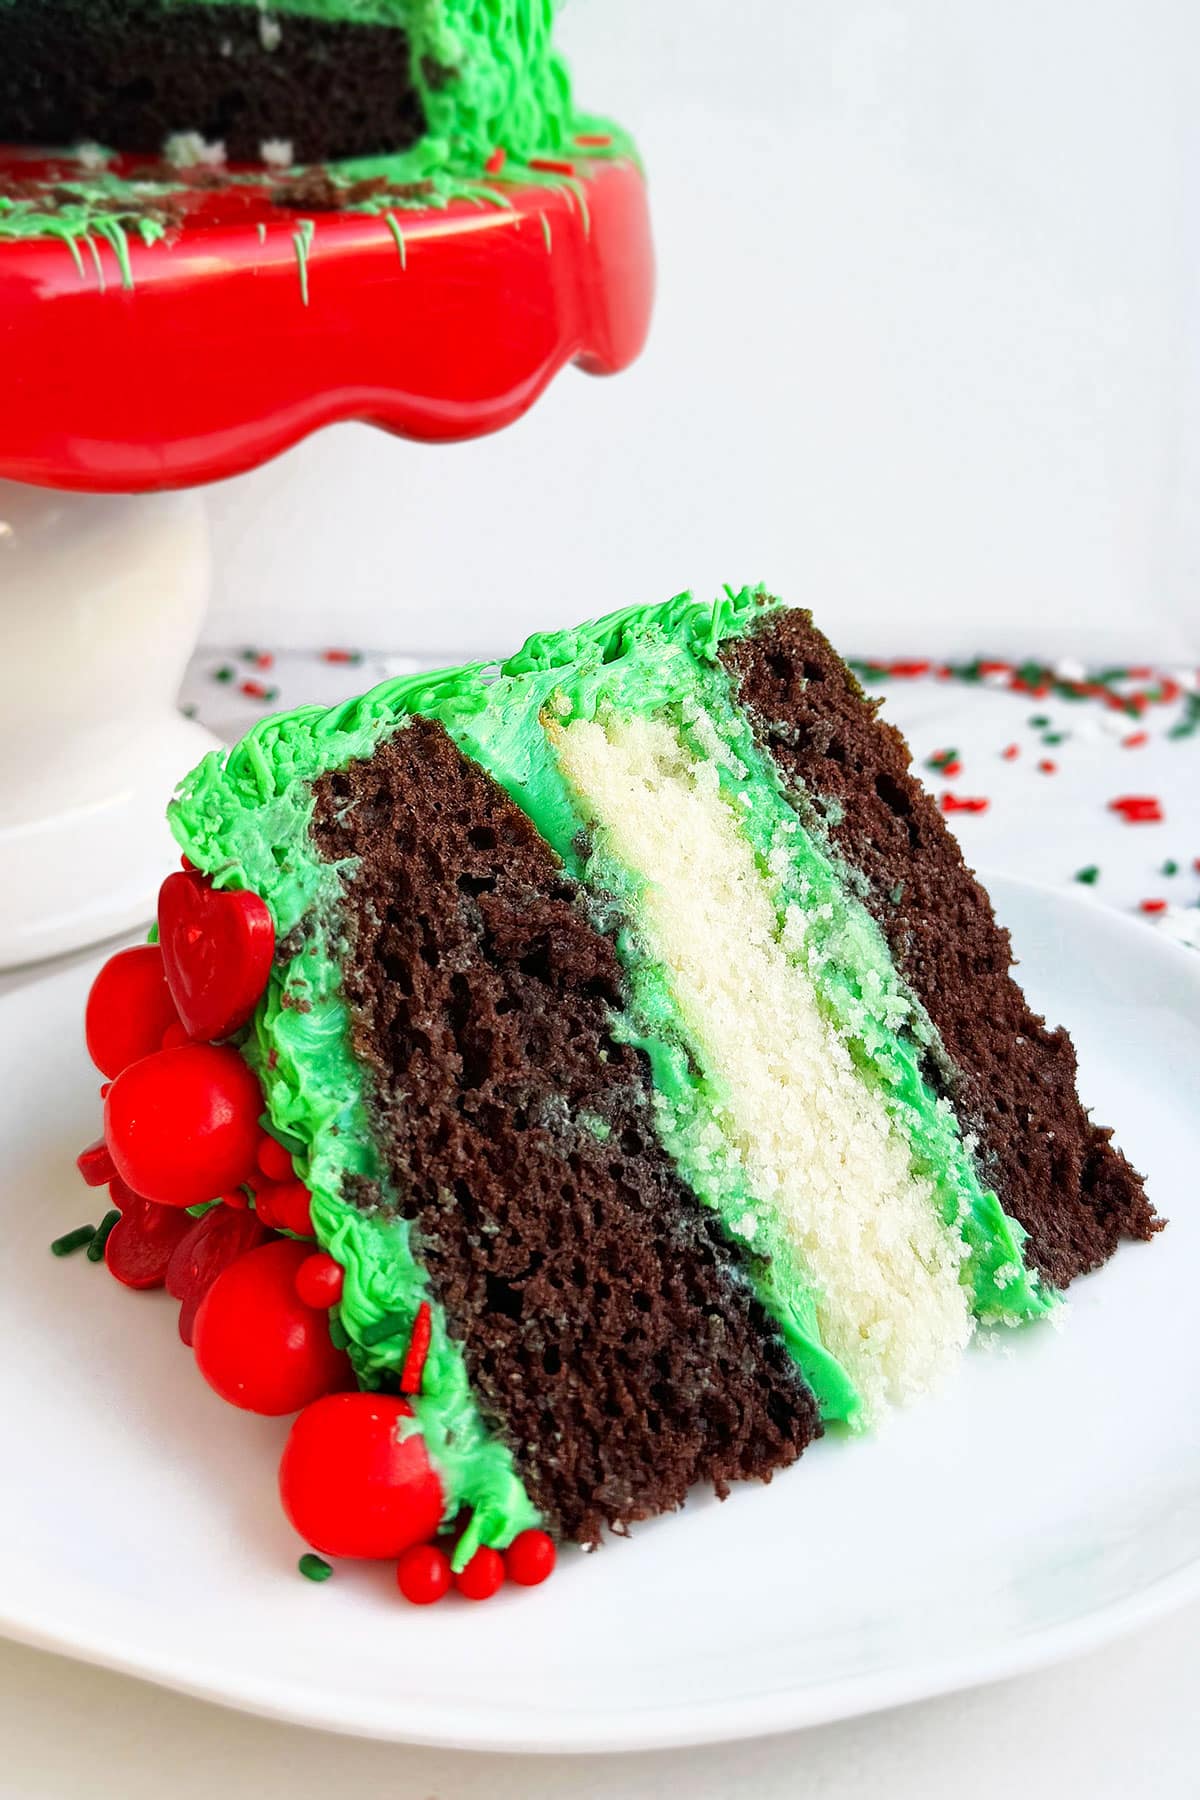
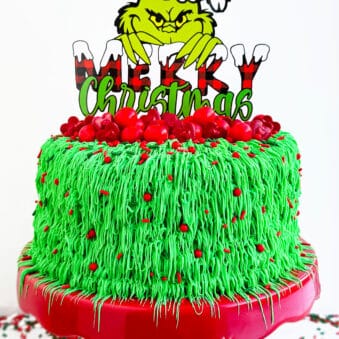
Easy Grinch cake recipe, homemade with simple ingredients. This chocolate and vanilla layer cake is decorated with red hearts, sprinkles, topper and green buttercream icing shags. Perfect for Christmas holidays.
Want to Save This Recipe?
Enter your email & I'll send it to your inbox. Plus, get great new recipes from me every week!
By submitting this form, you consent to receive emails from CakeWhiz
The holiday season is here again and it's time to get baking! The Grinch is a favorite holiday book and movie in our family, which inspired these Grinch Cupcakes . I had to come up with a new desser to celebrate this symbol of Christmas spirit transformation and that's how today's tutorial came to be. The kids especially enjoy the fun decorations- both seeing them and eating them! For more festive treats to brighten your holidays, check out my Peppermint Cake (Candy Cane Cake), Christmas Fruit Cake, Gingerbread Cookies, and Easy Christmas Tree Cake.
Table of contents
Key Ingredients
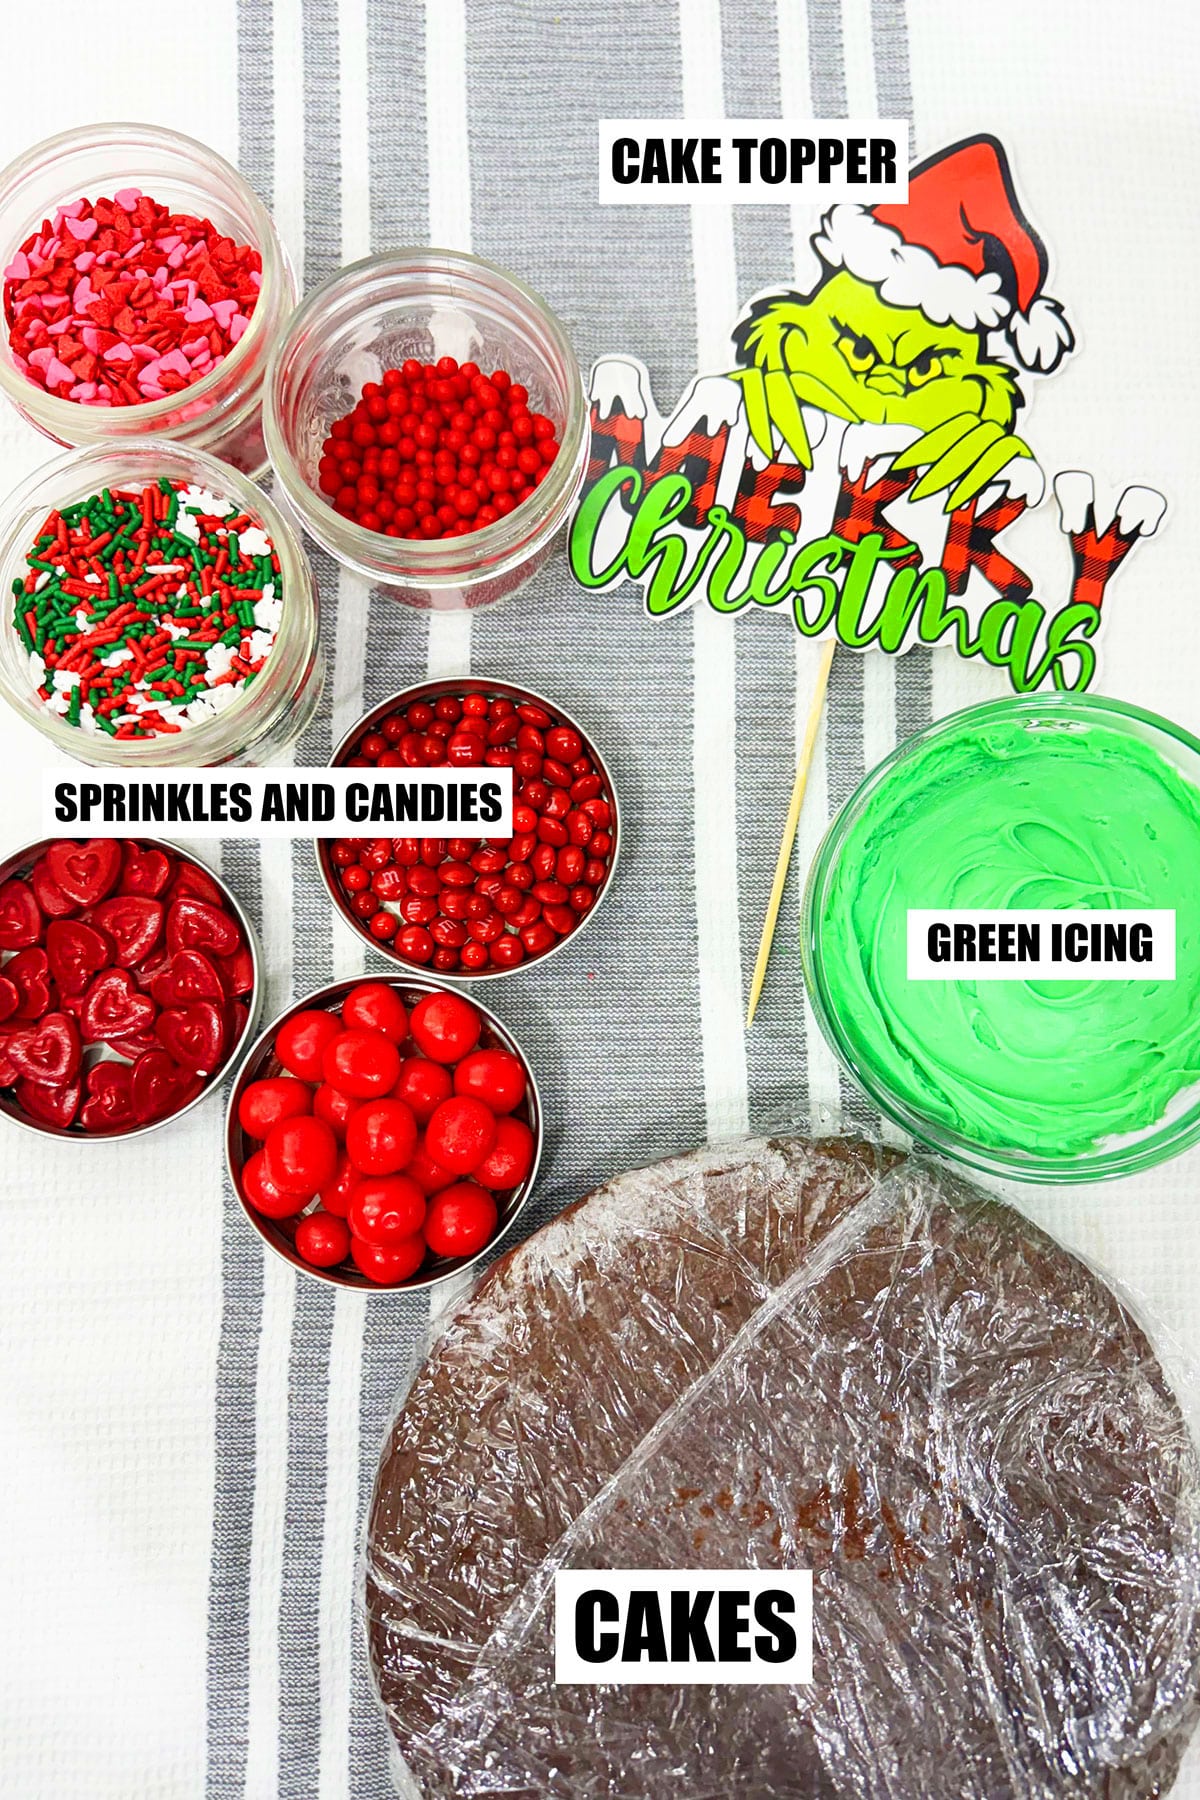
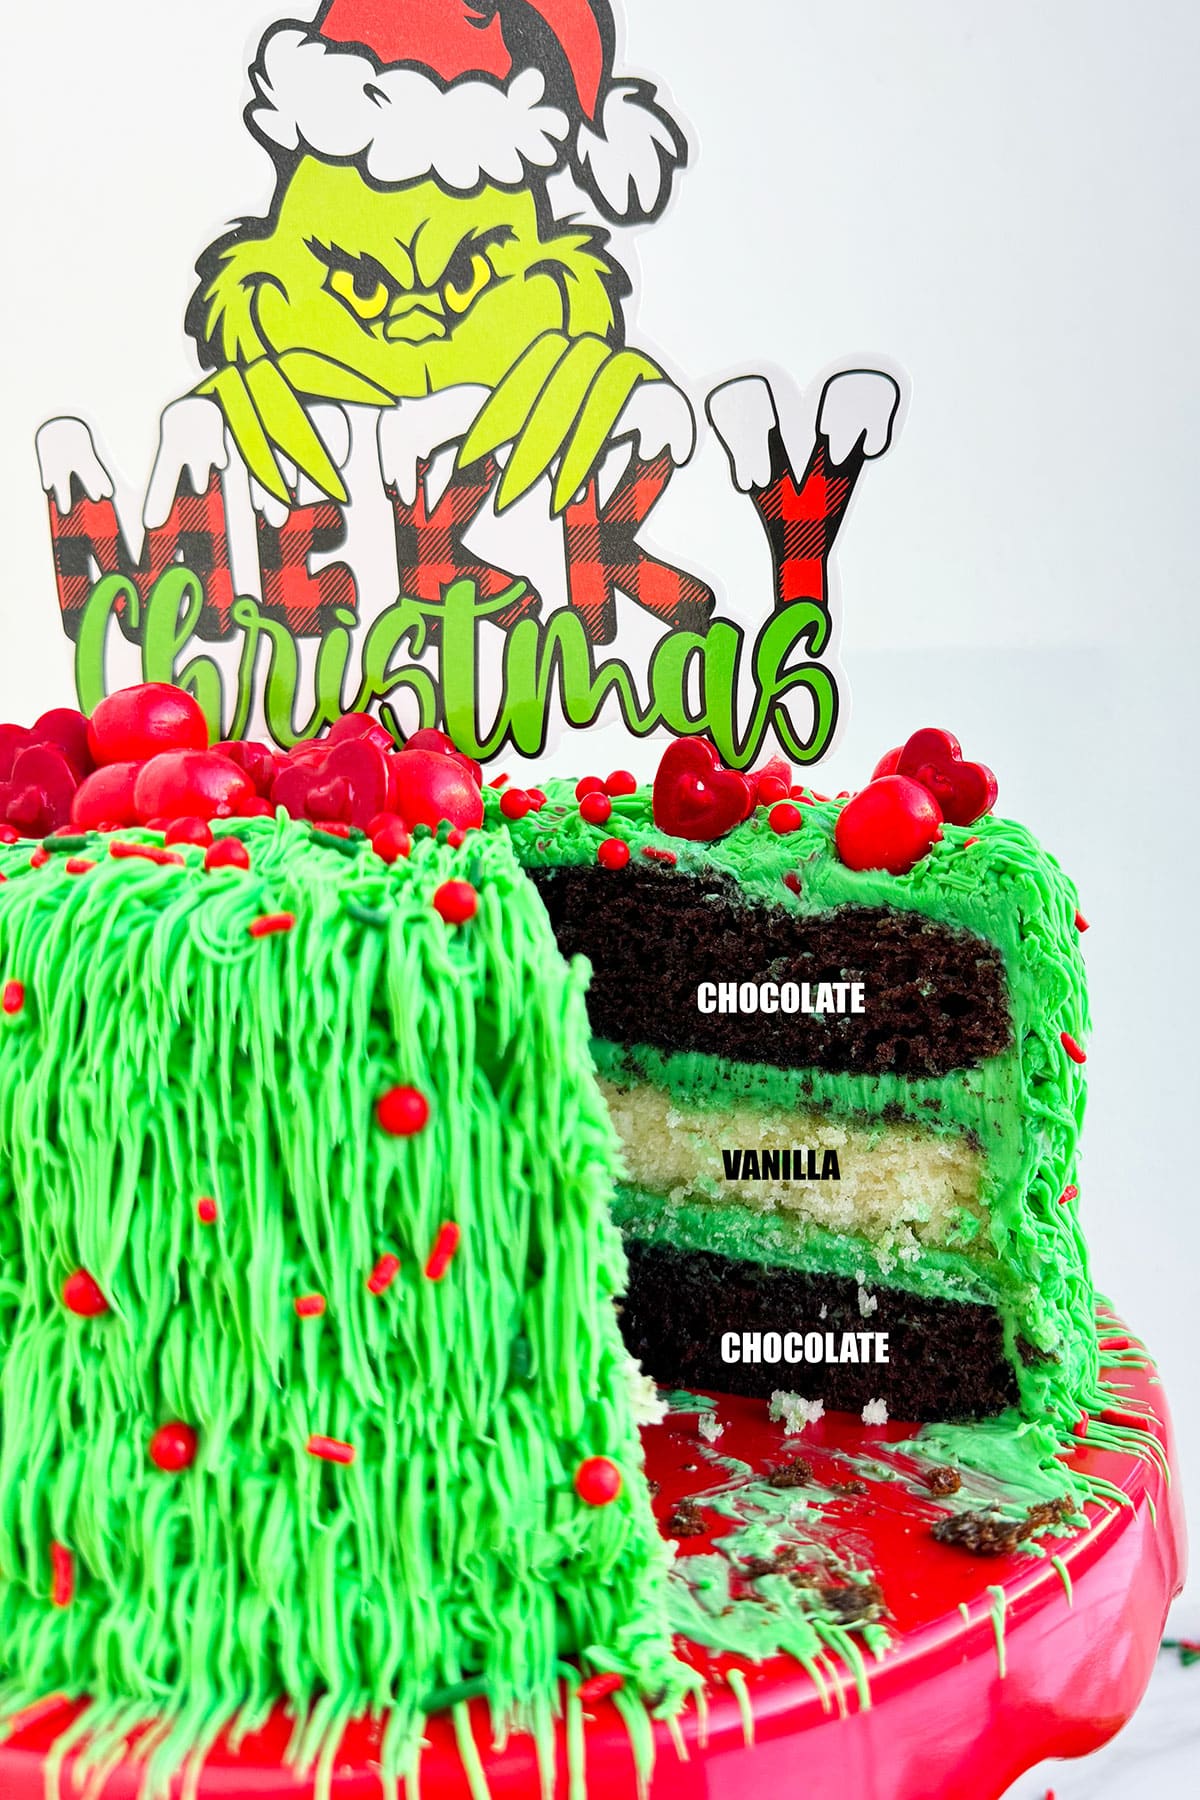
- Cakes- You will need both, chocolate and vanilla flavors.
- Buttercream icing- One can never go wrong with this classic that starts off white and can easily be colored.
- Green food coloring- Liquid or gel food coloring can be used.
- Sprinkles- Find an assortment of jimmies, edible pearls, and sanding sugar.
- Candies- Use a variety of different kinds, such as gum balls and M&Ms.
How to make easy grinch cake recipe for Christmas from scratch?
Assembling layer cake
- Bake- The cakes and allow them to cool completely.
- Prepare- The icing and color it green.
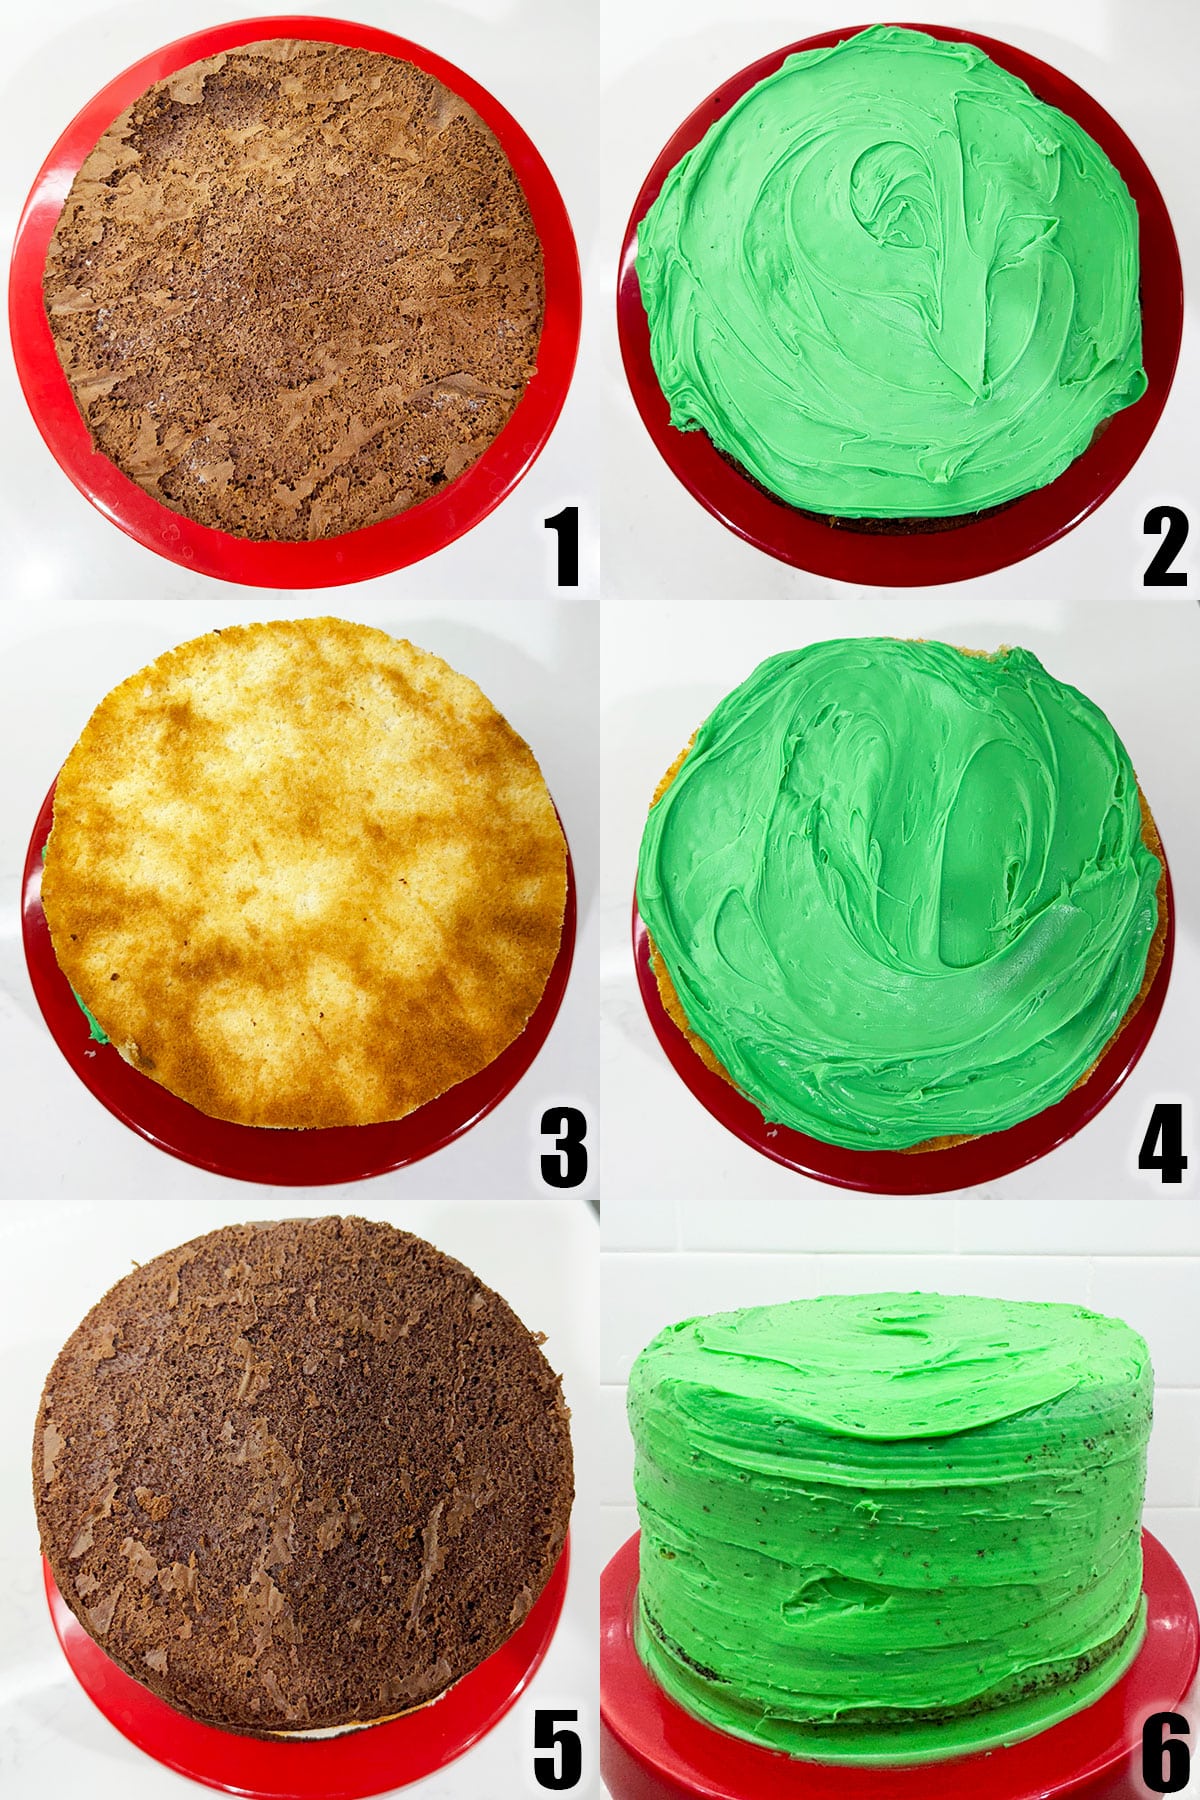
- Place- A chocolate cake on a cake stand (Image 1).
- Spread- Icing on top of the cake (Image 2).
- Place- The vanilla cake on top of the icing (Image 3).
- Spread- Icing on top of that cake again (Image 4).
- Place- The final chocolate cake on top (Image 5)
- Spread- Icing on top of that cake again (Image 6).
Decorating cake with the buttercream shag technique
- Cover- The entire cake in icing.
- Fill- A tipped piping bag with green icing.
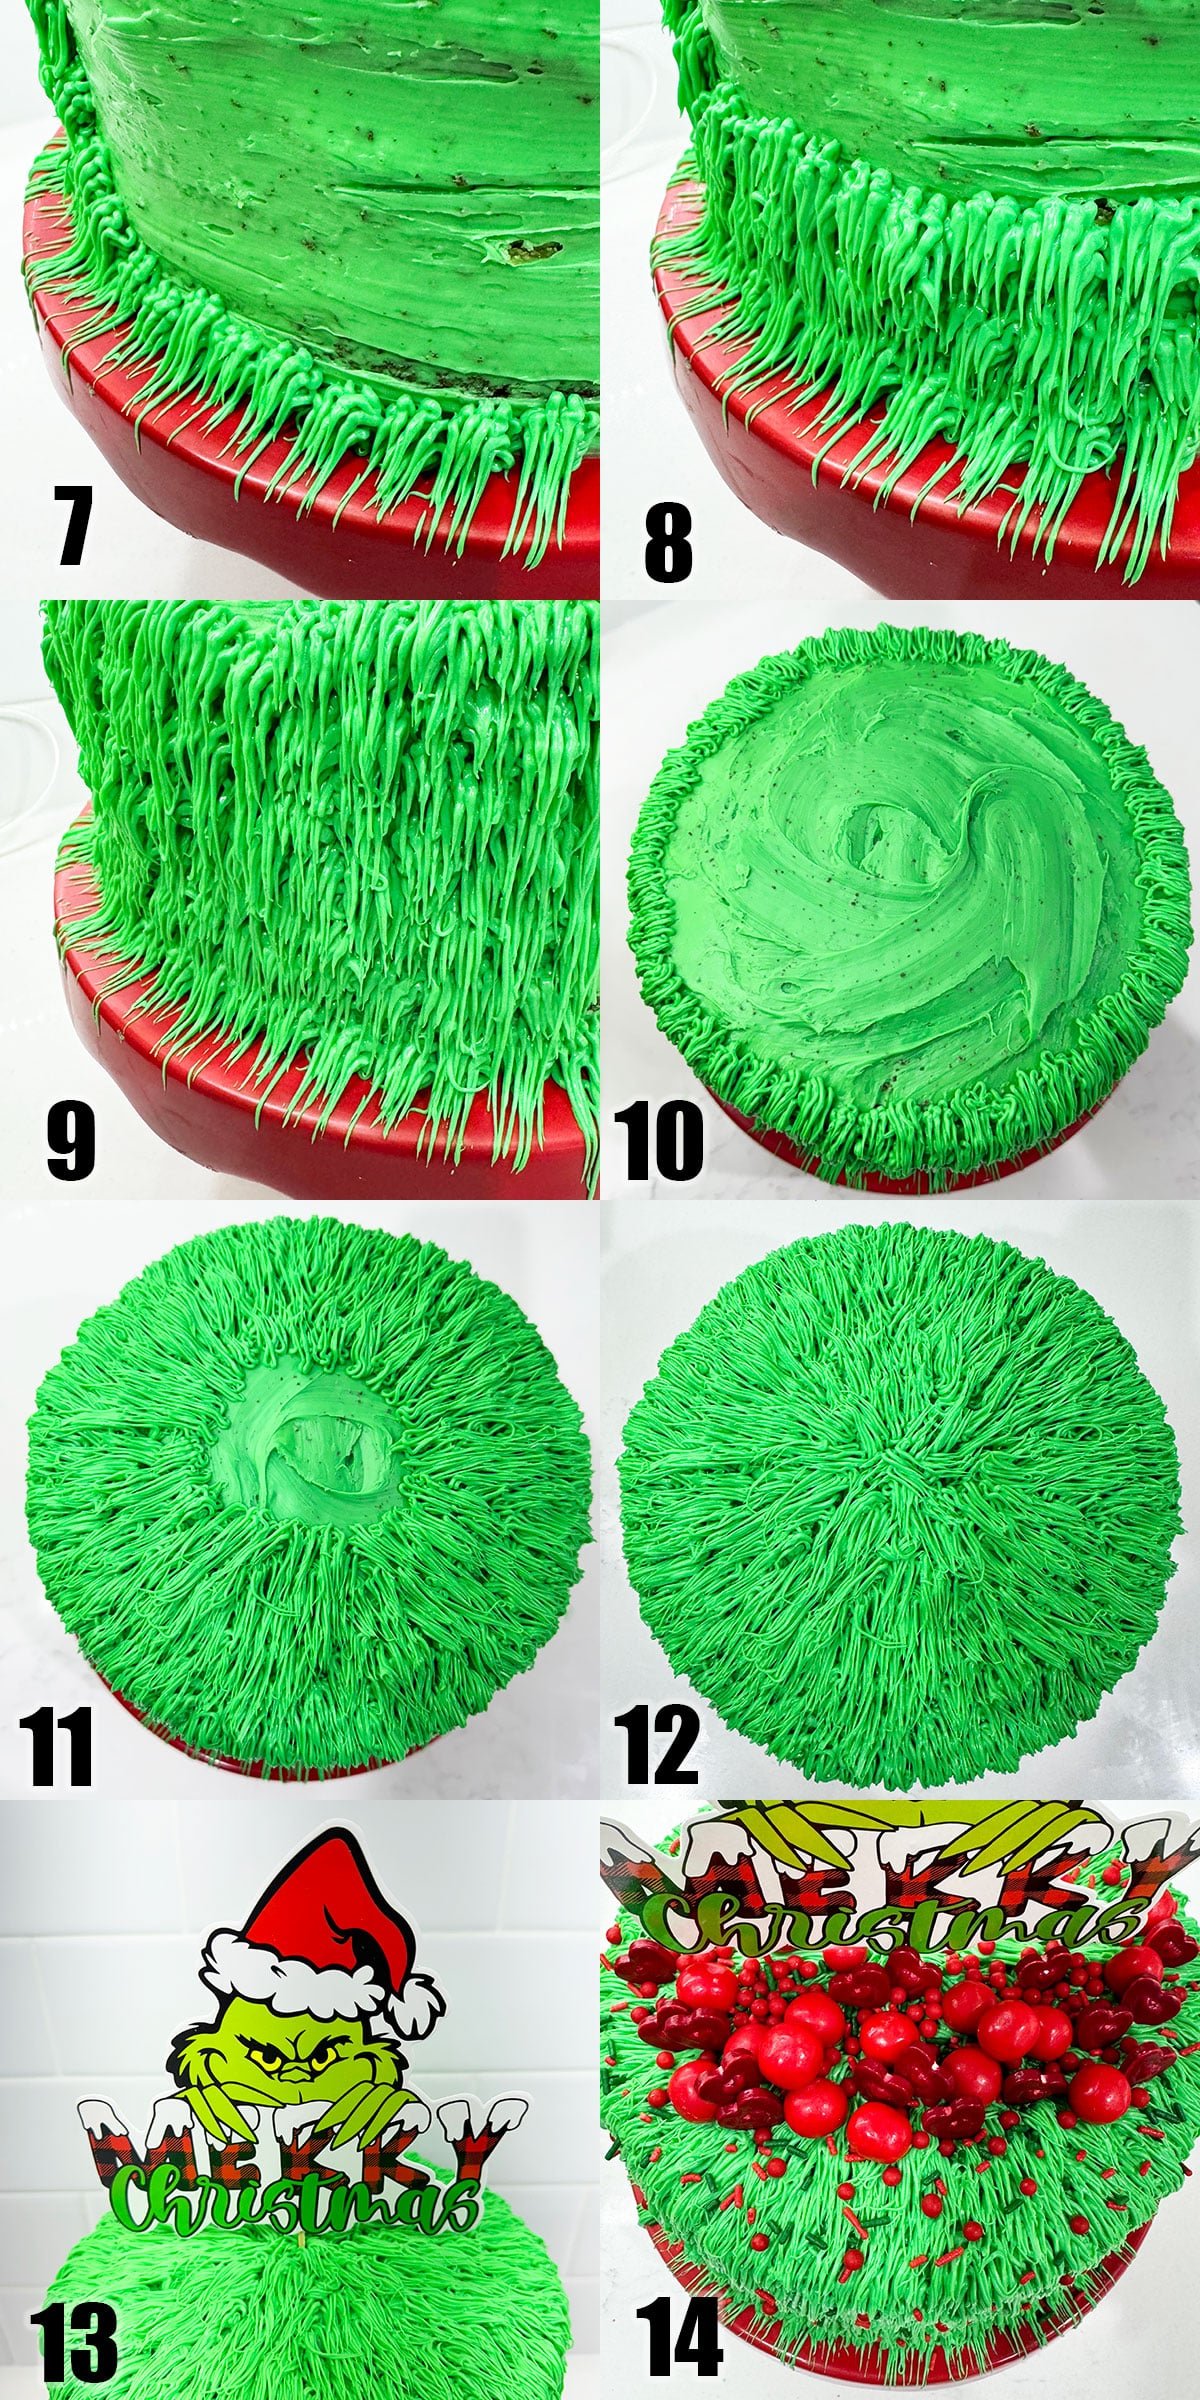
- Pipe the sides- Of the cake from the bottom upwards until the sides are covered (Image 7,8 and 9).
- Pipe the top- From the outer edges to center until covered (Image 10,11 and 12).
- Push- The topper gently into the center of the cake (Image 13).
- Decorate- With sprinkles and candies (Image 14).
Variations
Switch up the cake flavors- It doesn't have to be chocolate and vanilla. You can try Red Velvet (to match the colors of Christmas), Funfetti/Confetti Cake (great for holiday birthday parties).
Add food coloring to cake batter- The vanilla cake will easily take on a red or green hue to enhance the Christmas look.
Add spices to cake mixes- You can add all those warm holiday spices, such as cinnamon, nutmeg, or ginger.
Try different frostings- I used the classic buttercream icing, because it is easy to color, goes well with the flavors in this recipe, and is stable. However, you could also try my Red Frosting, Mint Frosting, Marshmallow Frosting, or White Chocolate Buttercream Frosting.
Add extracts- This can be added to the cake batter or frosting to give new flavor, such as almond, maple, or peppermint.
Add zests- Try adding some orange, lemon, or lime zests in the mix.
Add-ins- Add mini dark, milk, or white chocolate chips, pecans and other nuts, or coconut flakes. Remember to coat them in flour first to keep them from sinking. Check out this detailed post on How to Stop Chocolate Chips From Sinking.
Make cake in a jar- Bake a vanilla cake and add green food coloring to the batter. Allow it to cool completely. Then, use a circle cutter (same size as diameter of your jar) to cut out cake pieces. Place a piece in the jar and frost the top with green frosting. Continue alternating with cake pieces and frosting until you reach the top of the jar. Cover the lid, tie it with string, and then add a Grinch face topper. You can even add two red paper shoes at the bottom of the jar. It should look like the cake is his body.
Try a different filling- In between cake layers, you can spread a cheesecake layer, jams and preserves, Dulche de Leche. You can also toss some sprinkles (or do a sprinkle pocket in the center like a Pinata Cake)
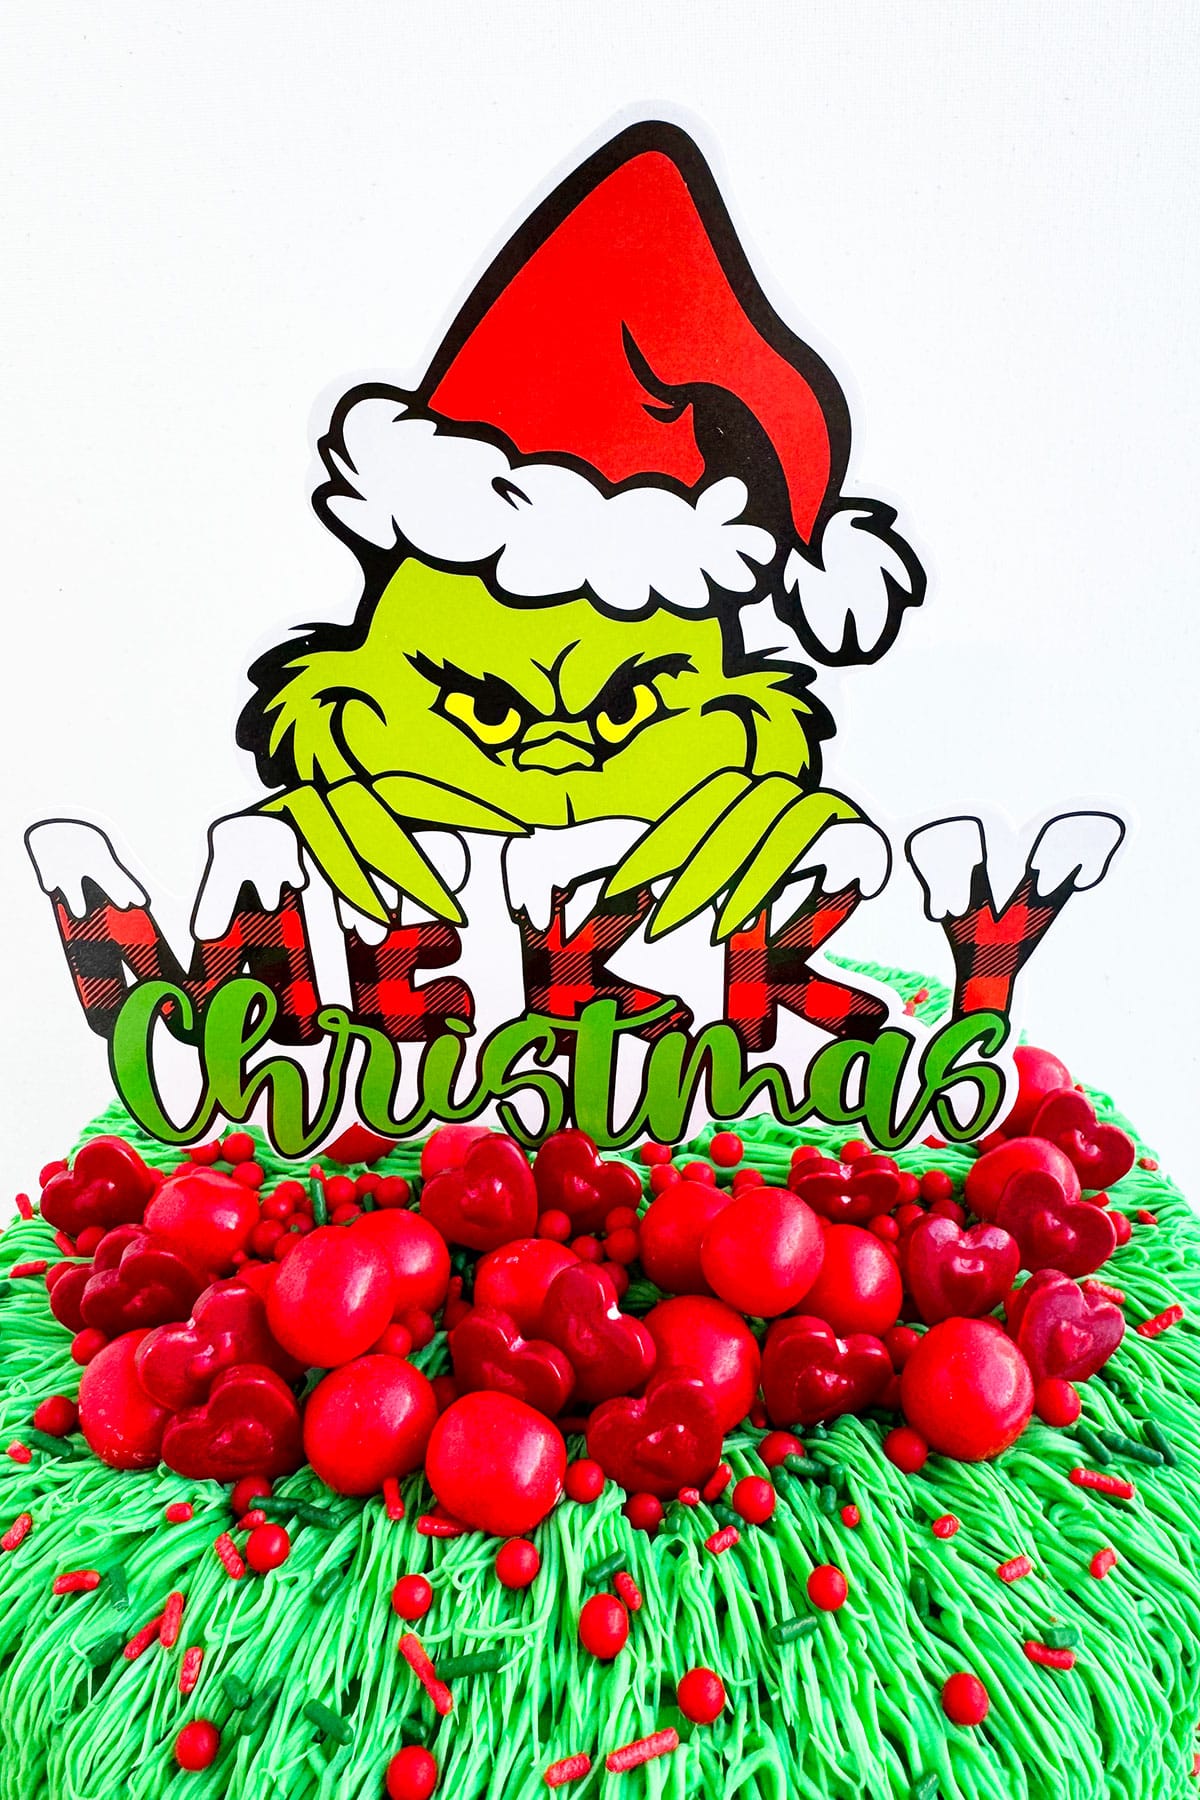
Cake topper
I used a cardboard topper that I got online from Amazon. You can also make your own by printing an image of your choice on thick cardstock paper. Cut it out and stick a wooden skewer behind it to make it easy to insert into the cake. You can even use greeting cards. Just find one that has an image you like and cut it out with scissors and stick a wooden skewer behind it. Another options is to buy a pre-made fondant Grinch topper or make your own, using Homemade Marshmallow Fondant or Modeling Chocolate. For birthday cake version, buy a topper that says: “Happy Birthday” instead of “Merry Christmas.”
Tips and techniques
Use gel coloring- Instead of liquid food coloring because it's thicker and more concentrated and doesn't thin out the icing consistency.
Keep icing cool- The heat from your hands can make the icing in your piping bag warm and runny. This makes is difficult to pipe. If this happens, simply chill your piping bag in the refrigerator for 10-15 minutes and then continue piping.
Cake decorations- The main thing to keep in mind are the two main decor colors here: red and green. Use various shapes and sizes of sprinkles (jimmies and heart shapes), candies (like m&m, gum balls, cinnamon balls, lollipops, jelly beans, fruit gummies).
Allow cakes to cool completely- This is very important because the frosting will start melting from the heat and make a gooey mess.
Use a spatula- To spread the icing smoothly on the cakes rather than a spoon, butterknife, or other cooking utensil.
The crumb coat is very important- The first layer of frosting you put on the cake does not need to look pretty. It is called the crumb coat and holds all the crumbs in place. No one will see this layer because it will get covered by the piped "fur."
Decorating tips- The general motion is to hold your piping bag at a 45 degree angle and then squeeze the bag until icing comes out. Then, pull away gently and let the "shags" fall, creating a "furry" look. You will want to use the grass tip while piping for the best look.
Try other piping tips instead of grass tip- Such as the star tip, round tip, petal tip for a different design.
Storage
- Make ahead- Cake and frosting can be made 2-3 days ahead of time and placed in airtight containers in the fridge. When ready, decorate as per directions below.
- Room temperature- This can stay out for 2-3 hours for a party, but any more than that and the frosting might start to melt if it gets too warm.
- Refrigerate- Leftovers can be stored in a sealed container in the refrigerator for up to 3 days.
- Freeze- You can freeze unfrosted cakes and frosting separately in sealed containers for up to 1 month. Then take out to thaw and decorate when you are ready.
More Christmas desserts
- Easy Reindeer Cupcakes (Rudolph)
- Santa Hat Brownies
- Christmas Tree Cupcakes
- Christmas Tree Brownies
- Poinsettia Cupcakes
Recipe
Easy Grinch Cake {For Christmas}
Want to Save This Recipe?
Enter your email & I'll send it to your inbox. Plus, get great new recipes from me every week!
By submitting this form, you consent to receive emails from CakeWhiz
Ingredients
- 2 Chocolate cakes Round, 8x2 each
- 1 Vanilla cake Round, 8×2
- 5 cups Buttercream icing Colored green
- 1 cup Sprinkles and candies Variety of red gum balls, red hearts, red and green jimmies, red edible pearls
Instructions
- Bake the chocolate and vanilla cakes and allow them to cool completely.
- While the cakes and baking the cooling, prepare the icing and color it green with gel coloring.
- Place a chocolate cake on a cake stand.
- Use a spatula to spread icing on top of the cake.
- Place the vanilla her cake on top of the icing and press gently.
- Use a spatula to spread icing on top of the cake.
- Place the final chocolate cake on top of the icing and press gently.
- Cover the entire cake in icing. It does not need to be neat and if there are crumbs, that's perfectly fine because this is a "crumb coat" and it will all get covered.
- Fill a piping bag with green icing and attach the grass tip (Wilton Tip # 233).
- Start piping from the bottom of the cake and work your way upwards until sides are fully covered in "fur." The general motion is to hold your piping bag at a 45 degree angle and then squeeze the bag until icing comes out. Then, pull away gently and let the "shags" fall.
- Pipe the top of the cake in the same manner. Start piping from the outer edges and work your way inwards until top is fully covered in "fur." This is very similar to how I decorated my Cookie Monster Cake and Cookie Monster Cupcakes.
- Push the topper gently into the center of the cake until it's secure.
- Decorate with sprinkles and candies around the topper. Also, toss some sprinkles around the sides of the cake too. Enjoy.
Notes
- Use gel coloring instead of liquid food coloring because it's thicker and more concentrated and doesn't thin out the icing consistency.
- The heat from your hands can make the icing in your piping bag warm and runny. This makes is difficult to pipe. If this happens, simply chill your piping bag in the refrigerator for 10-15 minutes and then continue piping.
- Leftovers can be stored in a sealed container in the refrigerator for up to 3 days.
- Read additional tips and variations above.
Nutrition
An automated tool is used to calculate the nutritional information. As such, I cannot guarantee the accuracy of the nutritional information provided for any recipe on this site.

Maya
This was such a fun activity to do with my 8 year old! we both had a blast and it really helped both of us get into the holiday spirit! cant wait to do more of these in the upcoming weeks!