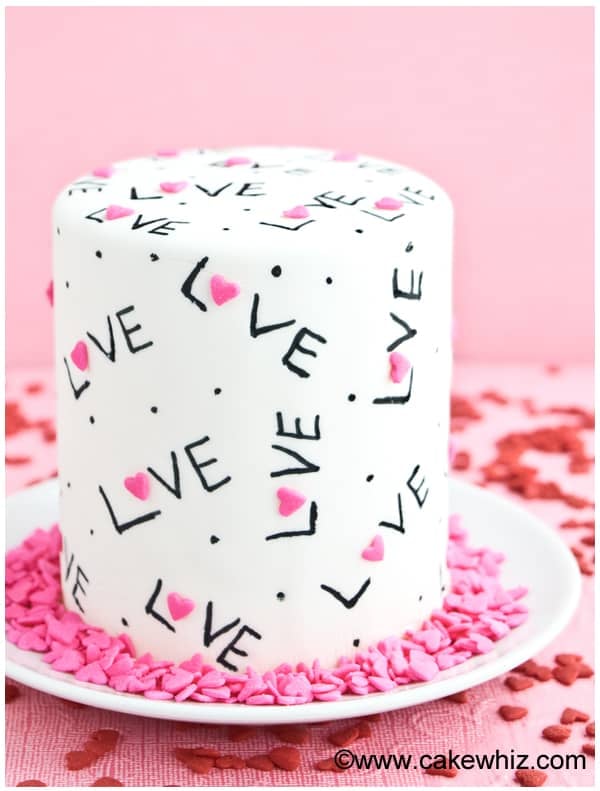
Use this cake decorating tutorial to make an easy Love cake for Valentine's Day, Mother's Day or Anniversaries with fondant, sprinkles, edible markers.
As most of you know, I am very fond of edible markers and used them to make this cute Valentine's Day Cake. I have also used edible markers on this Spring Cake and these Stencil Cupcakes and even these Valentine's Day Fruits!
Also, since February 14 is right around the corner, be sure to check out all of these other Valentine's Day Desserts as well as these Pink Desserts.
Want to Save This Recipe?
Enter your email & I'll send it to your inbox. Plus, get great new recipes from me every week!
By submitting this form, you consent to receive emails from CakeWhiz
How to make easy love cake?
- Bake cakes- A pink velvet cake was perfect for this holiday.
- Let it cool- Until it’s room temperature.
- Make icing- And color it pink, if necessary.
- Assemble– Place one cake on cake stand, ice the top, then, place the other cake on top and then, ice the whole cake.
- Spread fondant- And let it dry.
- Decorate– With edible markers and sprinkles.
Variations for love cake design
Write different messages- You can get as creative as you like and even write a message for other holidays (E.g. Boo! for Halloween, Holly Jolly for Christmas e.t.c.)
Choose different colors- The color palette here was a clean and bright pin and white but you can go with any colors you like. Just be sure to use gel colors when coloring fondant because it's thick and don't make the fondant sticky.
Make a larger tiered cake- The cake you are seeing today is small. It's only 6 inches.Regardless of the size of the cake, the same steps can be applied to a larger cake too.
Try other cake flavors- Such as Red Velvet Cake or Best Vanilla Cake.
Try other frostings- Such as Maraschino Cherry Frosting or Blackberry Buttercream Frosting.
Add cake fillings- Such as Homemade Strawberry Jam or other preserves.
Consider flavoring fondant- Use clear extracts so it doesn't discolor the white fondant and choose a flavor that compliments the cake and frosting flavors.
Tips and Techniques for I love you cake
Sit at eye level- This makes cake decorating so much easier, in general.
Let the fondant covered cake dry- Allow the cake to sit at room temperature for 30 minutes to 1 hour and then write on it. If you don't do this, the tip of your marker will make dents in your fondant and can even make tears.
Practice writing- Before you start writing on the cake, I highly recommend practicing on scrap pieces of fondant, just to get the hang of it! This way, you will be more confident and prepared when you finally start writing on the cake.
Go slow and steady- Any writing mistakes cannot be reversed. You would have to peel off the fondant and start over again.
Don’t decorate a warm cake- The cake must be completely cool before it’s decorated with fondant. If the cake is warm, the fondant and icing will start melting and you will end up with a sticky mess.
Homemade fondant vs. Marshmallow fondant- Either can be used. I prefer homemade fondant because it tastes really good. The great thing about store-bought fondant is that you can buy it pre-colored and don't have spend time kneading in color, which is a tedious process.
Don't use a lot of corn syrup- Corn syrup works as a "glue" to stick sprinkles on the cake. A small quantity goes a long way. Using a lot causes it to leak out from the sides of the sprinkles and it looks messy.
Storage of homemade decorated cake
Room temperature- Sore decorated cake in a covered box for 24 hours.
Refrigerate– Store in a covered box for 3-5 day but please note that fondant decorations may become sticky from the moisture in the refrigerator.
Freeze– Decorated cakes cannot be frozen because when they thaw, the fondant decorations become sticky due to condensation.
More Decorated Cakes
- Chocolate Bark Cake
- Easy Cake Tower
- Easy Beach Cake
- Fondant Flower Cake
- Modern Abstract Cake
- Blue Ombre Cake
- Butterfly Cake
Recipe
Easy Love Cake
Want to Save This Recipe?
Enter your email & I'll send it to your inbox. Plus, get great new recipes from me every week!
By submitting this form, you consent to receive emails from CakeWhiz
Ingredients
- 2 Pink velvet cake Round, 6 inch each
- 4 cups Strawberry buttercream frosting
- 2 cups Marshmallow fondant White
- 1 tablespoon Corn syrup
- 2 tablespoon Heart sprinkles
Instructions
- Bake your cakes and allow them to cool completely.
- While they are cooling, prepare strawberry frosting.
- Place one cake on a cake stand or serving dish.
- Spread frosting on top.
- Then, place the other cake on top and press gently to secure it in place.
- Now, frost the entire cake completely.
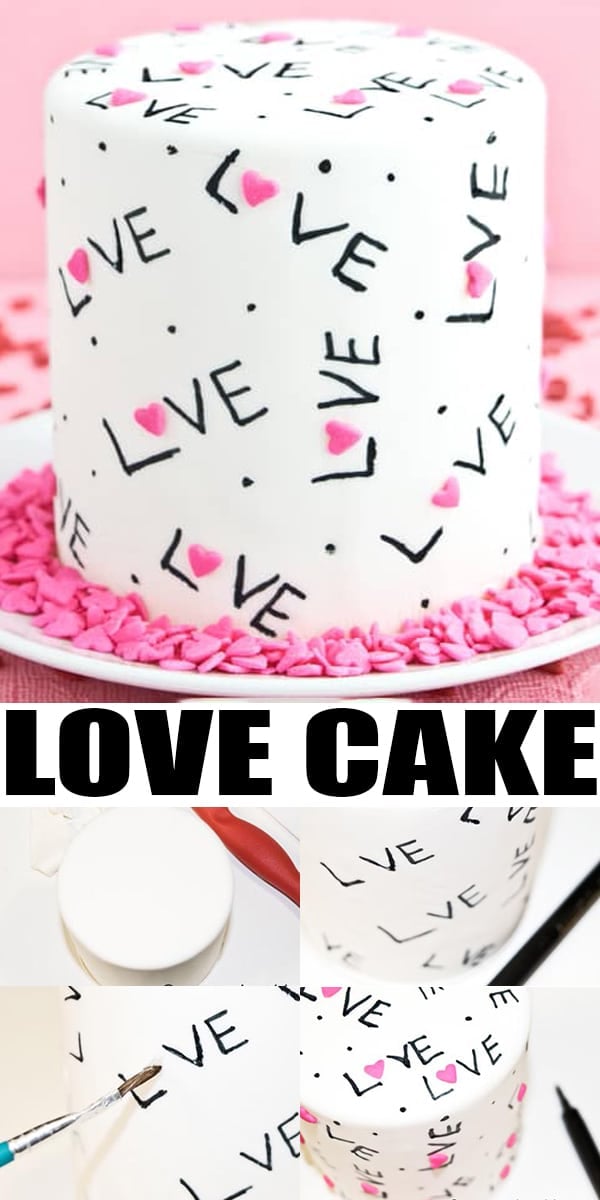
- Roll out white fondant and spread it smoothly over the frosted cake. Cut off excess fondant around the base of the cake with a knife or a pizza cutter.
- Allow this fondant covered cake to sit at room temperature for 30 minutes to 1 hour so that the fondant dries up a little.Tip: you don't let the fondant on this cake to air dry, the tip of your marker will make dents in your fondant!
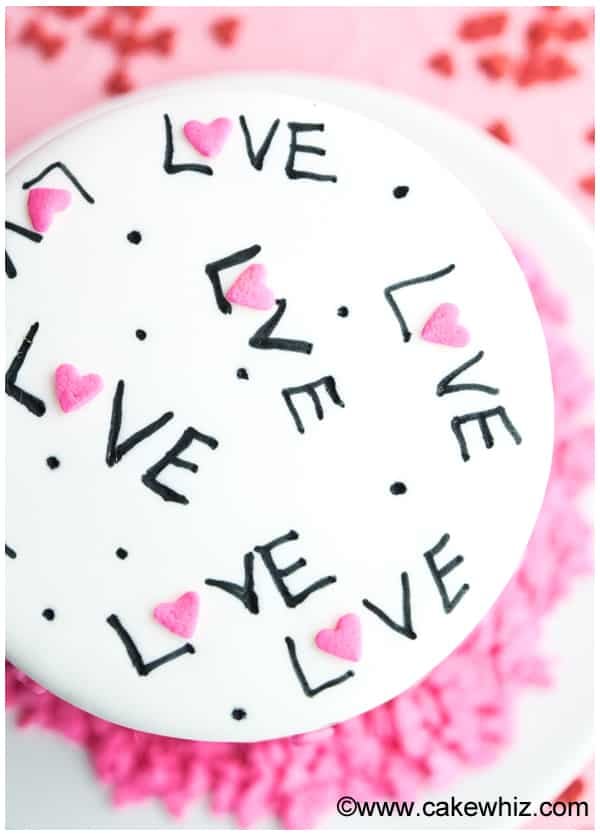
- Then, write " L VE" on it with a black edible marker. Make sure to leave some space in the center for the heart sprinkle.
- Brush a bit of corn syrup in the space between all the "L VE."
- Stick small heart sprinkles there.
- Spread more sprinkles around the base of the cake. Enjoy!
Notes
- Read all my tips above.
- Leftovers can be stored in a sealed container in the fridge for up to 3 days.
Nutrition
An automated tool is used to calculate the nutritional information. As such, I cannot guarantee the accuracy of the nutritional information provided for any recipe on this site.

Toni Torres
Such a cute idea. I made my first fondant covered cake to test on my family and used this idea on part of the cake so it wasn't blank (except I made the mistake of writing the O's in Love so I had to put the hearts on top). Everyone thought it was very pretty. Thanks!
Abeer Rizvi
So happy to hear you made your first fondant cake. It's a lot of fun...right?! I would love to see a picture of your lovely cake
Meaghan Mountford
I LOVE this so much!!
Abeer Rizvi
Thanks Meaghan! This doesn't even compare to the magic you do with edible markers
Yasmin
Thank you! !! I'm going to try this instead of icing writing. .with lots of practice of course
Abeer Rizvi
Have fun! This is soooo much easier than piping