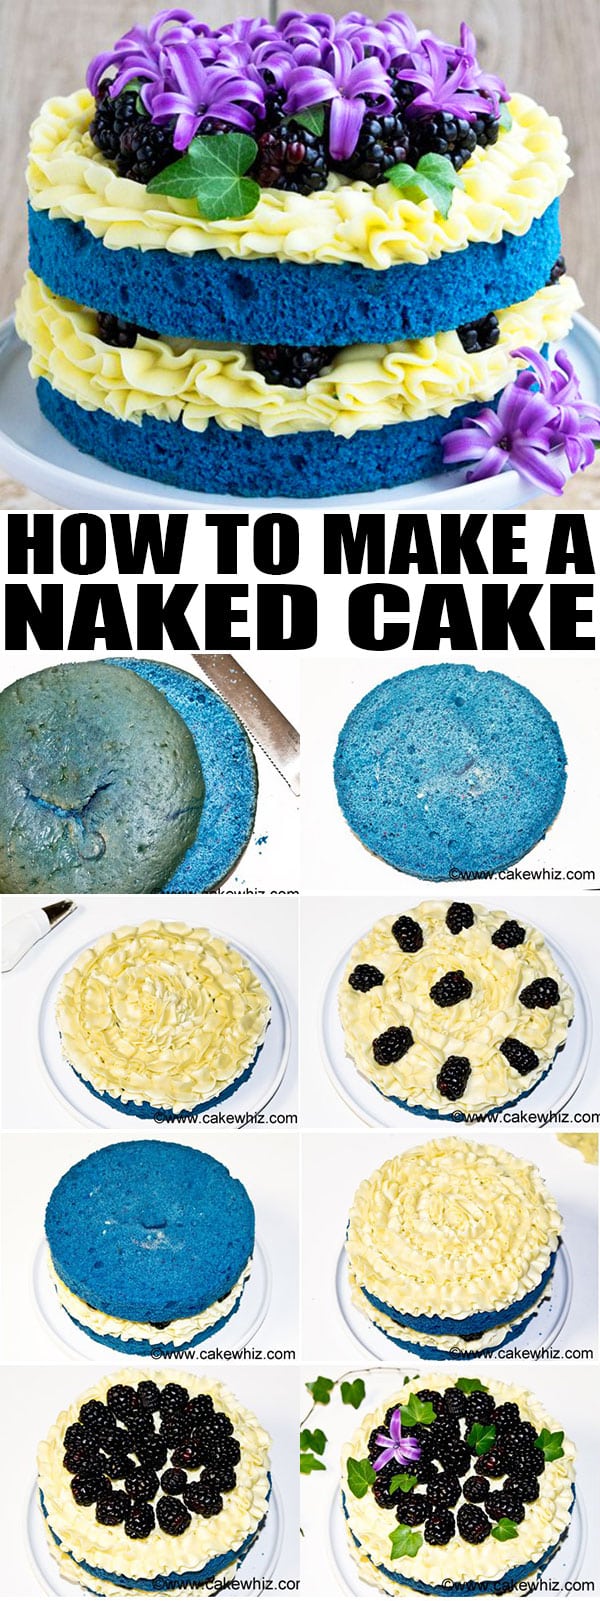
Use this step by step cake decorating tutorial to learn how to make a naked cake with frosting, fruits and flowers. Quick and easy cake for weddings and birthday parties!
Naked cake, semi naked cake, unfrosted wedding cake, bare cake or half dressed cake... This cake goes by many names.
Want to Save This Recipe?
Enter your email & I'll send it to your inbox. Plus, get great new recipes from me every week!
By submitting this form, you consent to receive emails from CakeWhiz
They are EASIER to make than fondant decorated cakes and PERFECT for weddings, birthdays and parties, in general.
All you need is stable frosting and a good naked cake recipe which is usually vanilla sponge cake but can be any FIRM cake you like.
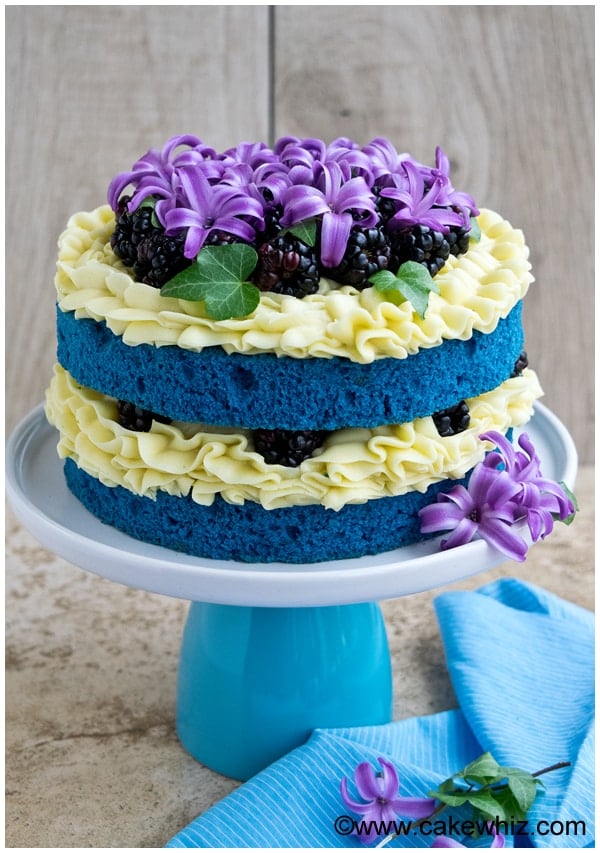
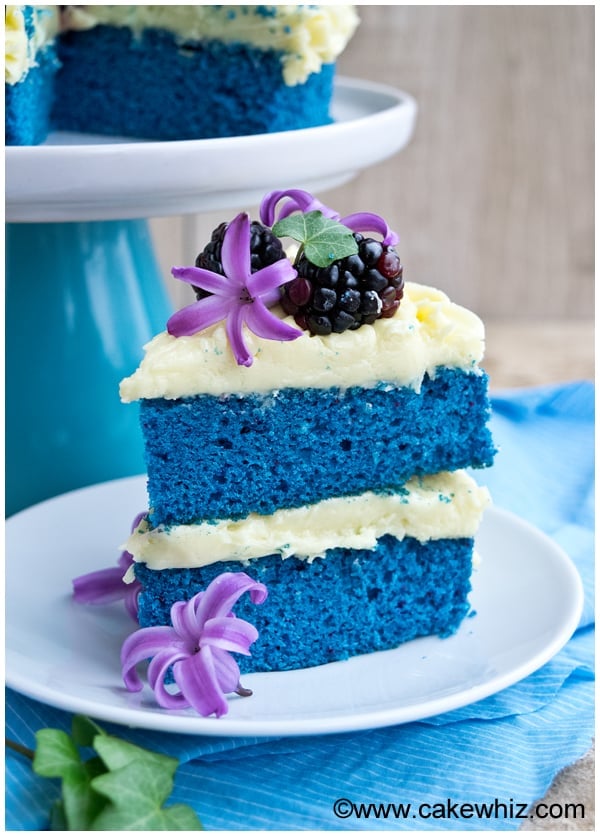
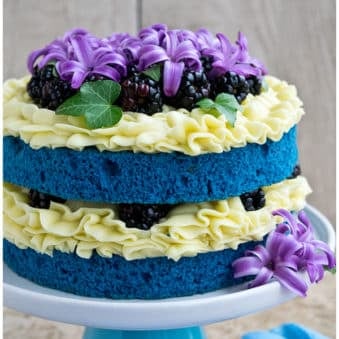
I made a BLUE velvet cake with 2 layers that were filled with yellow buttercream icing, fresh blackberries and decorated with flowers and even more blackberries.
What is Naked Cake?
There are 2 types:
- Semi Naked or Half Dressed Cakes: These ones have very little frosting swiped all around the cake (similar to a "crumb coat").
- Pure Naked Cakes: The sides of these cakes have no frosting and the fillings and fully exposed, which is what you are seeing in this post.
How to Make a Naked Cake?
- Bake 2-3 round cakes and let them cool down.
- Use a sharp knife to cut off the top dome and discard it.
- Place one cake on a cake stand.
- Pipe a thick layer of icing on top.
- Place another another cake on top of the icing.
- Pipe a thick layer of icing on top.
- Decorate the top with fresh flowers and fresh berries.
How to Frost a Naked Cake?
- Fill a piping bag with frosting and attach a decorating tip with a wide opening such as Tip 1M, 4B, 1A.
- Hold the piping bag at a 90 degree angle on top of the cake and start piping from the outer edges of the cake to the inside of the cake.
- Place another cake layer on top of this frosting.
- Hold the piping bag at a 90 degree angle on top of the cake and start piping from the outer edges of the cake to the inside of the cake.
- Continue doing this until you reach the top of the cake and then, decorate any way you like.
Easy Naked Cake Decorations:
These cakes can be decorated with:
- Flowers
- Fruit
- Candies
- Sprinkles
- Cookies
- Frosting
 Tips For Naked Cake Tutorial:
 Tips For Naked Cake Tutorial:
- Use edible flowers and leaves. Flowers must be safe and non-poisonous. Ask your florist if you are unsure.
- Use GREASED and FLOURED cake pans. This prevents it from sticking to the pan and breaking when you are removing it. I also like to place a round sheet of wax paper at the base of the cake pan before pouring in the batter.
- Use thick and stable frosting. I used buttercream icing in this cake but you can also use my favorite seedless strawberry frosting or chocolate buttercream icing or even ganache. Make sure NOT to use any frostings which are very thin and runny such as whipped cream because that would just start DRIPPING all over the cake.
- Make a dam for runny fillings. You can FILL jams in these naked cakes. Just be sure to make a buttercream DAM around the cake first and then fill the center with jam.
- Prevent outside of cake from drying. Since the exterior of a naked cake is exposed to air, it will start DRYING out. That's why I like to assemble these naked cakes only a couple of hours before serving. If you are still worried about the cake drying out, place slices of regular bread around the cake. This PREVENTS the moisture from leaving the cake and the bread will dry out instead of the cake.
- Even cake layers are important. If you are making a tiered naked cake, make sure that ALL of your cakes have the SAME thickness. This will help to BALANCE the cake and it also looks better!
- Proper support is important. DON'T forget to use dowels or bubble tea straws for support if you are making a tiered naked cake. If you don't do this, your cake will be very unstable and start sagging.
- Chill cakes. Make sure to CHILL your cakes before evenly slicing them because this helps them from crumbling and making a mess. Make sure to also REFRIGERATE your completed naked cake because that allows the frosting to FIRM UP and the cake will hold its shapes and it obviously prevents the cake from sagging too.
- Multiple layers and tiers are possible. My cake only has ONE tier but you can make it as tall as you like with multiple tiers.
- Make a rustic wedding cake! To make a RUSTIC naked wedding cake, use the tutorial below to make a bigger, grander cake many layers and many tiers.
- Try a fun rainbow variation. To make a naked RAINBOW cake, you can follow the same tutorial and use various colors of frostings and cakes and decorate with sprinkles and candies. This would be a great naked BIRTHDAY cake for kids.
More Naked Cake Ideas:
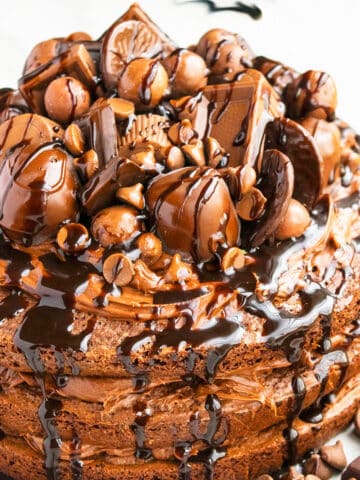
- Naked Chocolate Cake
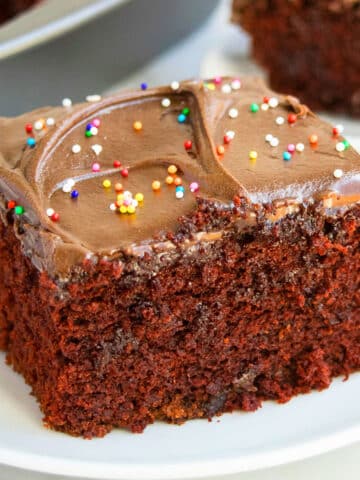
- Naked Red Velvet Cake
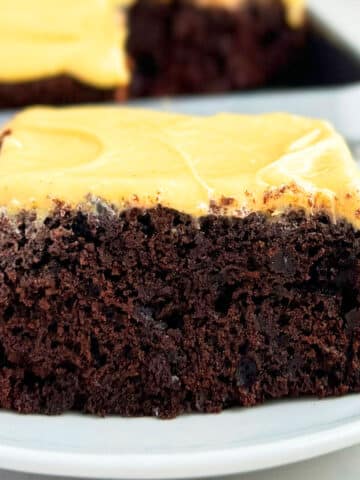
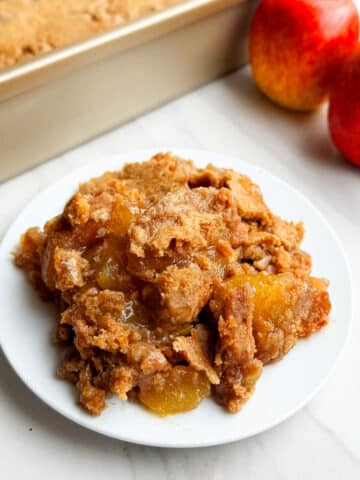
- Apple Pie Cake
- Applesauce Cake
- Chai Tea Spice Cake
- Ginger Ale Cake
- Naked Mango Cherry Cake
Recipe
How to Make Naked Cake
Want to Save This Recipe?
Enter your email & I'll send it to your inbox. Plus, get great new recipes from me every week!
By submitting this form, you consent to receive emails from CakeWhiz
Ingredients
- 2¼ cups All-purpose flour all-purpose
- 1¼ cups Granulated sugar
- 1½ cup Soy milk Or almond milk
- ¾ cup Oil
- 1 tablespoon Vanilla extract
- ¾ teaspoon Baking soda
- ⅛ teaspoon Salt
- 3 tablespoon Lemon juice
- Blue gel coloring
Decoration
- 4 cups American Buttercream Frosting Yellow color
- 1 cup Blueberries Fresh, Washed and patted dry
- Fresh purple flowers and leaves
Instructions
Bake The Cake:
- Add all milk, oil, vanilla extract and lemon juice in a mixing bowl. Mix everything until you have a pale and fluffy mixture.
- In a separate bowl, whisk together all the dry ingredients. Dump this dry mixture into the wet mixture.
- Add blue gel coloring and mix until just combined. DON’T over-mix!
- Pour the batter in two 8×2 greased and floured round cake pans.
- Bake at 350 degrees for 40-45 minutes or until an inserted toothpick comes out clean.
- Allow cakes to cool down and then cover them in saran wrap and freeze them.
Assemble the Cake:
- When you are ready to assemble your naked cake, remove your cakes from the freezer and allow them to sit at room temperature for 20 minutes. Then, peel off the wax paper from the bottom of the cakes.
- Use a serrated knife to evenly slice the cake and remove the top dome portion.
- Place a smaller cake pan (I used a dome cake pan with a width of about 7 inches) or a smaller cake board (7 inches wide) on on top of your cake.
- Use a serrated knife to cut around the cake and remove the discolored top cake portion.
- Follow the same steps for your second blue velvet cake too.
- Place one cake on a cake stand or a serving plate.
- Fill a piping bag with yellow frosting and attach Tip 1M.
- Pipe a dam around the top of the cake. You can now fill the center of that dam with jam, if you like or you can just frost the inside in buttercream icing too.
- Place a few blackberries evenly around the top of all that buttercream.
- Place the second blue velvet cake on top of this layer of icing and blackberries.
- Press the top of your cake gently so that the 2 layers of cake stick together a bit. Don't press too hard or else the icing and blackberries will shift and make a mess.
- Pipe frosting around the top of your cake and you will end up will all these ruffles.
- Place some more blackberries on top of the cake. Make sure to leave some space between the berries.
- Now, fill the space between those berries by pushing in a few flowers and leaves and you are done. Make sure to keep this cake refrigerated until it's ready to be served. Enjoy!
Notes
- Read all my tips above.
- Leftovers can be stored in a sealed container in the fridge for up to 3 days.
- Use cake scraps and leftovers to make delicious blue velvet cake balls and cake pops.
Nutrition
An automated tool is used to calculate the nutritional information. As such, I cannot guarantee the accuracy of the nutritional information provided for any recipe on this site.
Well, that's all for today.
Until next time, tata my lovelies!
Leave a Reply