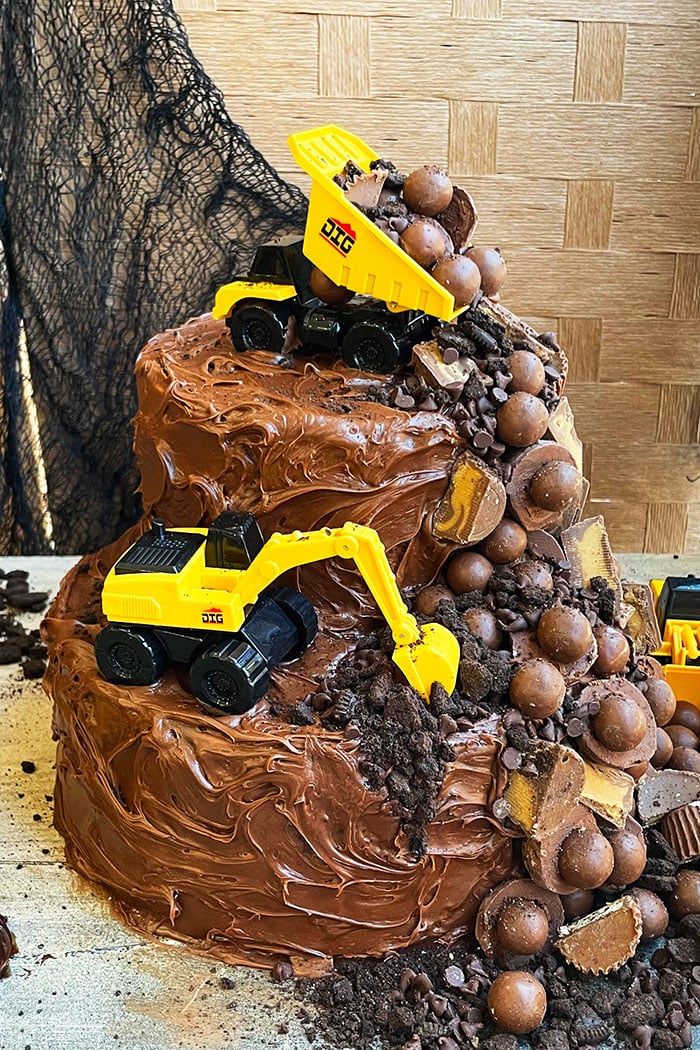
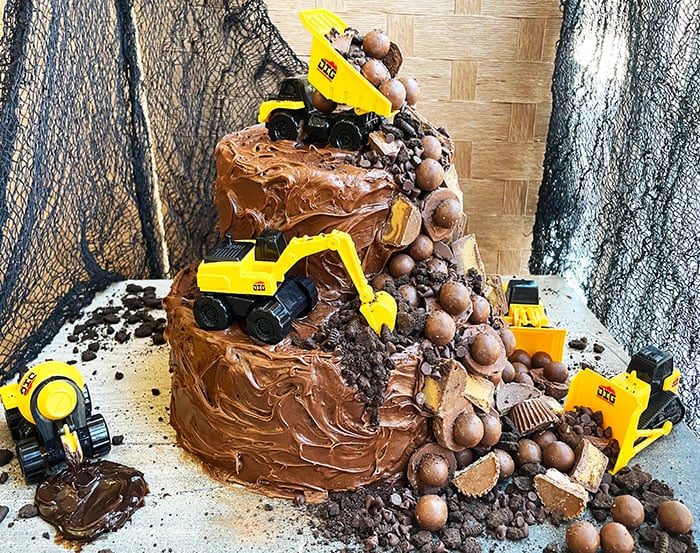
Easy construction cake or excavator cake, homemade with simple ingredients. This birthday cake is composed of two tiers of chocolate cake, chocolate frosting, candies, Oreos and toy trucks.
This cake is what little kid dreams are made of, and possibly some grown up dreams too! It packs a huge visual punch while being rather simple in the construction process- you can decide if that pun was on purpose or not. This Erupting Volcano Cake {With Dry Ice Smoke} and this Easy Monster Cake would also make awe inspiring birthday cakes, and are relatively easy as well.
Want to Save This Recipe?
Enter your email & I'll send it to your inbox. Plus, get great new recipes from me every week!
By submitting this form, you consent to receive emails from CakeWhiz
How To Make Easy Construction Cake Recipe From Scratch?
- Bake cakes- And cool completely.
- Prepare frosting- And chop up some of the candies.
- Fill and frost cakes- In chocolate icing.
- Secure cake- With dowels for support.
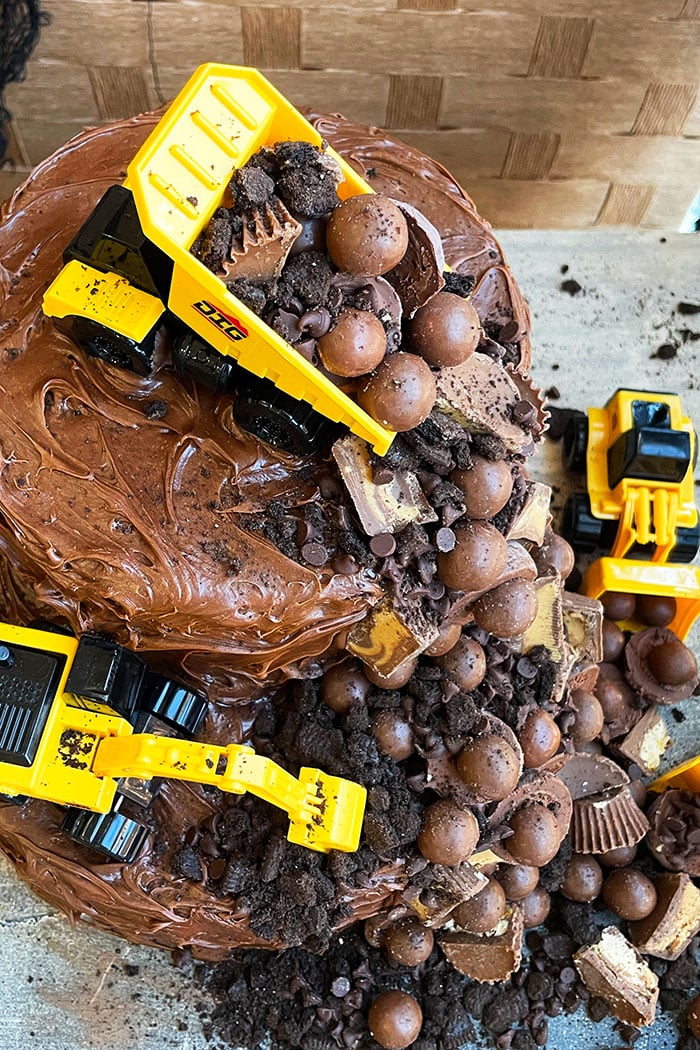
- Create an illusion of a construction site- Add washed toy trucks, candy bars, ganache drips, Oreo crumbs.
- Do this decoration for the cake board- To create a bigger story.
Variations For Excavator Cake For Kids And Adults
Try other frostings- Such as German Chocolate Cake Frosting, Chocolate Ganache Frosting, or Chocolate Cream Cheese Frosting. You can even use other flavors like Easy Mint Frosting, Whipped Cream Frosting, or Caramel Frosting and add food coloring to make it dark brown or black, if you prefer.
Try other cake flavors- Such as this Funfetti Cake, Best Vanilla Cake, or Best Red Velvet Cake
Try other cake sizes- Make a larger cake to feed more people, or make miniature versions for individual portions.
Try other cake shapes- Make a square cake version, or even a number cake in the shape of the child's age!
Make edible fondant trucks- It was too time consuming, so I did not do this. I also wanted to keep the design simple so everyone can make it and kids could even help. However, if this sounds like a good time to you, then you can use Marshmallow Fondant or Modeling Chocolate {Candy Clay} and freehandedly mold.
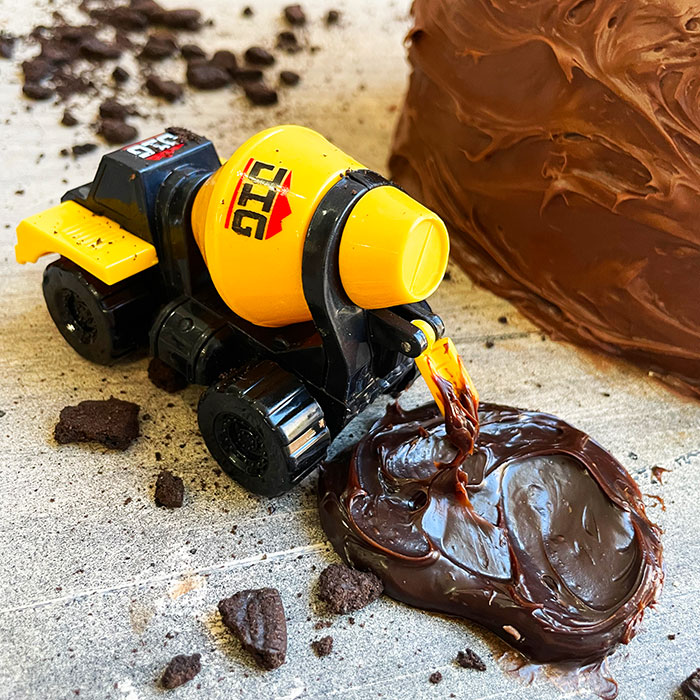
Create a scene- I used a large base board so that we could create the illusion of a construction site. I added rocks, trucks, and ganache dripping from one of the trucks. This way the whole scene tells a story! You would be surprised by how creative kids can get with their stories.
Tips And Techniques For Homemade DIY Construction Birthday Cake
Dowel support is very important- Because otherwise the cakes will collapse or dig into each other. You can use bubble tea straws or wooden dowels. I chose to use bubble tea straws because they are easy to use, convenient, and readily available. They can be cut down to the correct size easily with scissors and there is no possibility of splinters from wood.
Don't decorate warm cake- Because the frosting will melt and slide right off the cake making a mess.
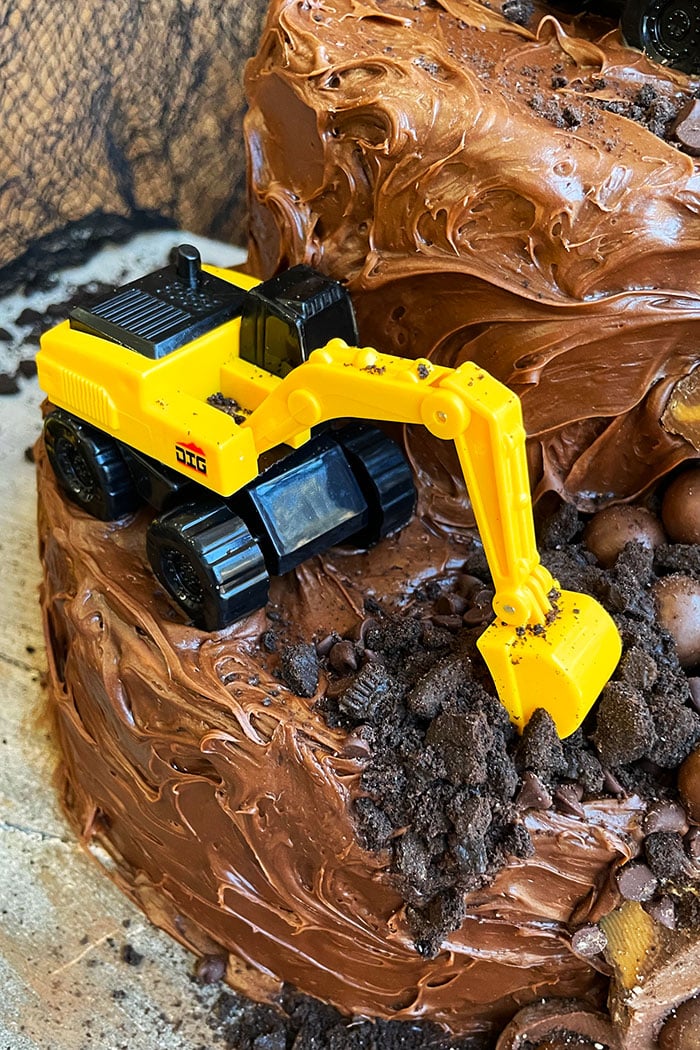
Where to find construction toys? These are from Target and were not that expensive. Amazon or Walmart is another option.
Wash toys before using them- Because no one wants dirty toys on their food, and make sure to pat them dry with paper towels. Excess water can ruin the frosting and make it all runny.
How to make edible dirt? Crushed Oreos is the best option, but you can also crush any cookie that is brown or black like Thin Mint cookies, chocolate teddy grahams, chocolate graham crackers, etc. I have heard of people using black fondant by letting it dry and then crumbling it up to look like dirt, but I have not tried this method. I prefer the use of cookies.
Prepare candies, cookies and frosting while cakes cool- Because this saves time and makes decorating at the end easy and efficient.
What kind of candies to use? I used mini Reese's, Whoppers, Lindt truffles, and mini chocolate chips but you can get as creative as you like.
Storage For Construction Themed Cake
Make ahead instructions- This cake can be baked and decorated 1 day in advance and stored at room temperature for 8-10 hours as long as there are no perishable fillings.
Refrigerate- Leftovers can be stored in a sealed container in the fridge for up to 3 days.
Freeze- Store unfrosted cakes and frostings in sealed containers for up to 1 month. Thaw in fridge and decorate when needed, using instructions below.
More Easy Decorated Birthday Cakes
- Easy Pig Cake {Fondant Pig Topper}
- Easy Emoji Cake {Poop Cake}
- Easy Pokemon Cake {Pokeball Cake}
- Easy Sushi Cake {Fun For Birthdays}
- Easy Cereal Cake
Recipe
Easy Construction Cake (Excavator Cake)
Want to Save This Recipe?
Enter your email & I'll send it to your inbox. Plus, get great new recipes from me every week!
By submitting this form, you consent to receive emails from CakeWhiz
Ingredients
- 2 Chocolate cakes Dimensions: 8x3 and 4x3
- 6-7 cups Chocolate buttercream frosting
- 2-3 cups Chocolate candies Such as mini Reese's, Whoppers, Lindt truffles, mini chocolate chips
- 1 cup Oreo crumbs
- ⅓ cup Chocolate ganache
Instructions
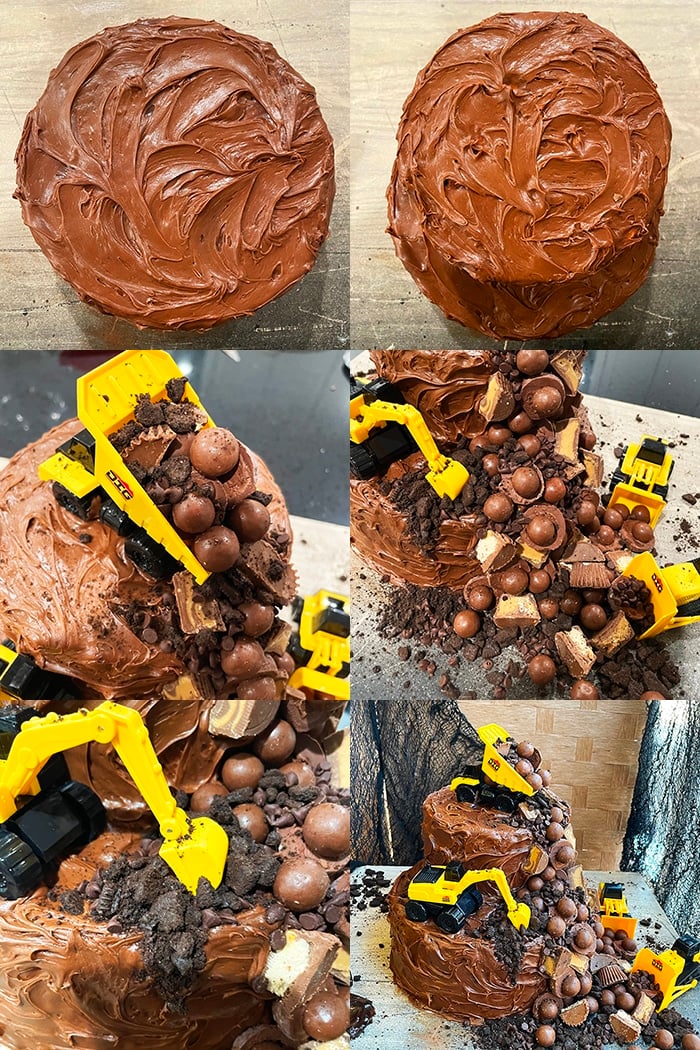
- Bake cakes and allow them to cool completely.
- While the cakes are cooling, prepare the frosting and chop up some of the candies in half.
- Place each cake on a round cardboard cake board that's the same size as the cake.
- Cut each cake in half horizontally and spread icing on top.
- Place the other half of each cake on top and press gently to secure together.
- Ice both cakes fully in icing and use the back of a spoon to create a rustic pattern.
- Place the 8 inch cake on a large serving board.
- Stick 4 dowels or bubble tea straws in the center of the cake and cut straws to the correct height.
- Place the other 4 inch cake on top of the dowels and press gently to stick the 2 tiers together.
- Place the washed toy trucks on the cake and on the large cake board.
- Create an illusion of a construction site by sticking chopped up candy bars on cake to represent large stones and sprinkle Oreo crumbs for dirt. Create a puddle of ganache around some of the trucks to represent wet cement.
- Do this decoration for the tiered cake and the large board as well to create a bigger story. Enjoy!
Notes
- Read all my tips above.
- Leftovers can be stored in a sealed container in the fridge for up to 3 days.
Nutrition
An automated tool is used to calculate the nutritional information. As such, I cannot guarantee the accuracy of the nutritional information provided for any recipe on this site.

Heather
I have a question...maybe a few.
1. If the cakes are on cardboard cake boards, how do we "attach" the smaller cake to the dowels/straws of the larger cake? Or, are they only on the cake boards to frost them?
2. How far into the bottom cake and the top cake do the straws need to go? All the way through to the top of each cake?
This is the first time doing anything like this, so I apologize if my questions seem absurd, obvious, or dumb.
Abeer Rizvi
Hi Heather, These are not dumb questions at all.
1. You will not remove the cake board. You will take the entire frosted smaller cake with its cake board and place it on top of the larger frosted cake. The larger cake's frosting works like glue and holds the 2 cake tiers together.
2. The dowels or bubble tea straws are in the bottom larger cake. They should be cut to the exact height of the cake. This smaller cake sits on top of those dowels.
Heather
Thank you. Very helpful.
Sharron H
I can't believe I was able to make this cake! My son loved it and it was really easy to make, thanks to your instructions!
Journa Liz Ramirez
My son enjoyed his birthday because of this brilliant cake! It was so creative and delightful. A crowd favorite!
Sharina
I enjoyed making this easy construction cake! It was so decadent and pleasing. Excited to have this again, a crowd favorite!