Learn how to use stencils and edible sprays on fondant and buttercream icing. It's a quick, easy cake decorating technique for beginners.
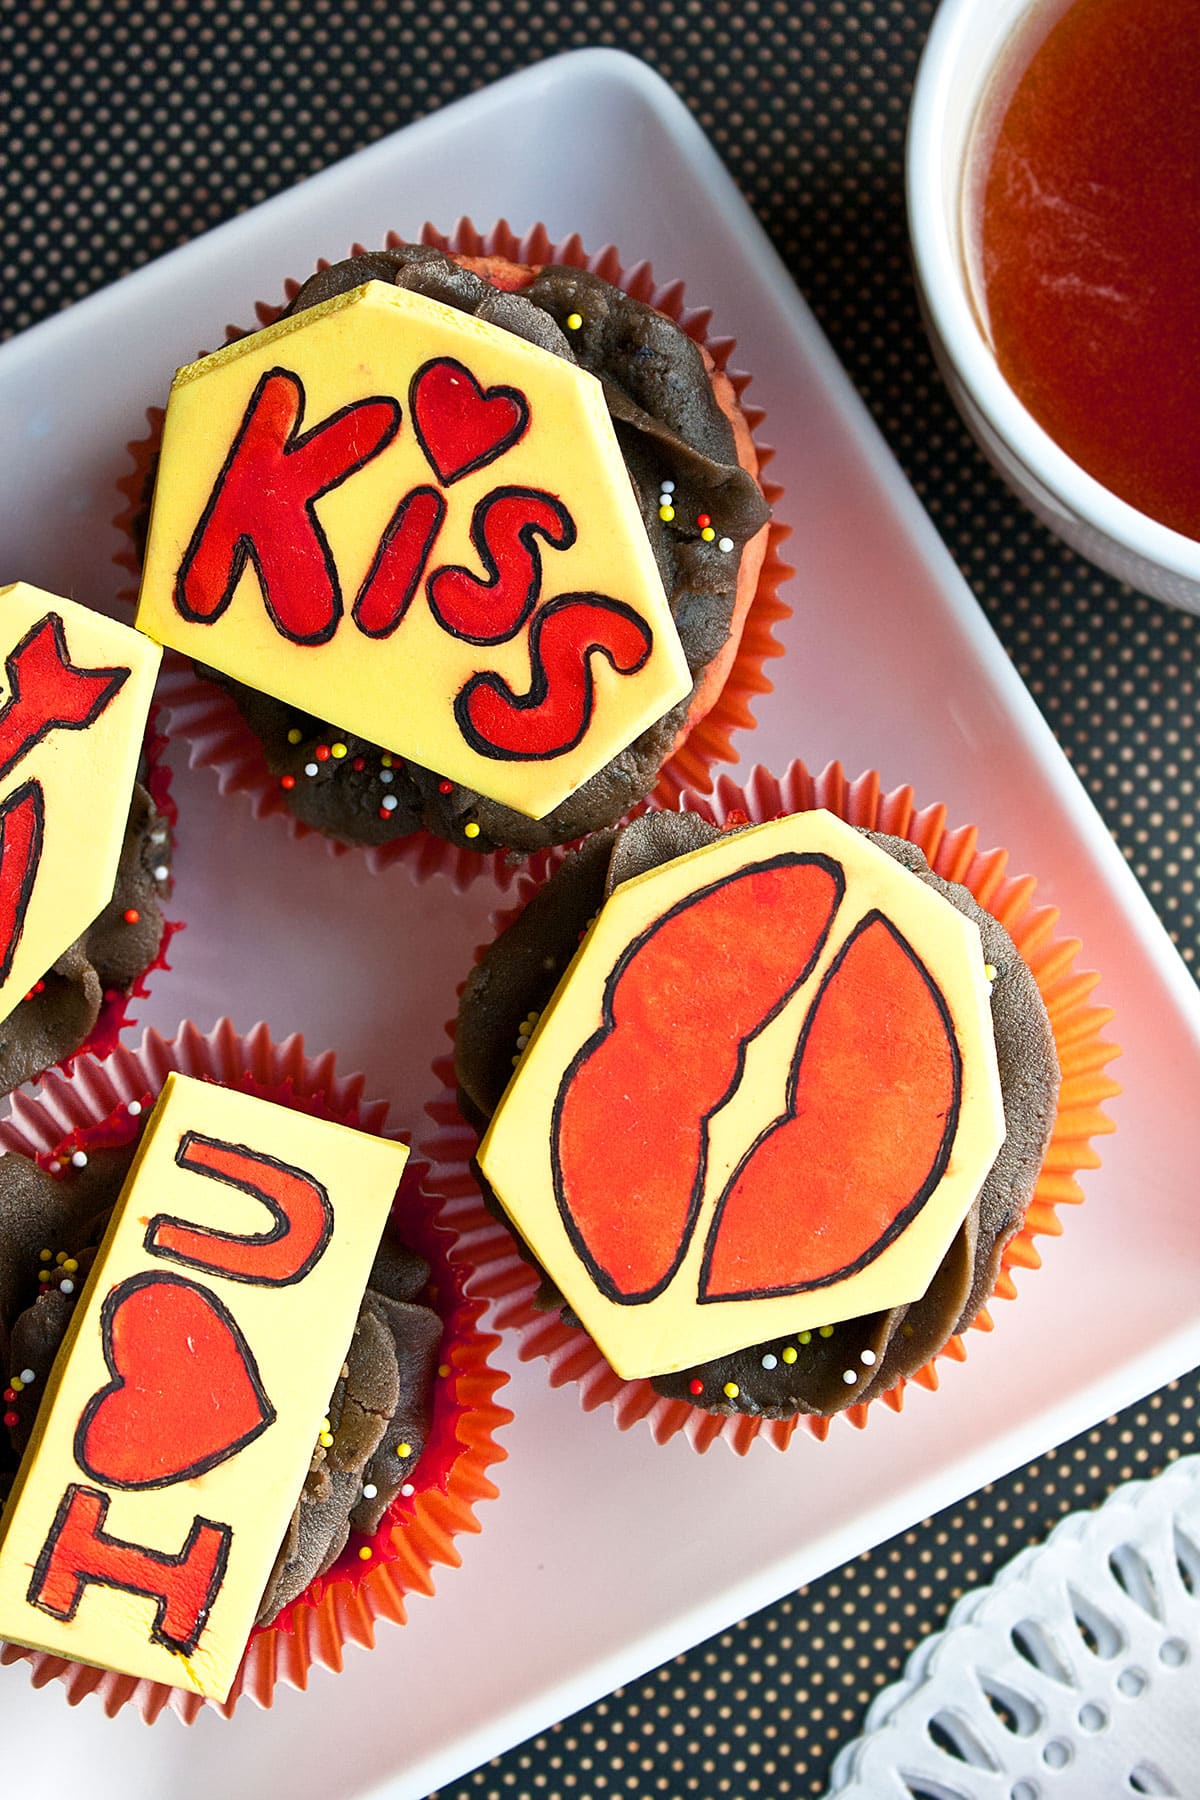
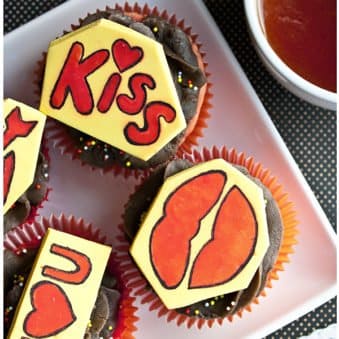
I have recently learnt how to use cake stencils with edible sprays and it's become my new obsession! Mostly, cake stencils are used with royal icing but I love using edible sprays. You can use them to get an "airbrushed" effect on your desserts without actually using an expensive airbrush machine. It's also much faster and easier! I am using Wilton's edible sprays called "Color Mist" because they are cheaper than all the other brands, and the quality looks pretty good to me. For this project, I decorated with red edible spray and Valentine's day stencils. I also gave the designs some extra definition by outlining them with a black edible marker. For more decorating tips, check out this How to Frost a Cake Smoothly tutorial.
Want to Save This Recipe?
Enter your email & I'll send it to your inbox. Plus, get great new recipes from me every week!
By submitting this form, you consent to receive emails from CakeWhiz
Table of contents
How to use stencils for cake decorating on fondant?
If you are using them on fondant covered cakes, make sure the cake is already filled, frosted and covered in fondant smoothly. Allow it to air-dry for about 10 minutes to get rid of any moisture. Now, you can decide whether you want to create the pattern with royal icing, buttercream icing or edible sprays. Then, pin the stencil on the cake. If you chose to use buttercream icing or royal icing, spread a very thin coating of thick icing with a spatula. Wipe spatula and use it to scrape off excess. Remove the pins and gently peel off the stencil. If you chose edible sprays, just spray on top of the stencil from a distance. Remove the pins and gently peel off the stencil. Do not touch until the spray has dried.
How to use stencils for decorating on buttercream icing?
Make sure to chill your frosted cakes and cupcakes in the freezer for up to 30 minutes to let the icing harden. Only then you can place the stencil on it for decorating. If you place a stencil on wet icing, it will stick to the icing and ruin the design you have created.
Key ingredients
- Dessert- Cake, cupcakes, or whatever you are stenciling. I used brownie cupcakes here.
- Edible spray- I like Wilton's sprays best.
Variations
Use stencils on cookies with icing that dries hard- First flood the cookies with Royal Icing or Glace Icing so you have a smooth surface to work with. Let this icing set and dry. Then, place the stencil on top of the iced cookie. Hold it securely with your fingers. Use a spatula to spread a very thin coating of thick royal icing or glace icing. Then, peel off the stencil gently.
Use cake stencils with cocoa powder or powdered sugar or edible glitter or sprinkles- Please note that these don't like to stay in place and can sometimes move/spread and ruin the pattern, especially upon abrupt movement or transportation to the venue. Your dessert should be iced in frosting and chilled in the freezer for 20-30 minutes until it's firm. Place the stencil on top of the icing and sprinkle cocoa powder or powdered sugar through a fine mesh sieve until stencil is covered in a thin coating. Then, gently peel away the stencil, being very careful not to distribute or spread the topping. If you are using sprinkles of edible glitter, use a spoon to sprinkle them on top of the stencil as evenly as possible in the design cut out portion and then, peel off the stencil carefully.
Use an airbrush machine- Instead of edible spray bottles like Wilton's Color Mist.
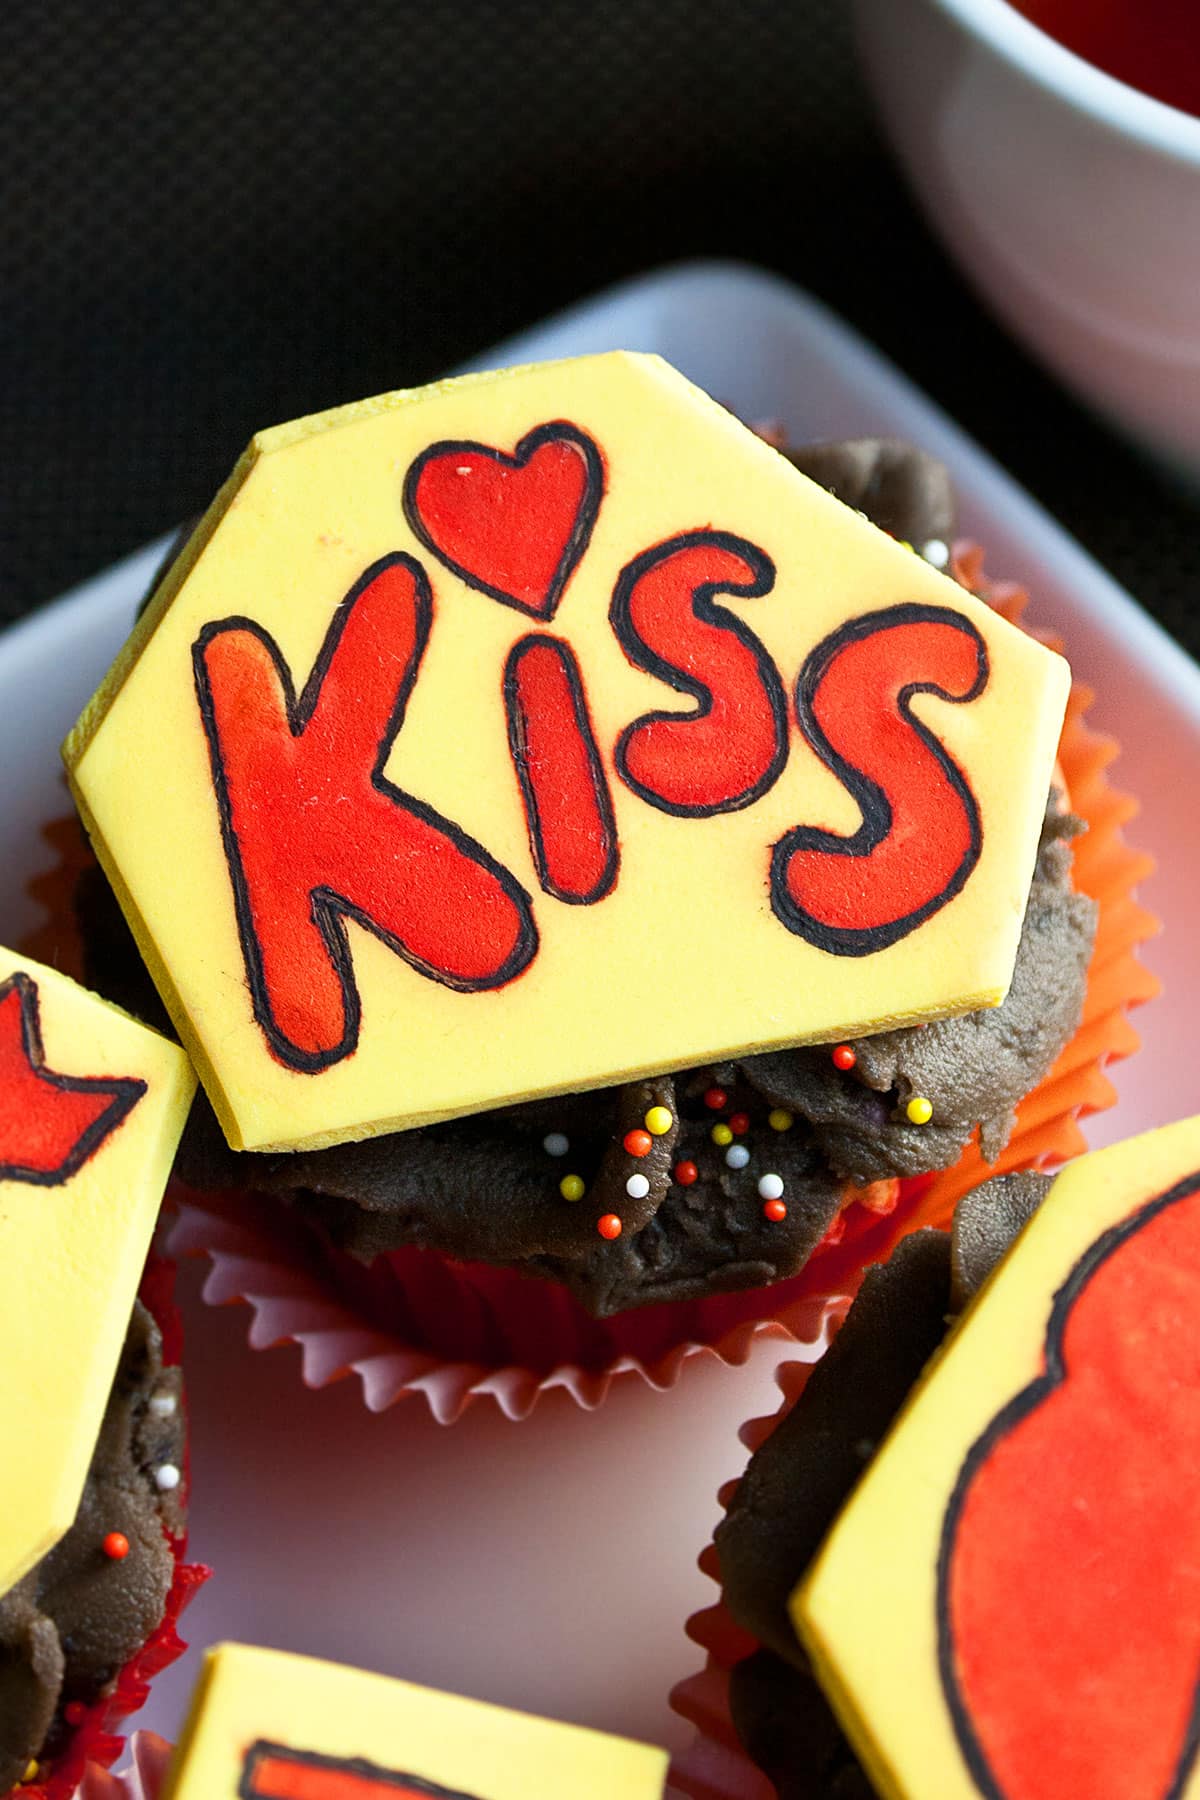
Trace the outline- Use an edible marker to make the outline of your stencil crisp and to make it stand out.
Tips and techniques
Work in an open, ventilated area- Because the fumes of these edible sprays have a surprisingly strong odor.
Make sure your work area is covered in newspaper or scrap paper- Because you don't want the spray residue to splatter everywhere.
Edible sprays are very easy to clean- Just use a cleaning wipe or a wet cloth.
Make sure to shake your bottle before spraying- Because this ensures that the mixture gets mixed properly. I forgot to do this one time and I got weird splatters on my cake.
Spray on a scrap piece of paper or scrap fondant piece before you spray on your actual dessert- Because this allows you to get an idea of how you should be holding the bottle, the amount of pressure you should be applying e.t.c.
Don't spray on your cake or fondant piece too closely- These sprays work best when you are spraying from a little distance. About 6 -8 inches from your work surface.
Don't over-spray! Because spraying too much creates puddles of paint ,and that doesn't look pretty after it's dry!
Don't touch your cake or fondant pieces immediately after spraying them- Let them air dry for 10-15 minutes or else you will end up with smudges.
Make sure the stencil is flush against the top of your dessert- Because this prevents the spray from seeping underneath and making a mess.
Storage
Refrigerate- In a covered box for 2-3 days, but please note that fondant decorations will become slightly sticky due to the moisture in the refrigerator.
Freeze- In a sealed container for up to 1 month, but the fondant will become slightly sticky from moisture while thawing.
More cake decorating tutorials
- How to Make Ombre Cake (Blue)
- How to Make Buttercream Flowers (Russian Piping Tips)
- How to Marble Fondant
- How to Color Fondant
Recipe
How to Use Stencils For Cake Decorating
Want to Save This Recipe?
Enter your email & I'll send it to your inbox. Plus, get great new recipes from me every week!
By submitting this form, you consent to receive emails from CakeWhiz
Ingredients
- 12 Brownie cupcakes
- 4 cups Chocolate frosting
- 2 cups Marshmallow fondant Yellow
Instructions
- Bake your cupcakes and allow them to cool completely.
- White cupcakes are baking and cooling, prepare the frosting and make stencilled cupcake toppers
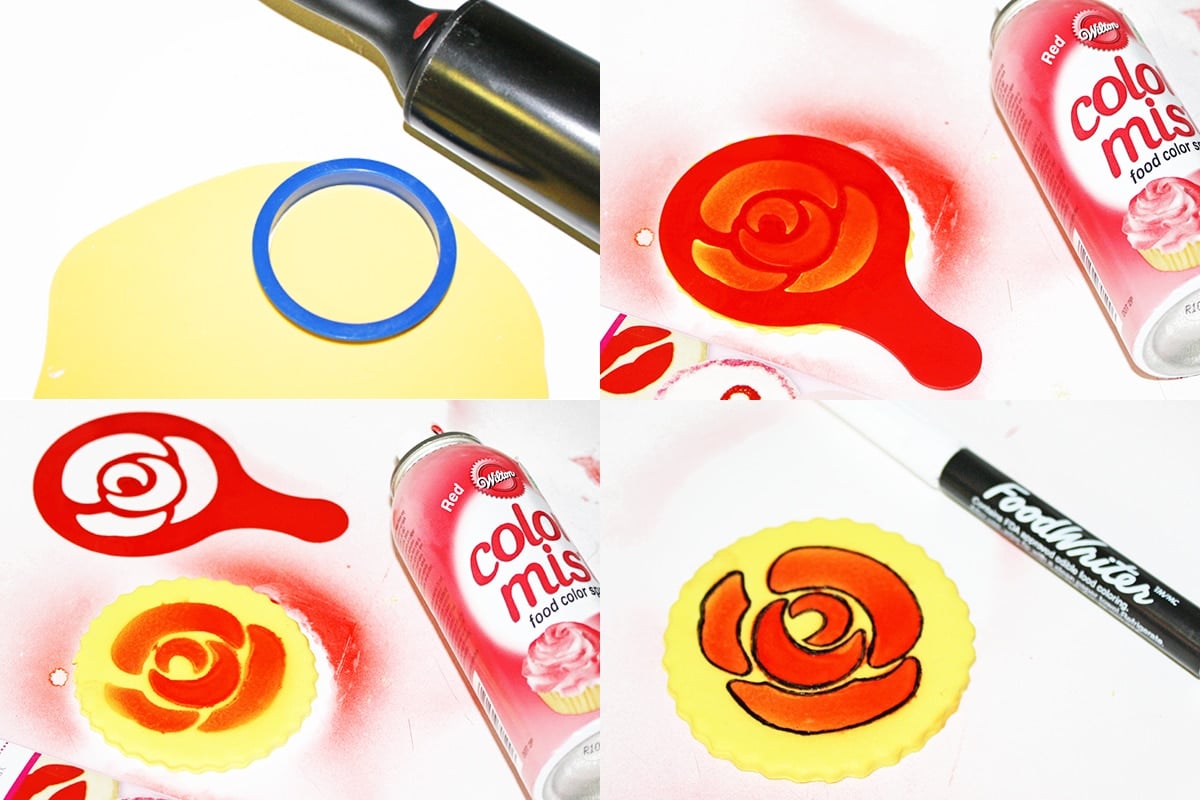
- Roll out yellow fondant.
- Use a circle cutter to cut out a piece.
- Place your stencil on top of the fondant piece.
- Then, shake your spray bottle and spray on top of your stencil. Make sure your stencil doesn't move while you are spraying.You can secure it in place by taping it down with some tape if you like or use your fingers.
- Once you are done spraying, gently peel the stencil from your fondant piece.
- Let the color dry for 10-15 minutes.
- Outline the design with a black edible marker. This step is optional but I think it gave these designs some extra definition.
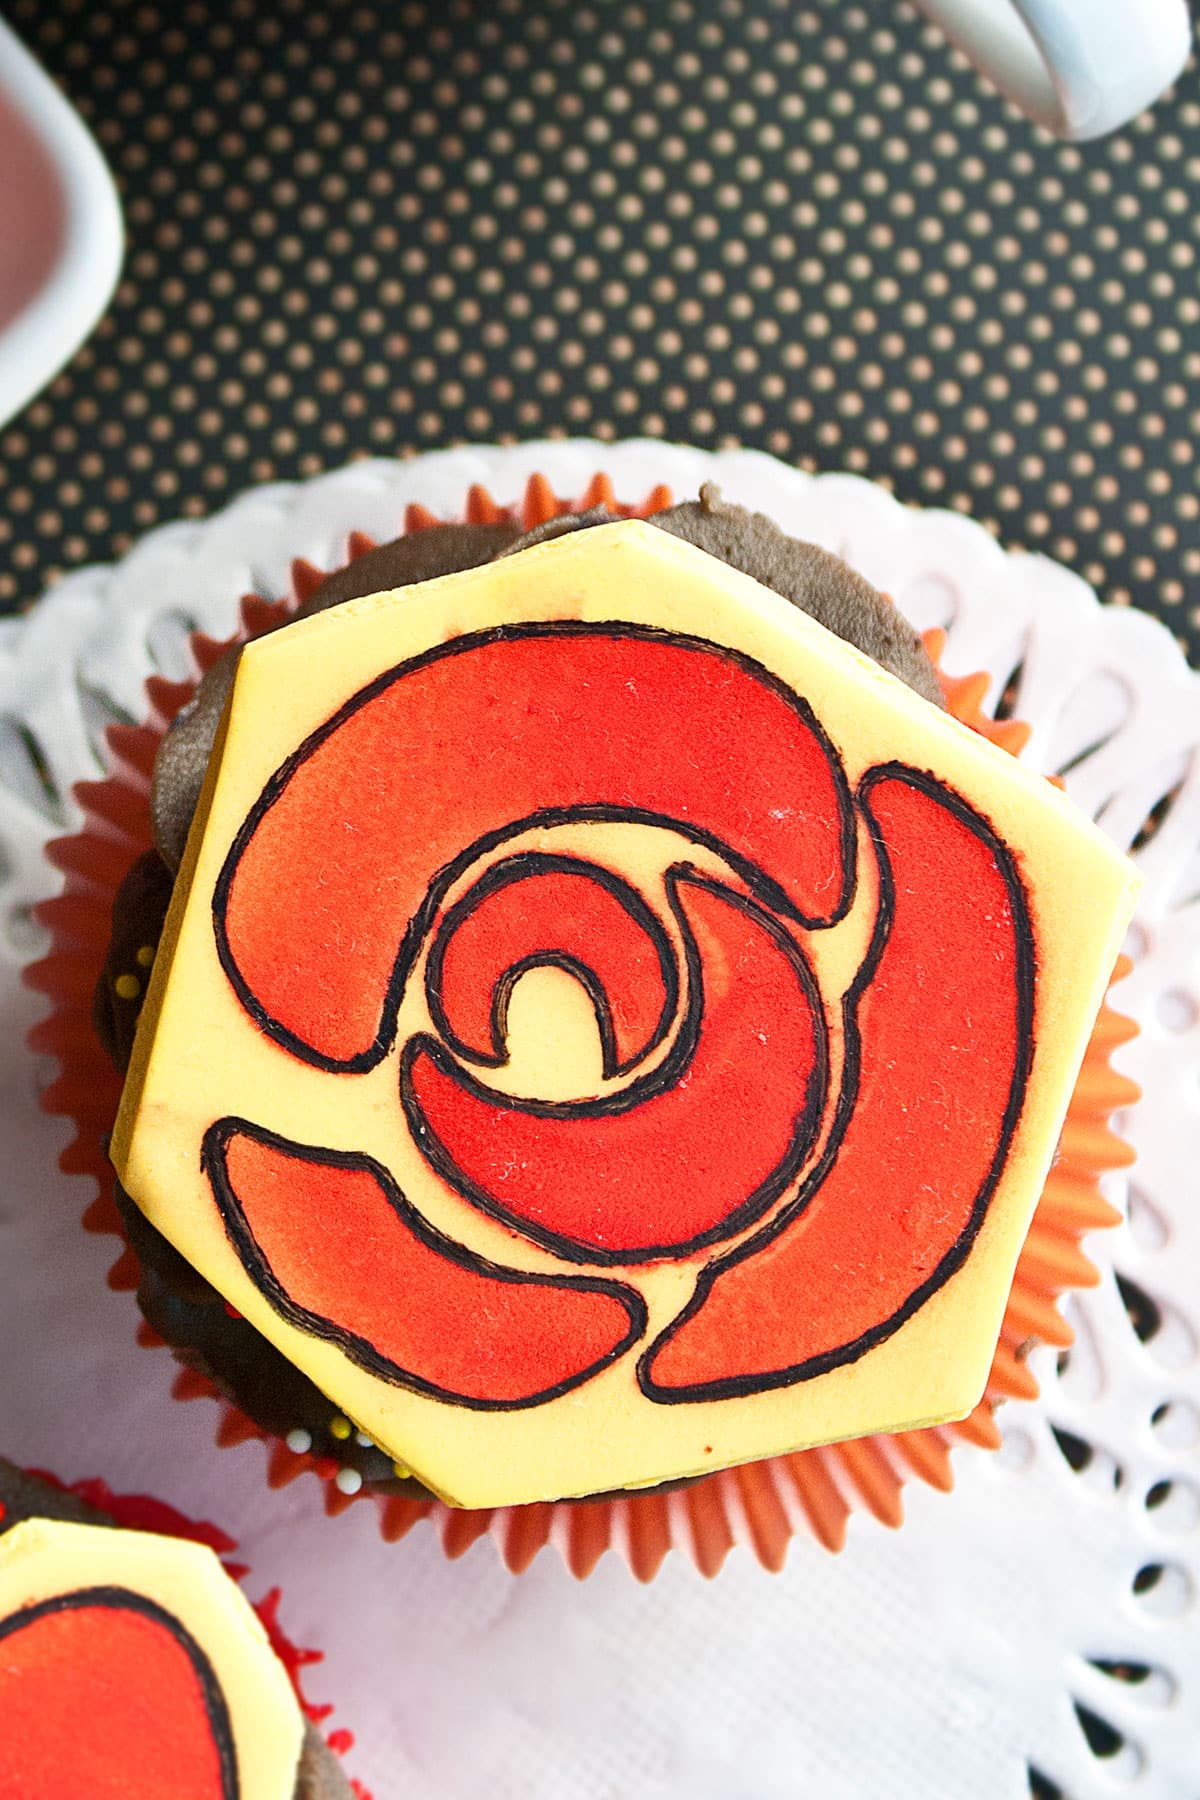
- Use a knife to cut your fondant piece into a random abstract shape. This step is optional too and you are more than welcome to use the round fondant piece, as is.
- To assemble cupcakes, pipe swirl of chocolate icing on top of each cupcake, toss some sprinkles if you like. Then, place a stencilled topper on top of each cupcake. Enjoy.
Notes
- Read all my tips above.
- Leftovers can be stored in a covered box in the fridge for 2-3 days but please note that fondant decorations will become slightly sticky due to the moisture in the refrigerator.
- Work in a ventilated area because the fumes have a strong odor.
- Make sure your work area is covered in newspaper or scrap paper.
- Don't spray too closely. About 6 -8 inches away is best.
- Don't over-spray because that can create puddles of color.
Nutrition
An automated tool is used to calculate the nutritional information. As such, I cannot guarantee the accuracy of the nutritional information provided for any recipe on this site.



Sweet E
These tips on utilizing cake stencils and edible sprays are incredibly helpful. The clear instructions make it easy to add a creative touch to baked goods. Great insights!

Kayle
prrreeeetty!!
I Wilkerson
I may have to try the stencils and spray--looks like something that might be realistic for me. I did post today on the chocolate transfer sheets--I knew you were interested in that.