Learn how to color fondant with gel food coloring for your cake decorating projects. Follow these easy tips to prevent a sticky mess and always get deep, dark vibrant colors.
Want to Save This Recipe?
Enter your email & I'll send it to your inbox. Plus, get great new recipes from me every week!
By submitting this form, you consent to receive emails from CakeWhiz
As I continue baking and cake decorating, I am learning so many new things and I love sharing them with you. You guys might also find these tutorials helpful: How to Marble Fondant For Cakes and How to Pipe Cake Borders (Buttercream) and this one on How to Make Gold Cake (With Edible Spray).
Jump to:
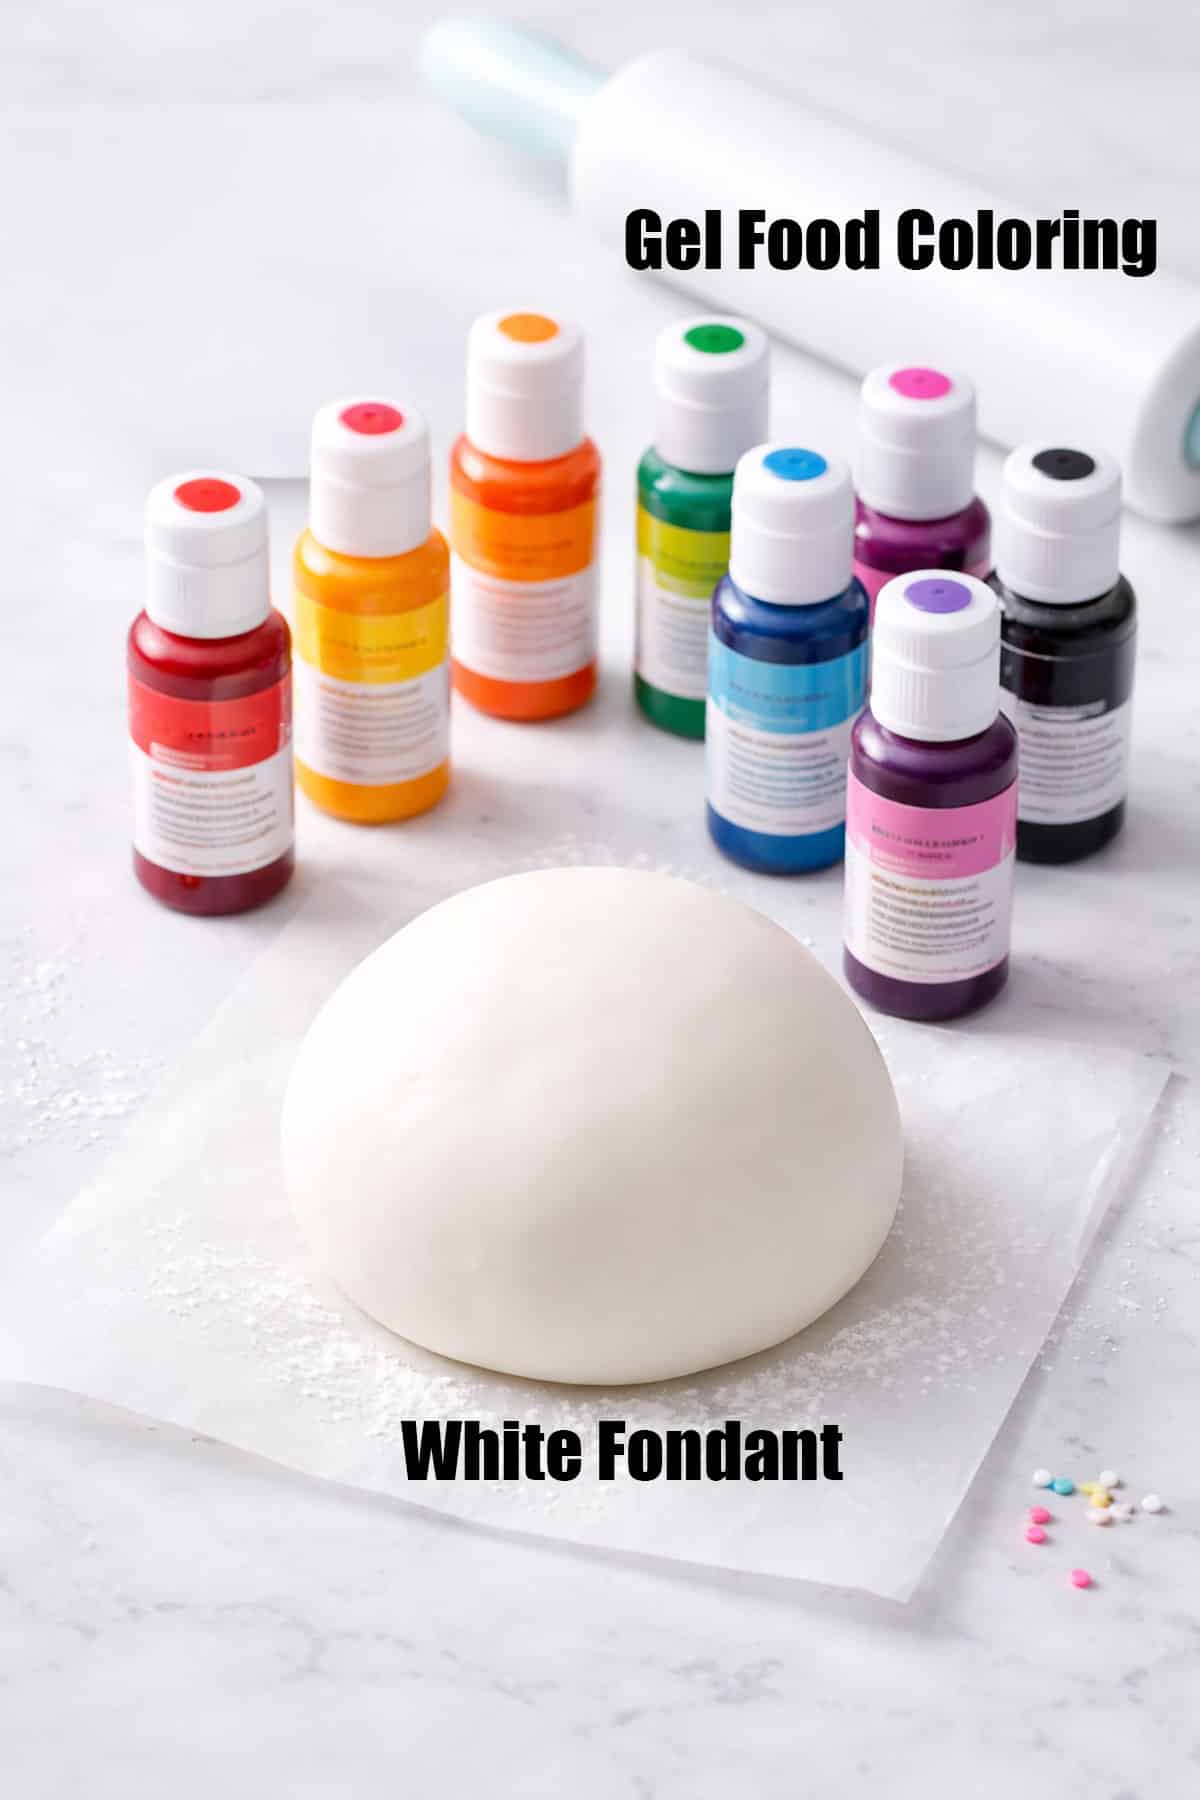
Key ingredients
- Fondant- This should be a neutral white. It can be homemade or store-bought.
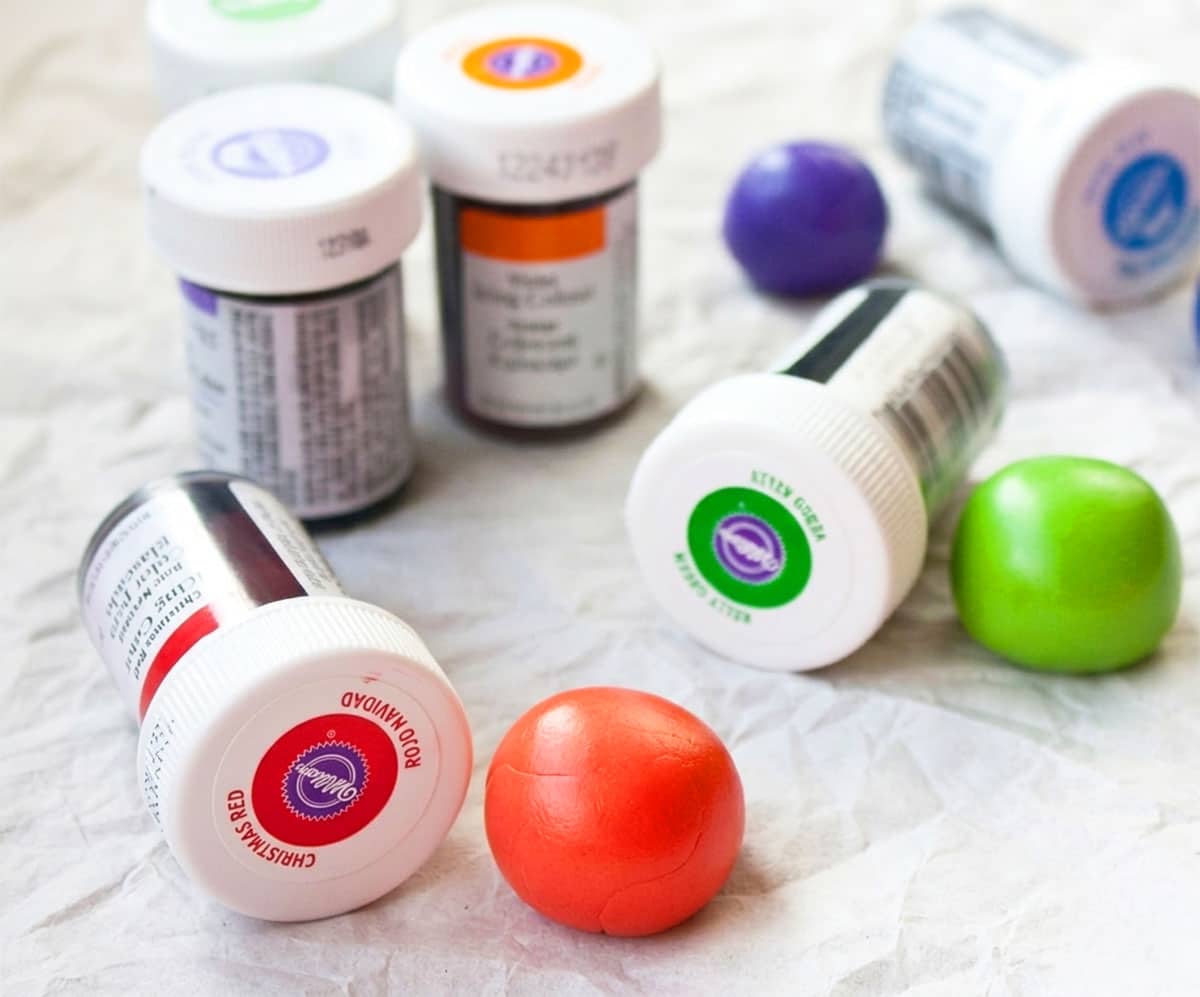
- Gel food coloring- Use whatever shade you like and whatever brand you prefer.
How to color fondant?
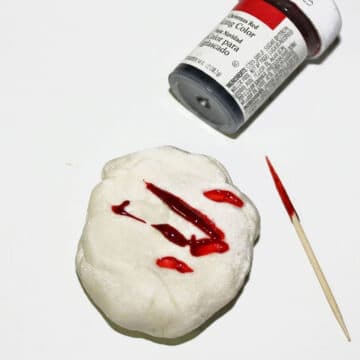
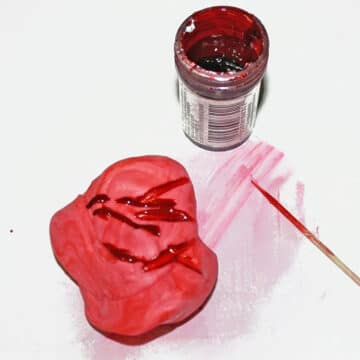
1. Add color- If you are using a squeeze bottle, add a few drops. If you are using the small jar, use a toothpick to add color. Don't double dip. Next, r Knead in a little bit of gel food coloring into your fondant. The warmth of your hands will make it more pliable.
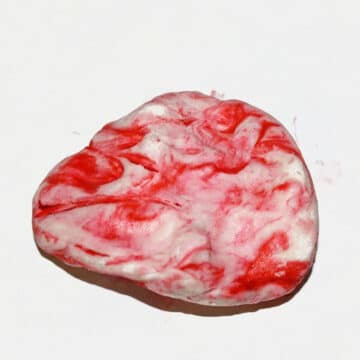
2. Knead color- Rub your work surface with some shortening to prevent stickiness. Some people sprinkle powdered sugar. Now, use your hands to knead the color thoroughly until evenly distributed.
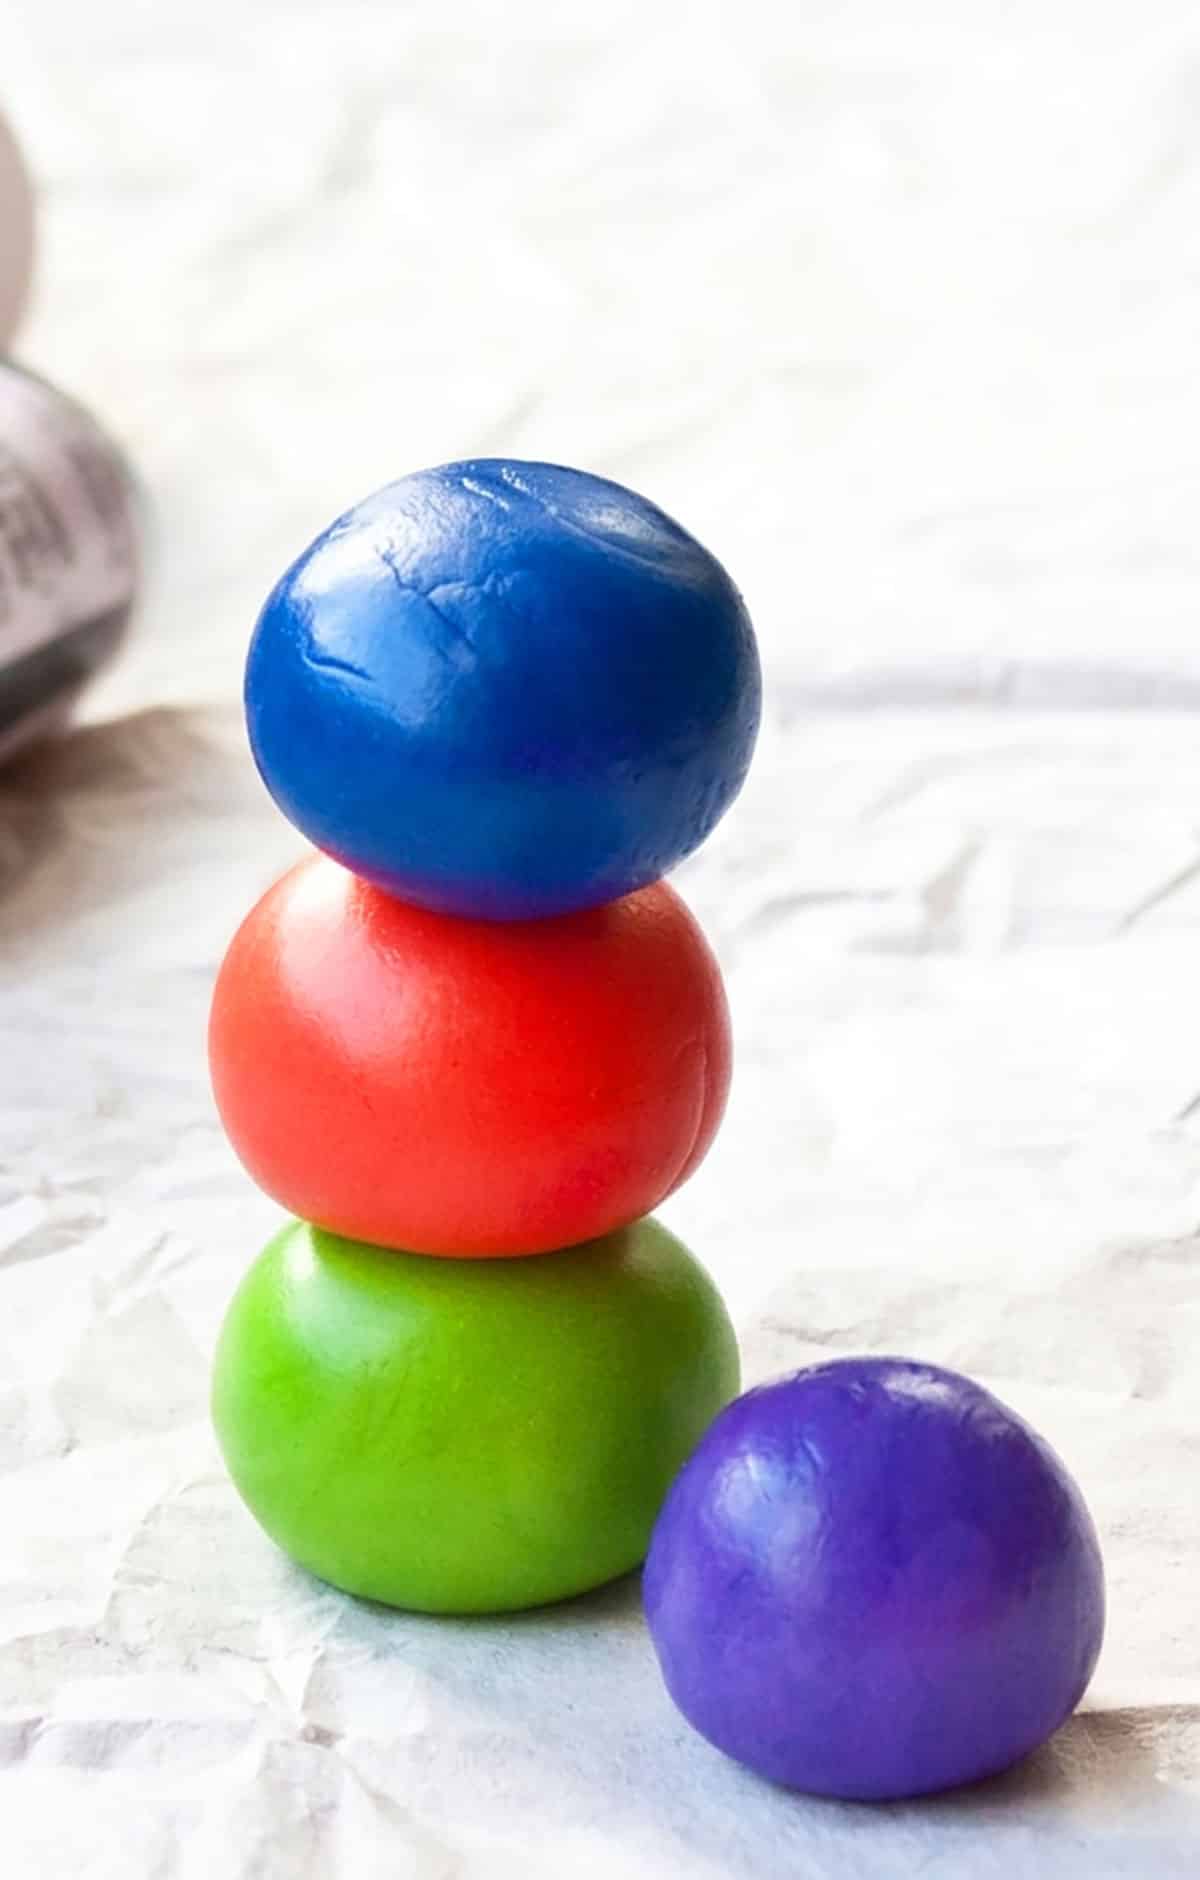
3. Add more color if necessary- If the shade is too light, add some more color and knead again until you have the desired shade.
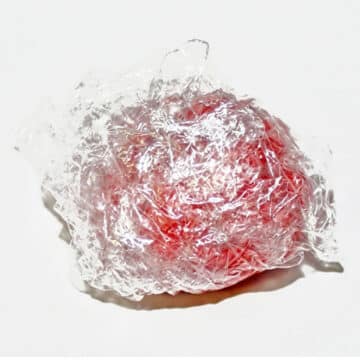
4. Use immediately or store for later- Fondant dries quickly. If you are not using it right away, wrap tightly in saran wrap and keep at room temperature away from direct heat, sunlight and moisture.
What type of fondant to use?
You can use a store-bought brand or make a homemade version. Some of my favorite store-bought brands are as Satin Ice, Wilton, Cake Craft and Sunny Side Up. They come in the classic white color or you can buy their pre-colored ones, which are a great option in a time crunch. Try a few different brands yourself to see which one works best for you in terms of texture, flavor and smell. I like to make my own easy Homemade Marshmallow Fondant (MMF). It tastes great and is also super cheap to prepare and very pliable.
Best brands of gel food coloring
Some of my favorites are AmeriColor, Chefmaster, Sunny Side Up and Wilton. These range in prices and also sizes. I highly recommend using squeeze bottles. When I first started cake decorating, these weren't as easily available and we had to use toothpicks to add some gel from a small bottle onto fondant. It was so messy.
Tips and techniques
- Don't ever use liquid food coloring- You will end up with such a sticky mess.
- Prevent stickiness- By applying a small amount of shortening to your hands and work area. Another option is to sprinkle some powdered sugar or cornstarch. Please note that powdered sugar and cornstarch can dry out the fondant if used too generously.
- Knead fondant before tinting- This is because the warmth of your hands makes it soft and pliable. This allows you to incorporate the color seamlessly and effortlessly.
- Resting period matters- Let the tinted fondant sit for a few hours or even a few days. This allows the shade to develop and intensify.
- To make intense dark colors- You will have to increase the quantity of the food coloring and you will also have to increase the resting time period. Even then, shades like black and red are very hard to achieve at home. I recommend buying those two shades pre-tinted. It's just not worth the time trying to make those two at home. I have tried and failed many times.
- You can mix different colors- To create your own unique shades.
- Gel colors are concentrated- This means a little goes a long way. Start by adding a small amount and add more, as necessary. Your bottles will last you a long time.
- I highly recommend wearing disposable gloves- Especially if you are making dark shades. These colors will stain your nails and fingers and it takes quite a few washings to get rid of them.
- If your work area gets stained- Just wiping with a wet cloth doesn't work. However, these stains can easily be removed with a strong cleaning spray. Better yet, protect your counters by lining your work area with a silicon mat that you can wash with soap and water later.
- If you are making a large quantity of the same color- It's best to just add that gel color when you are mixing in all the ingredients. You will already be kneading and mixing the marshmallows and sugar. You might as well add color too, just so you don't have to do it later.
- Natural color alternatives- I really don't like them nor do I recommend them. They are usually made with beets, turmeric and are yield very dull shades.
Storage
- Room temperature- For best storage, wrap unused tinted fondant tightly in plastic saran wrap and then place in a sealed container. Store this away from direct sunlight, heat and moisture.
- Refrigerate- This is not recommended since the moisture from the refrigerator can make fondant sticky.
- Freeze- This is not recommended since the fondant can become sticky upon thawing.
- Make ahead- Tinted fondant can easily be prepared 1-2 day in advance.

Melissa
I find it helpful to add the gel coloring while the marshmallows are in a gooey state before mixing in the powdered sugar. The distribution of color is achieved much quicker without streaking. But only add it in small increments as to not over color. Or to not make to intense.
Glory
Thank you so much for this tips, please what if I over added my gel colour and my fondant became much wet, what do I do to revive it.
Abeer Rizvi
You can mix in powdered sugar to reduce the stickiness and that would greatly help in handling it easily again.
Paulette
Hi thanks for the great tips, just wondering if you have a recipe for the marshmallow fondant, if you woul'nt mind sharing with me, cause I always buy mine and it is fairly costly. Please and Thank you
Abeer Rizvi
Yes, here's my recipe. It's so good and so cheap! https://cakewhiz.com/how-to-make-marshmallow-fondant/
Lisha
Hi there! I have little edible figures that’s already painted red. I couldn’t find them in cerise pink. How can I repaint them?
Abeer Rizvi
You will have wait to paint until the figures are fully dry and then you can paint them with vodka and food coloring mixed together.
ether
what makes colored fondant shine?
Abeer Rizvi
You can brush edible luster dust all over the fondant-covered cakes and that gives it a shine.
Lesley
When you cut out fondant to apply it to your cake how does it stick to the cake
Abeer Rizvi
The icing on the cake acts like a glue and the fondant sticks to that.
Bb
I have used gel coloring in melted dipping chocolate many times without issue. I would however, not use it in legitimate chocolate.
Jennifer Hamm
MMF actually freezes very well. Wrap it tightly in Satan wrap and then put into a freezer bag, making sure to squeeze all the air out. Freeze. When you're ready to use again, take it out of the freezer bag (this is where the condensation will form) and allow to come to room temperature. Use as needed.
Abeer Rizvi
Thank you for sharing that tip! I have to try it for sure.