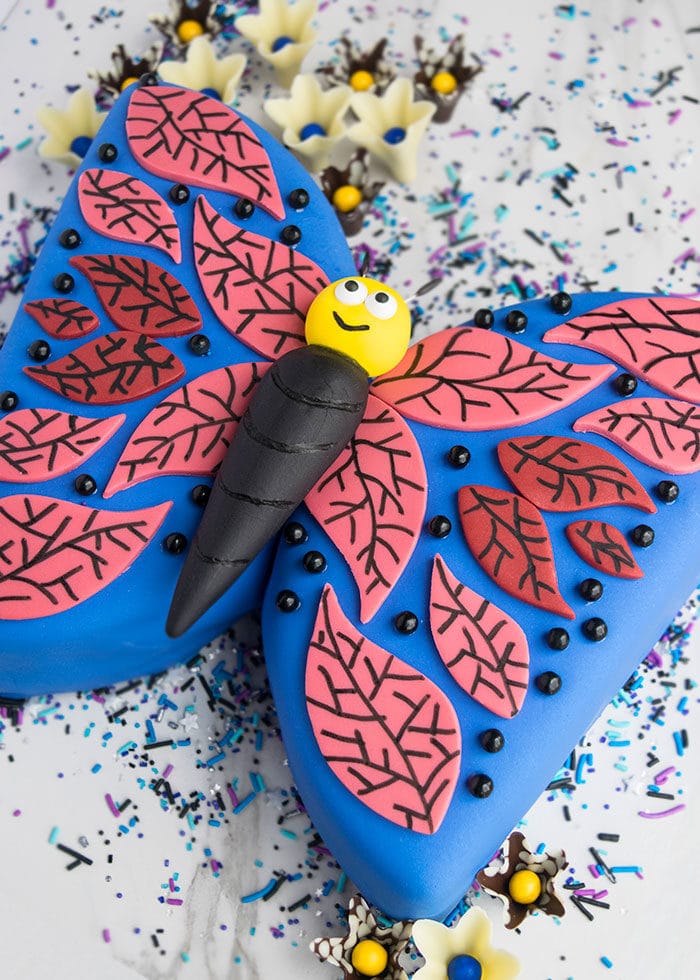
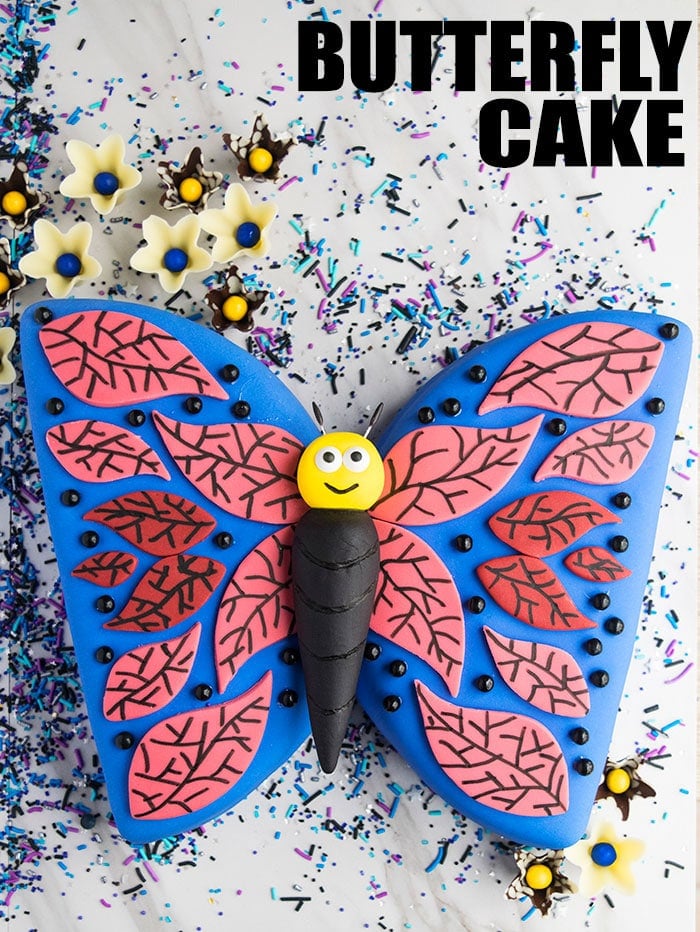
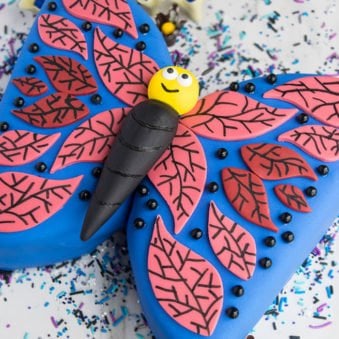
Use this step by step cake decorating tutorial to learn how to make an easy butterfly cake. It requires simple supplies and is great for Spring/ Summer birthday parties.
*Thanks Mona Lisa® for sponsoring today's post so that I can show you how to make this decorated cake. As always, all opinions are mine.*
Want to Save This Recipe?
Enter your email & I'll send it to your inbox. Plus, get great new recipes from me every week!
By submitting this form, you consent to receive emails from CakeWhiz
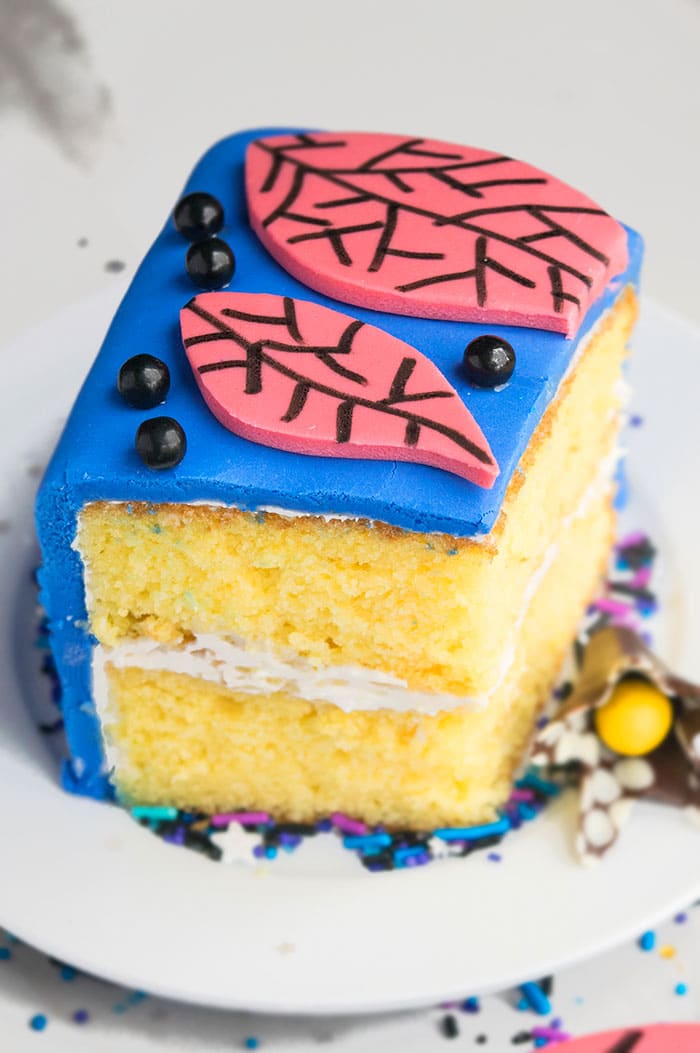
Today's tutorial is perfect for this time of the year with Spring in full force and Easter around the corner. It's just as fun as this Back to School Pencil Cake. My favorite thing about this cake is that you don't need any special tools or pans. All you need is a round cake, which can be decorated with fondant, black edible marker and black sprinkles. Even beginners can make this one!
Jump to:
Key ingredients
- Cake- This should be a round cake in any flavor you like.
- Frosting- You will need this to fill and frost the whole cake.
- Sprinkles- Pick bright colors.
- Fondant- You will need a variety of colors.
- Corn syrup- This works really well as edible glue to stick fondant pieces on cake.
How to make easy butterfly cake using a round cake?
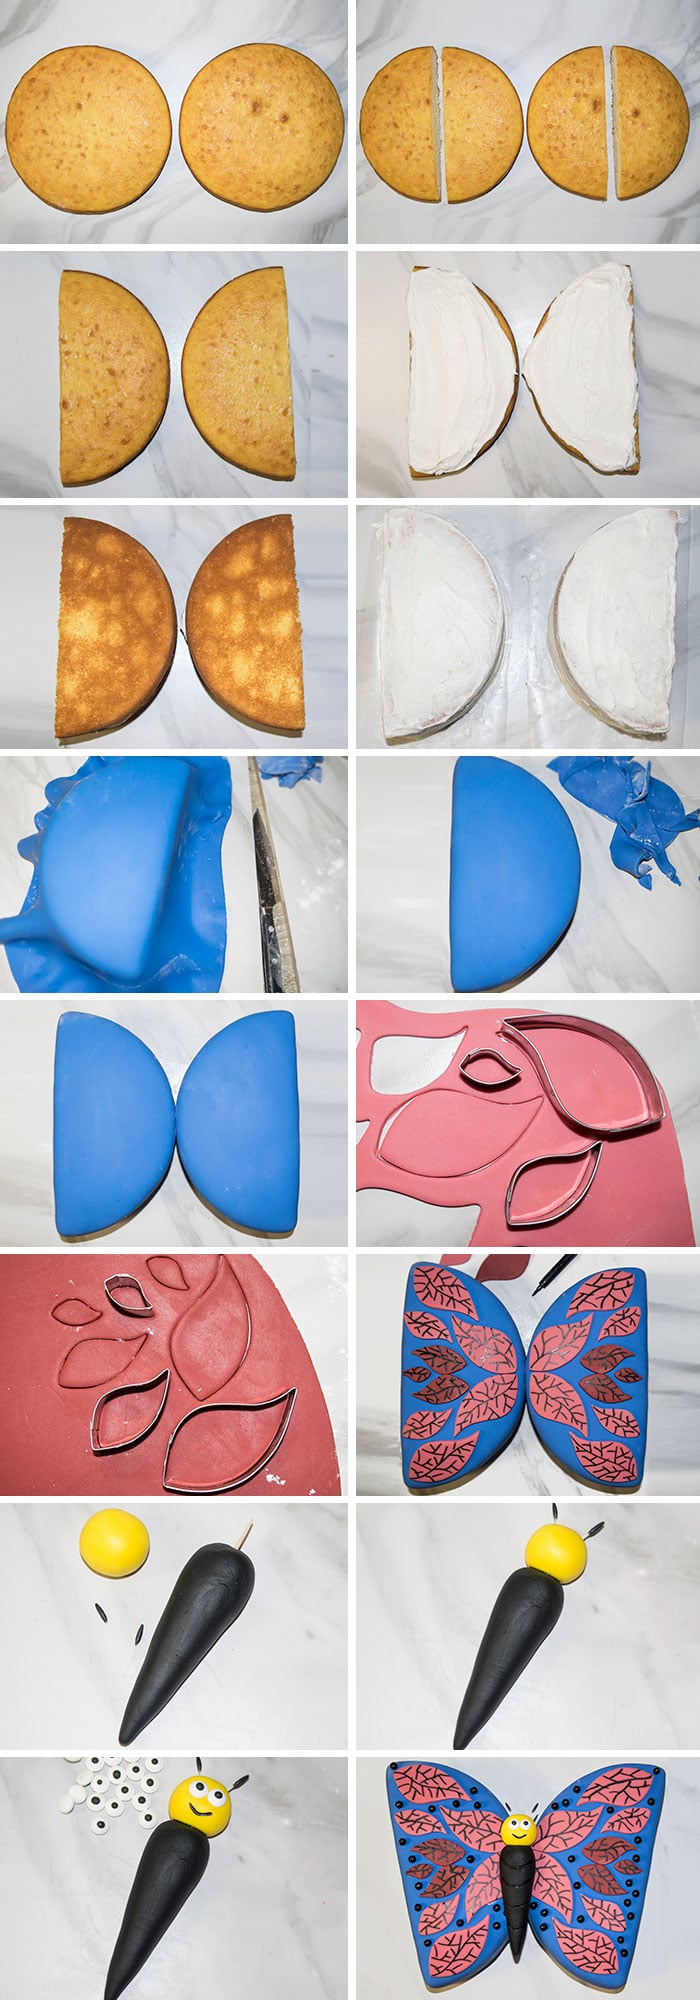
- Start off by baking round cakes.
- Cut the cakes in half.
- Arrange them in the shape of butterfly wings and place them on your serving dish.
- Fill and frost the cakes.
- Cover them smoothly in fondant.
- Decorate them with leaf or petal-shaped fondant pieces and black sprinkle balls.
- Draw details with edible marker.
- Make the butterfly body out of black and yellow fondant. Let it dry and then, stick it on the center of the cake. (Step-by-step pictures are included in a collage below.)
Variations
- Use a butterfly template- Print a picture of a butterfly or draw one on a sheet of thick craft paper. Use that as a template to cut the proper cake shape and then decorate it any way you like.
- Use butterfly pan- You can buy these pans online and the batter will bake in the relevant shape, which means you won't have to cut or carve.
- Make fondant toppers- Rather than doing what I did, you can make a tiered round cake. Then, decorate the top with a big fondant butterfly topper and numerous smaller butterflies.
- Pull apart cupcake cake- This one requires you to bake lots of cupcakes. Then, they are arranges in the shape of a butterfly and it can be decorated with frosting and fondant to created the desired look.
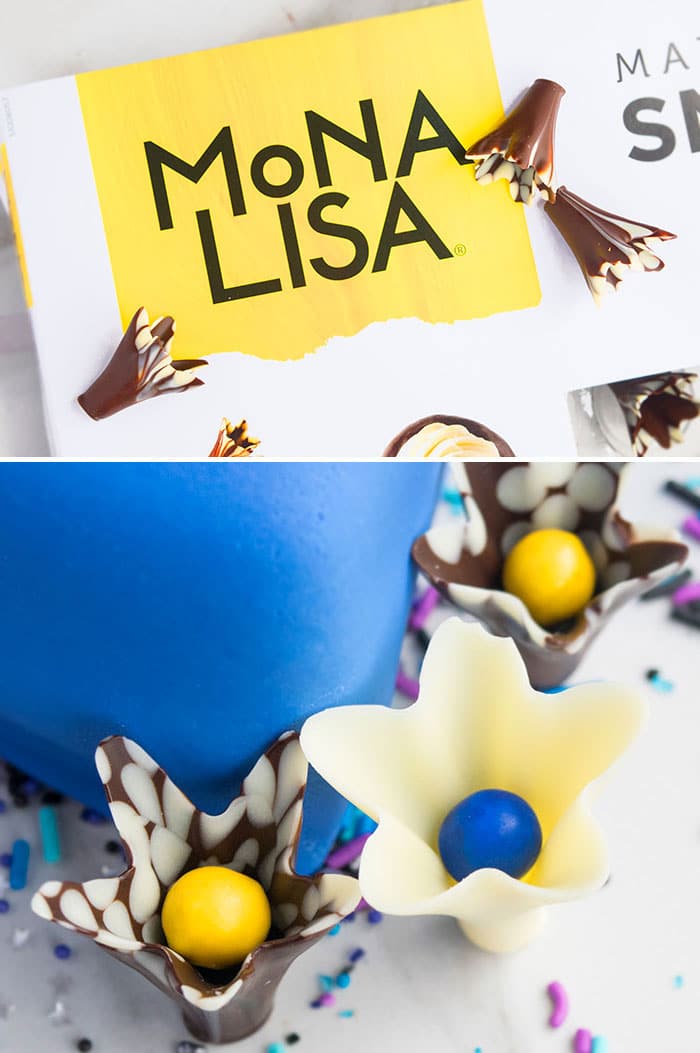
I used Mona Lisa's® white fondant and made various colors, using gel coloring. The fondant was easy to use, very pliable, smelled and tasted great. Most importantly, it didn't dry, tear or crack during my entire cake decorating process and I was able to work at my regular pace.
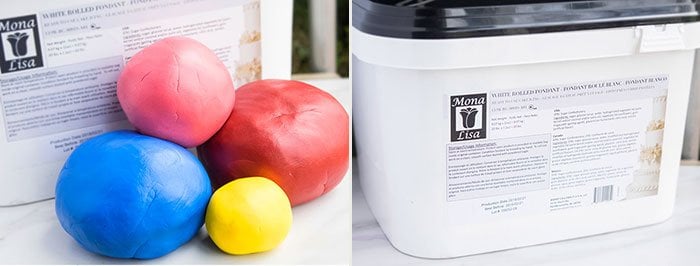
Mona Lisa® also has beautiful decorative chocolate products that are made from PREMIUM chocolate and totally edible. There are various designs of chocolate cups like tuxedos, eggs, hearts and flowers that can be filled with frosting, mousse or even candy balls. They even have chocolate curls, sprinkles, rolls in beautiful patterns and colors. All the chocolate decorations come in very secure packaging. Nothing broke for me. The quality of chocolate as well as the flavor was excellent.
Storage
- Refrigerate- Leftovers can be stored in a sealed container in the fridge for up to 3 days. However the fondant decorations will become slightly sticky and tacky from the moisture in the fridge.
- Freeze- Unfrosted cakes can be stored in a sealed container for up to 1 month. When you are ready to enjoy it, let it thaw in the fridge overnight and then, decorate as per instructions below.
- Make ahead instructions- This cake can be baked and decorated 1 day in advance and stored at room temperature until you are ready to serve.
More decorated cakes
- Easy Cereal Cake
- Tie Dye Shirt Cake
- Blue Ombre Cake
- Easy Galaxy Cake
- Easy Monster Cake
- Easy Red Rose Cake
Recipe
Easy Butterfly Cake (Recipe and Tutorial)
Want to Save This Recipe?
Enter your email & I'll send it to your inbox. Plus, get great new recipes from me every week!
By submitting this form, you consent to receive emails from CakeWhiz
Ingredients
- 4 Lemon cake Round, Dimensions: 8x2 each
- 4 cups White chocolate buttercream frosting
- 4 cups Fondant Blue, red, pink, black, yellow
- ¼ cup Corn syrup
Instructions
- Bake the cakes and prepare the frosting.
- When the cakes cool down completely, cut each cake in half.
- Arrange 2 cakes in the form of wings.
- Spread frosting on top of each cake.
- Place the other 2 cakes on top of the frosting and fully frost these "wing" cakes.
- Roll out blue fondant and spread it over both the cakes and cut off excess with a sharp knife.
- Roll out pink fondant and cut out various sizes of fondant leaves.
- Roll out red fondant and cut out various sizes of fondant leaves.
- Stick these pieces on top of the wings with corn syrup in a beautiful arrangement.
- Draw "veination" details on the leaves with a black edible marker.
- Roll black fondant into a cone shape.
- Push a toothpick through the top.
- Roll out a yellow fondant ball and push that into the toothpick and stick it together with some water or corn syrup.
- Stick the stamens and eyeball sprinkles on the yellow ball.
- Let this butterfly body dry.
- Once it's fully dry, place it in the center of the two wings and stick it into place with corn syrup.
- Stick black sprinkle balls with corn syrup, randomly, on the wings and enjoy!
Notes
- Read all my tips above.
- Leftovers can be stored in a sealed container in the fridge for up to 3 days.
Nutrition
An automated tool is used to calculate the nutritional information. As such, I cannot guarantee the accuracy of the nutritional information provided for any recipe on this site.

Delaney
This is perfect for a little girl's birthday!
Naptime
Wow, what a beautiful cake! My kids would love this!
Des
This cake is stunning! It would be perfect for summer events!
Catalina
This cake is fun! I bet it will be a hit with the kids!
Sabrina
One of my kids loves butterflies! This cake is perfect for them!
Jacinda
Your cakes are so creative! I love this!
Sandra
This is so adorable! And it looks so easy to make!