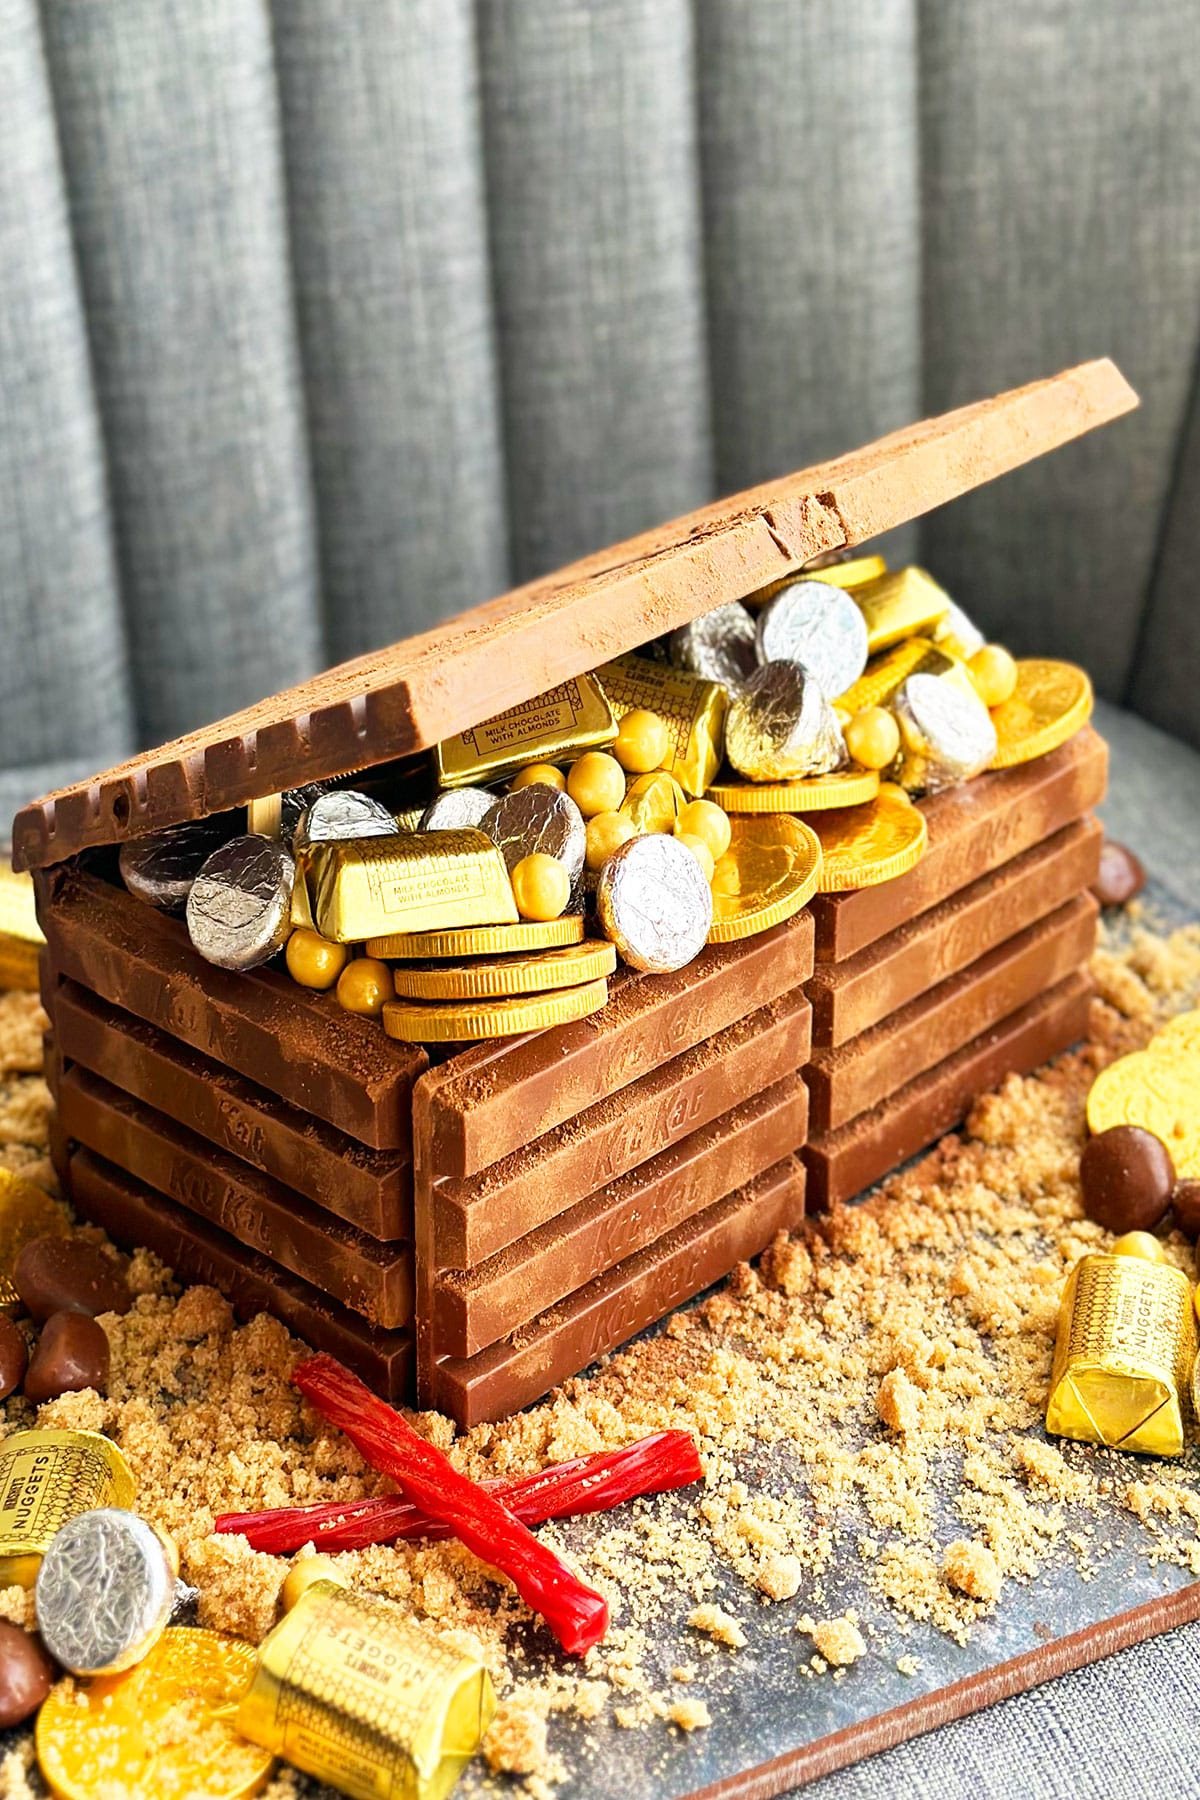
Easy DIY homemade pirate treasure chest cake with Kit Kat chocolate, gold and silver candies. No fondant or mould necessary. Only simple ingredients. Great for boys birthday parties.
As adults, we have a deep desire to make kids' birthday parties magical and special. After all, they mean the world to us. Sometimes that can feel really overwhelming when you are on a budget or you are not a "baker" per se. If this is you, I see you and I have the coolest solution to your problem. If you can make a rectangle, you can make this cake and all your kiddo's dreams come true. Kit Kats make an excellent border in cake decorating. Check out this Kit Kat Cake With Strawberries and this Easy Pig Cake {Fondant Pig Topper} for proof. This treasure chest is another spin on that concept of Kit Kat borders, and creates the perfect wood effect. No fancy mould is necessary. Add these Easy Pirate Cookies {With Fondant} to round out the theme, and your dessert table is done.
Want to Save This Recipe?
Enter your email & I'll send it to your inbox. Plus, get great new recipes from me every week!
By submitting this form, you consent to receive emails from CakeWhiz
How to make easy treasure chest cake from scratch?
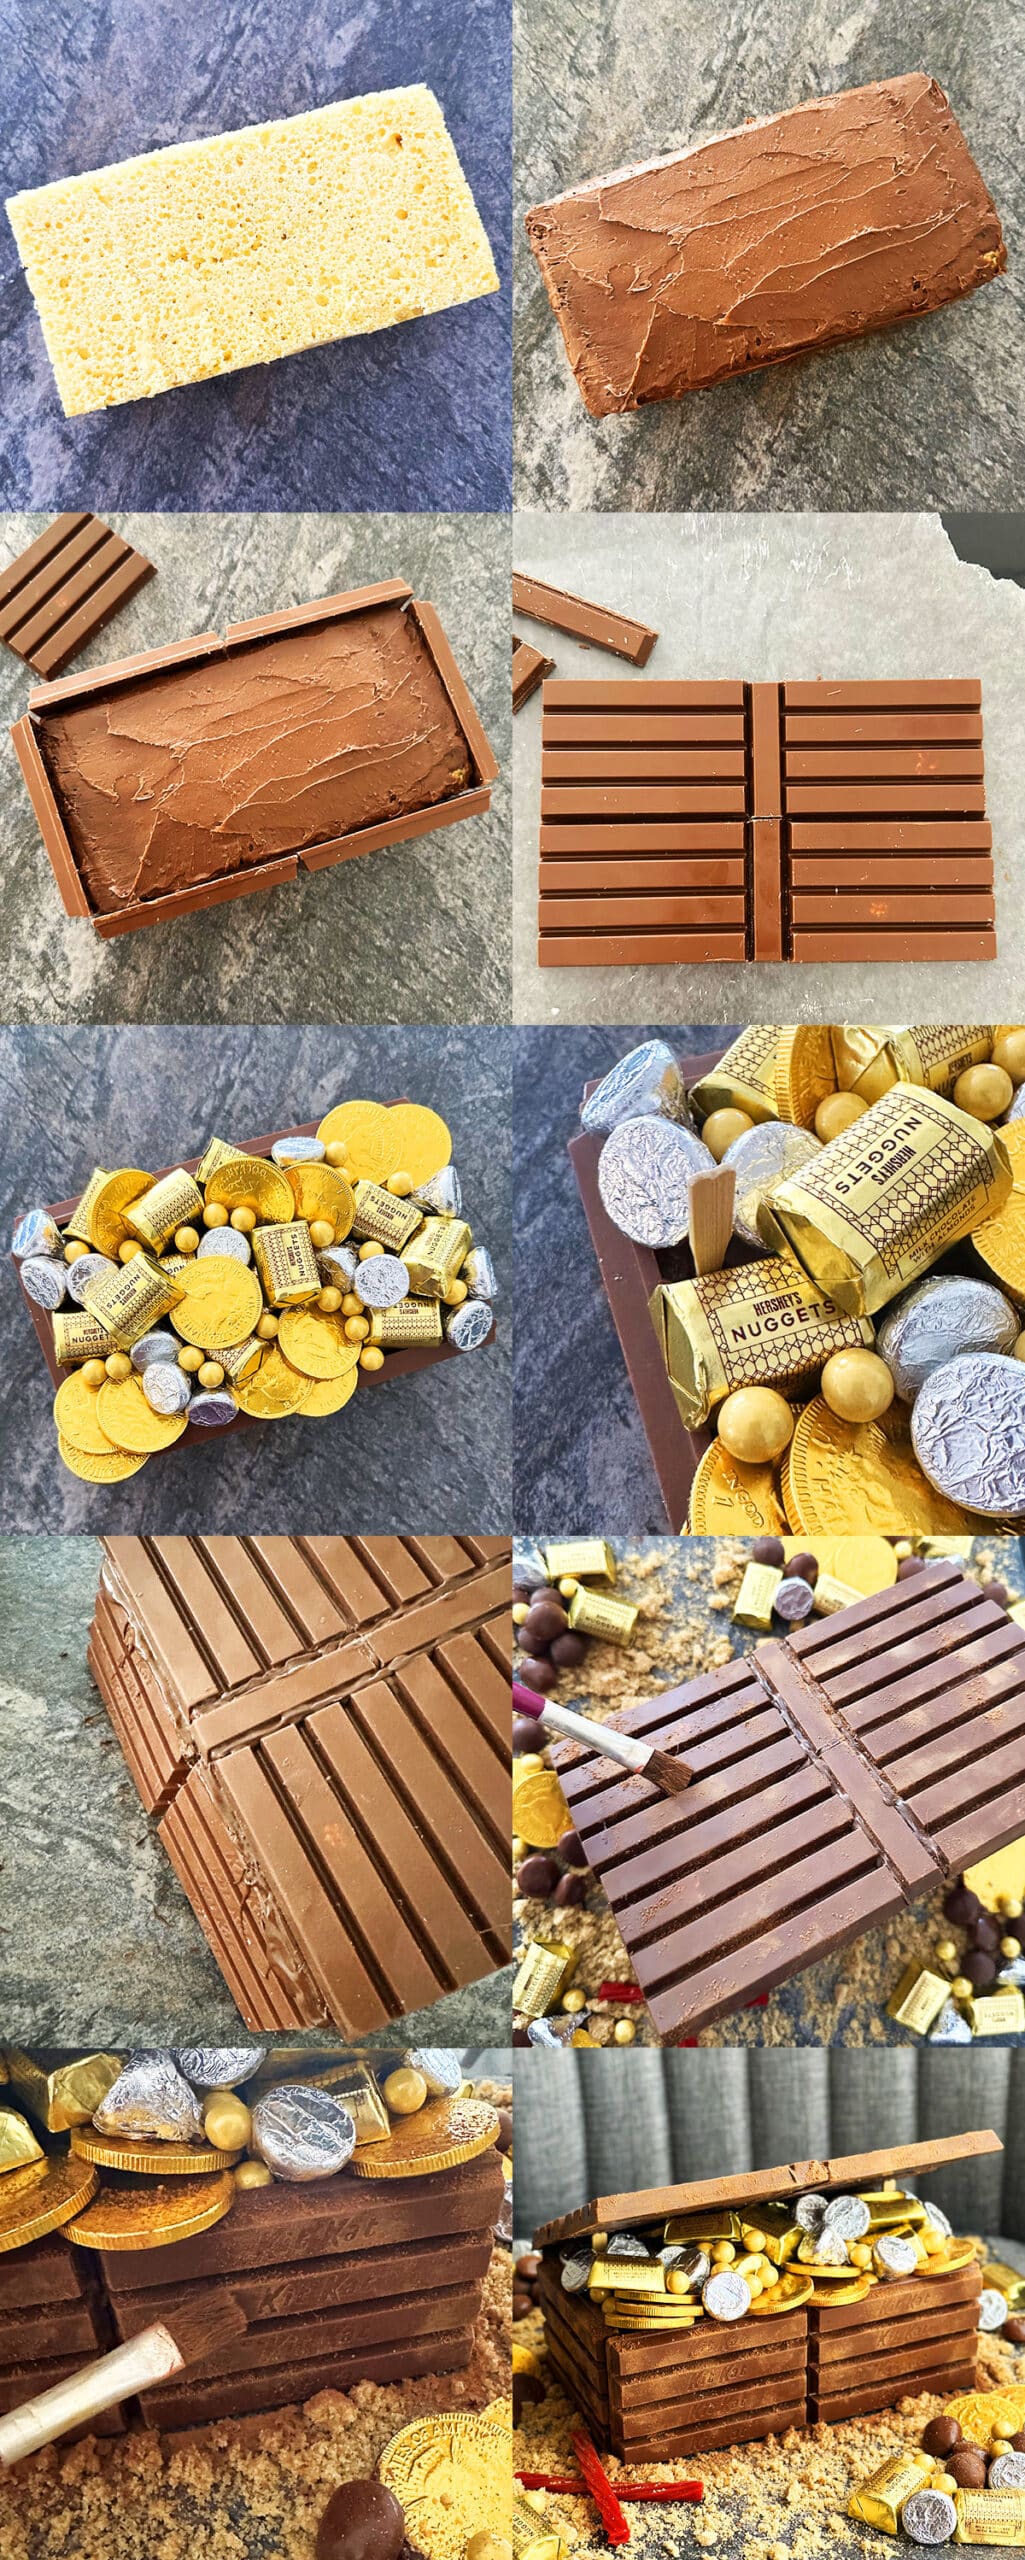
- Bake, cool, and trim cake- Then ice it smoothly in chocolate frosting.
- Add walls- Attaching Kit Kat bars around the cake.
- Make lid- Arrange 4 Kit Kats together, adhere with melted chocolate.
- Fill chest- With gold and silver candies.
- Insert bamboo skewers- Into the cake for the lid to rest on.
- Adhere lid- Brush melted chocolate on the back of the box.
- Hold the chocolate lid here- Until the chocolate sets.
- Add details- Brush cocoa powder all over the box.
- Add more candies- To make it look like it's overflowing with treasure.
- Create the setting- Add sand, an X to mark the spot, more gold and silver candy, and chocolate balls.
Key ingredients for DIY treasure chest birthday cake
- Cake- A traditional pound cake is the perfect size and shape.
- Frosting- I used chocolate buttercream to match the brown chest.
- Kit Kats- I needed 11 regular size bars.
- Decor- Such as gold and silver chocolates, brown sugar, and twizzlers.
- Melted chocolate- To use as edible glue.
How to make treasure chest cake lid?
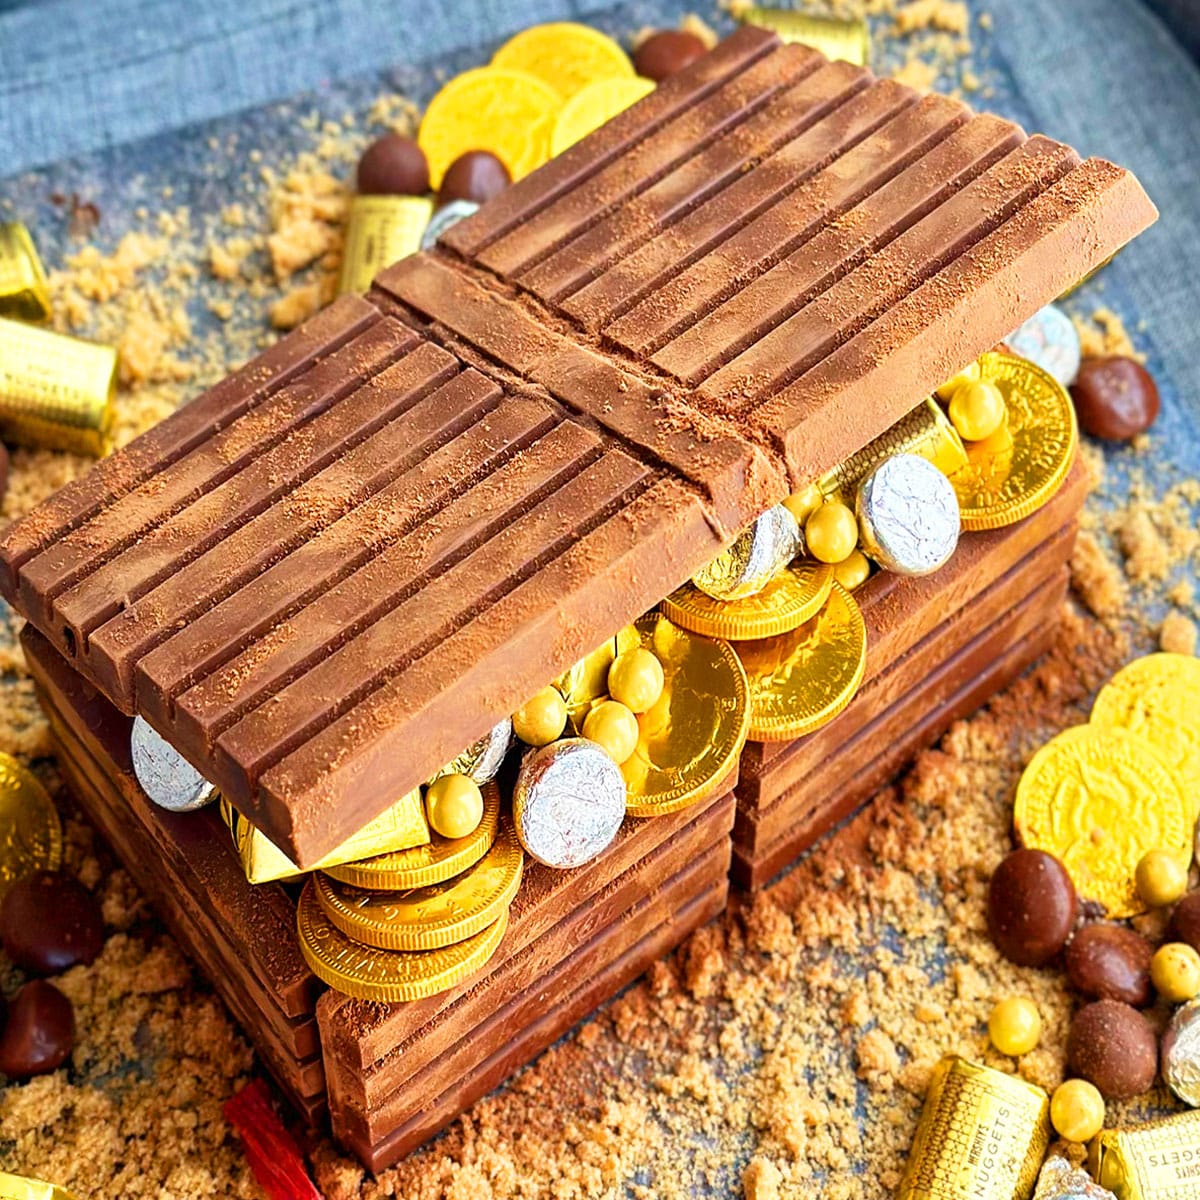
There are quite a few ways to do this. First, you can roll out and dry brown fondant to make it hard and use that. I used Kit Kats, but you can use other candy bars such as Twix, etc. Another option is modeling chocolate, and one more option could be cardboard covered in brown fondant or modeling chocolate. Just make sure to keep it safe and edible. For a more domed lid, use Rice Krispie treats to create the correct shape and cover that in fondant or modeling chocolate.Then, stick that to the edge of the box with melted chocolate. You can use my How to Make Modeling Chocolate {Candy Clay} or How to Make Marshmallow Fondant (Fondant Recipe for Cakes) to make these options.
Variations for pirate chest cake
Use this as a cake topper on a large sheet cake- Such as this Yellow Sheet Cake {With Chocolate Frosting}. Make sure proper support is used with bubble tea straws or wooden dowels to prevent the weight of the chest from sinking into the sheet cake.
Make a tiered cake- Use this as a topper.
Make a taller layer cake with fillings or frostings between each layer- I thought there was already enough chocolate and sweetness and more was unnecessary but to each their own.
Make a larger cake or smaller cake- The size of the cake inside the Kit Kats will need to be changed accordingly plus you will need more or less Kit Kats.
Add more gold and silver candies- Such as rock candy or tootsie rolls. You can also spray paint candies gold and silver with edible sprays.
Add more details with fondant- Such as a lock or handles on the sides.
Use other candy bars- Instead of Kit Kats, use Twix or Flake bars by Cadbury. These really create the perfect antique textured wood effect.
Use brown fondant or modeling chocolate- Instead of Kit Kats, but you would need to use different tools to create a wood grain effect.
Use crushed graham crackers or crushed cereal to create the sand- I used brown sugar for this recipe, but have used both options on other cakes I have made.
Add candy necklaces- For a girl pirate themed cake.
Add ring pops- To look like jewels and gems for more color and edible fun.
Try another frosting- Such as Chocolate Ganache Frosting {2 Ingredients}, Healthy Coconut Cream Chocolate Frosting, or Chocolate Buttercream Frosting Recipe
Try another cake- Such as Buttermilk Pound Cake {From Scratch}, Lemon Pound Cake {With Cake Mix}, or Chocolate Pound Cake {With Cake Mix}.
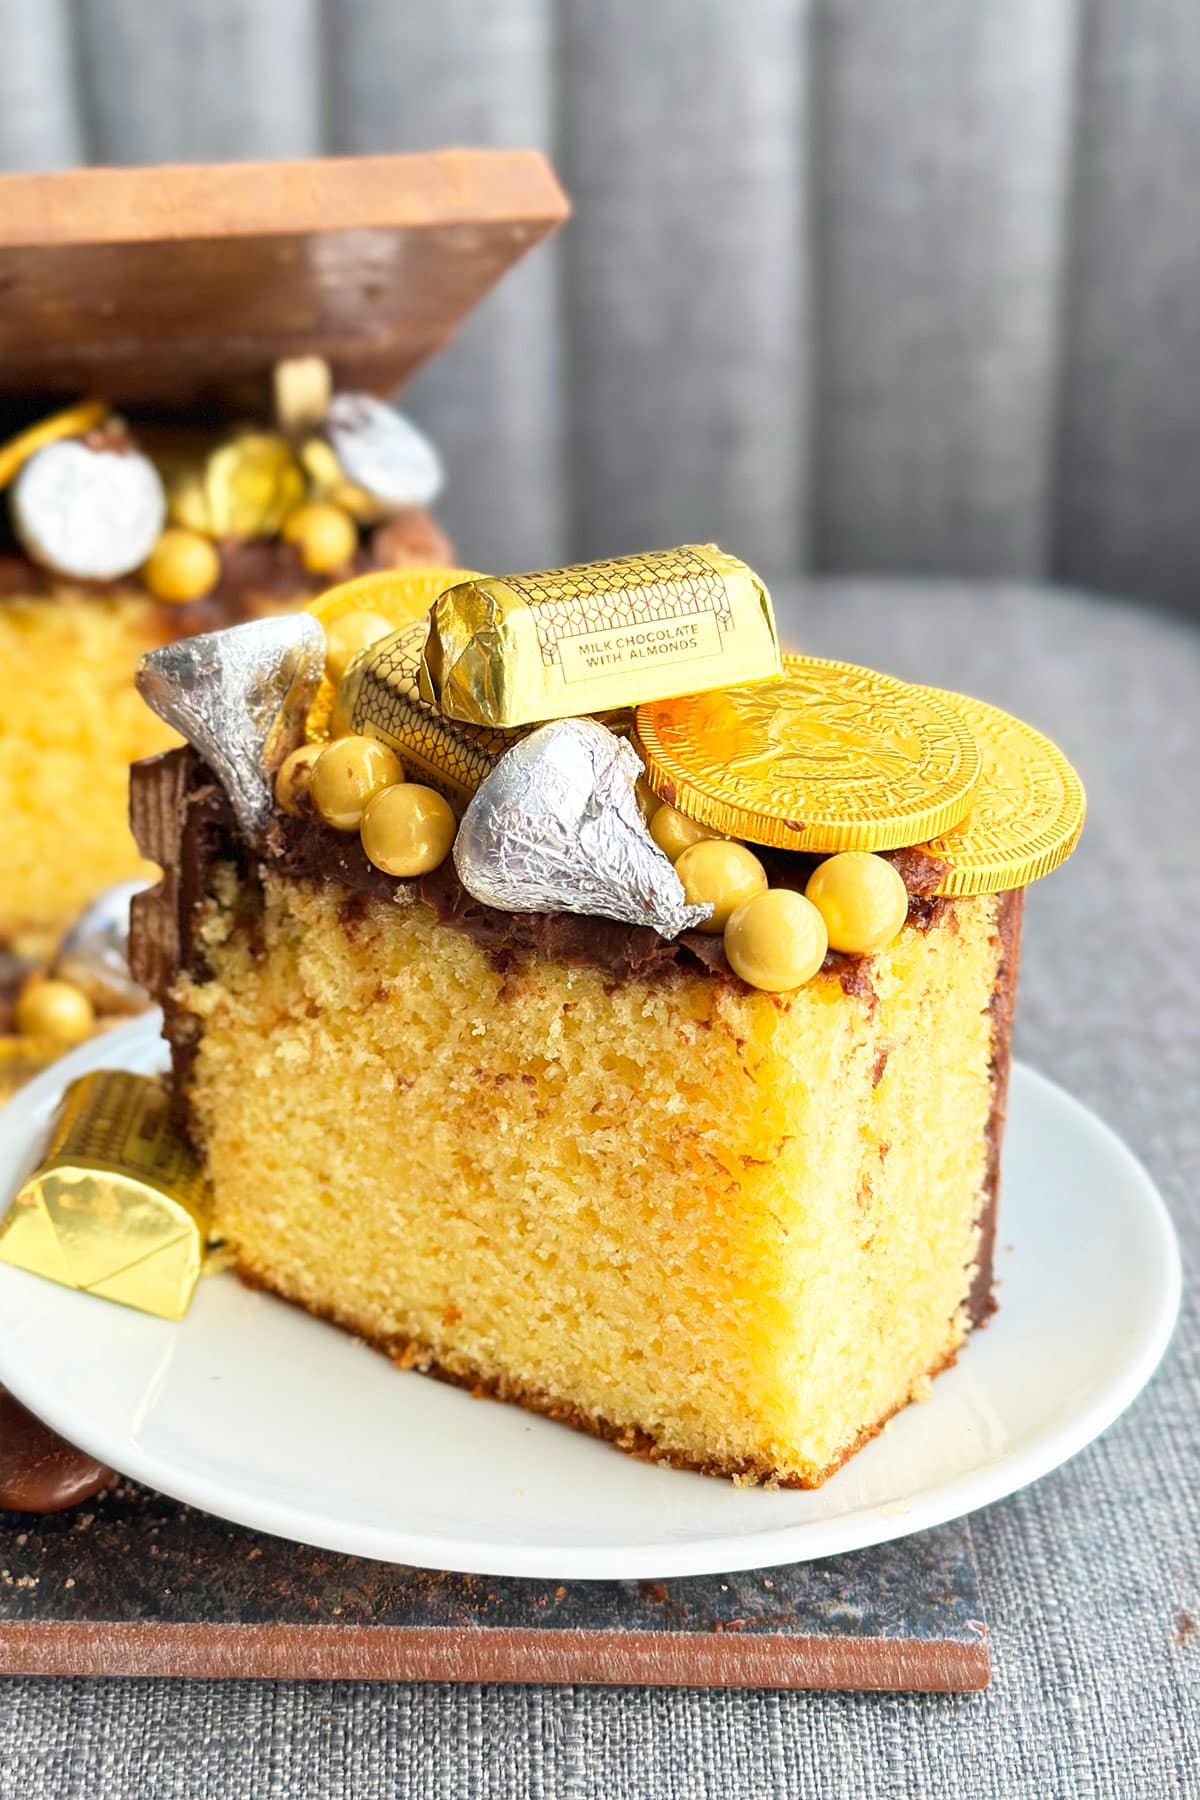
Tips and techniques for treasure box cake
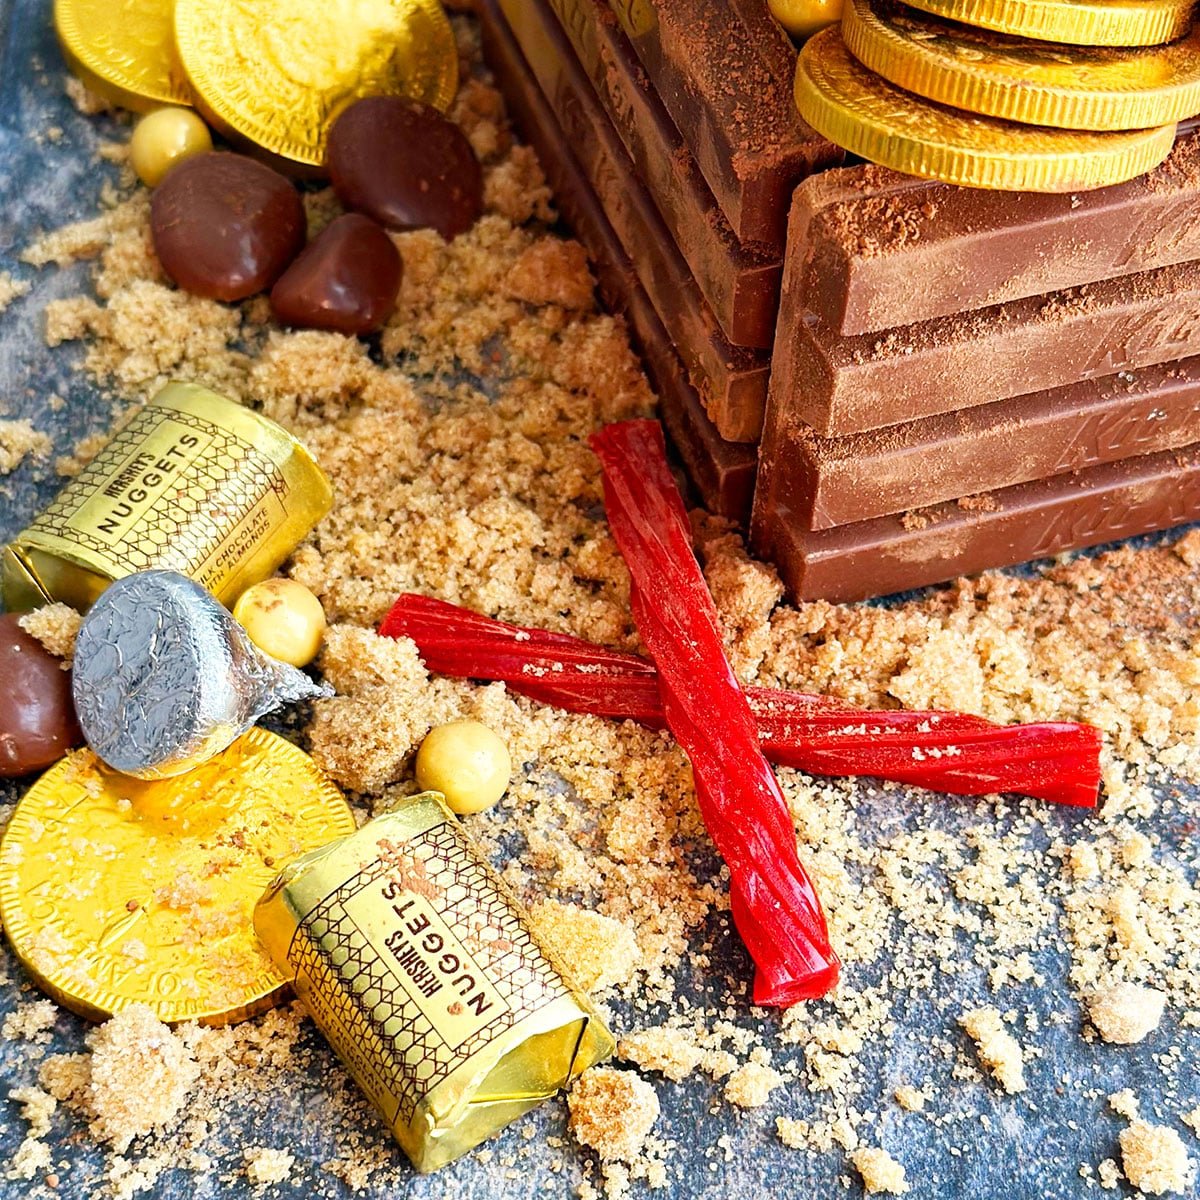
Use the cake board/ base to create a story- Don’t just leave it empty. I used a licorice X to mark the hidden treasure, brown sugar for sand, and added more treasure around the board. It really completes the visual appeal and allows your mind to wander the board with imagination.
Brush cocoa powder on dry- If you wet the brush it will just melt away or clump, and it will not look rustic.
Use a serrated knife to trim the cake- This provides the easiest and cleanest cuts.
Support is necessary to keep the lid open- I used bamboo cocktail forks, but bamboo skewers cut to size work too.
Hold the lid in place with your hand- I held it in place for at least a minute so that it had enough time to dry and stay in place.
Cool cake completely before frosting- Because this prevents it from melting and sliding right off the cake.
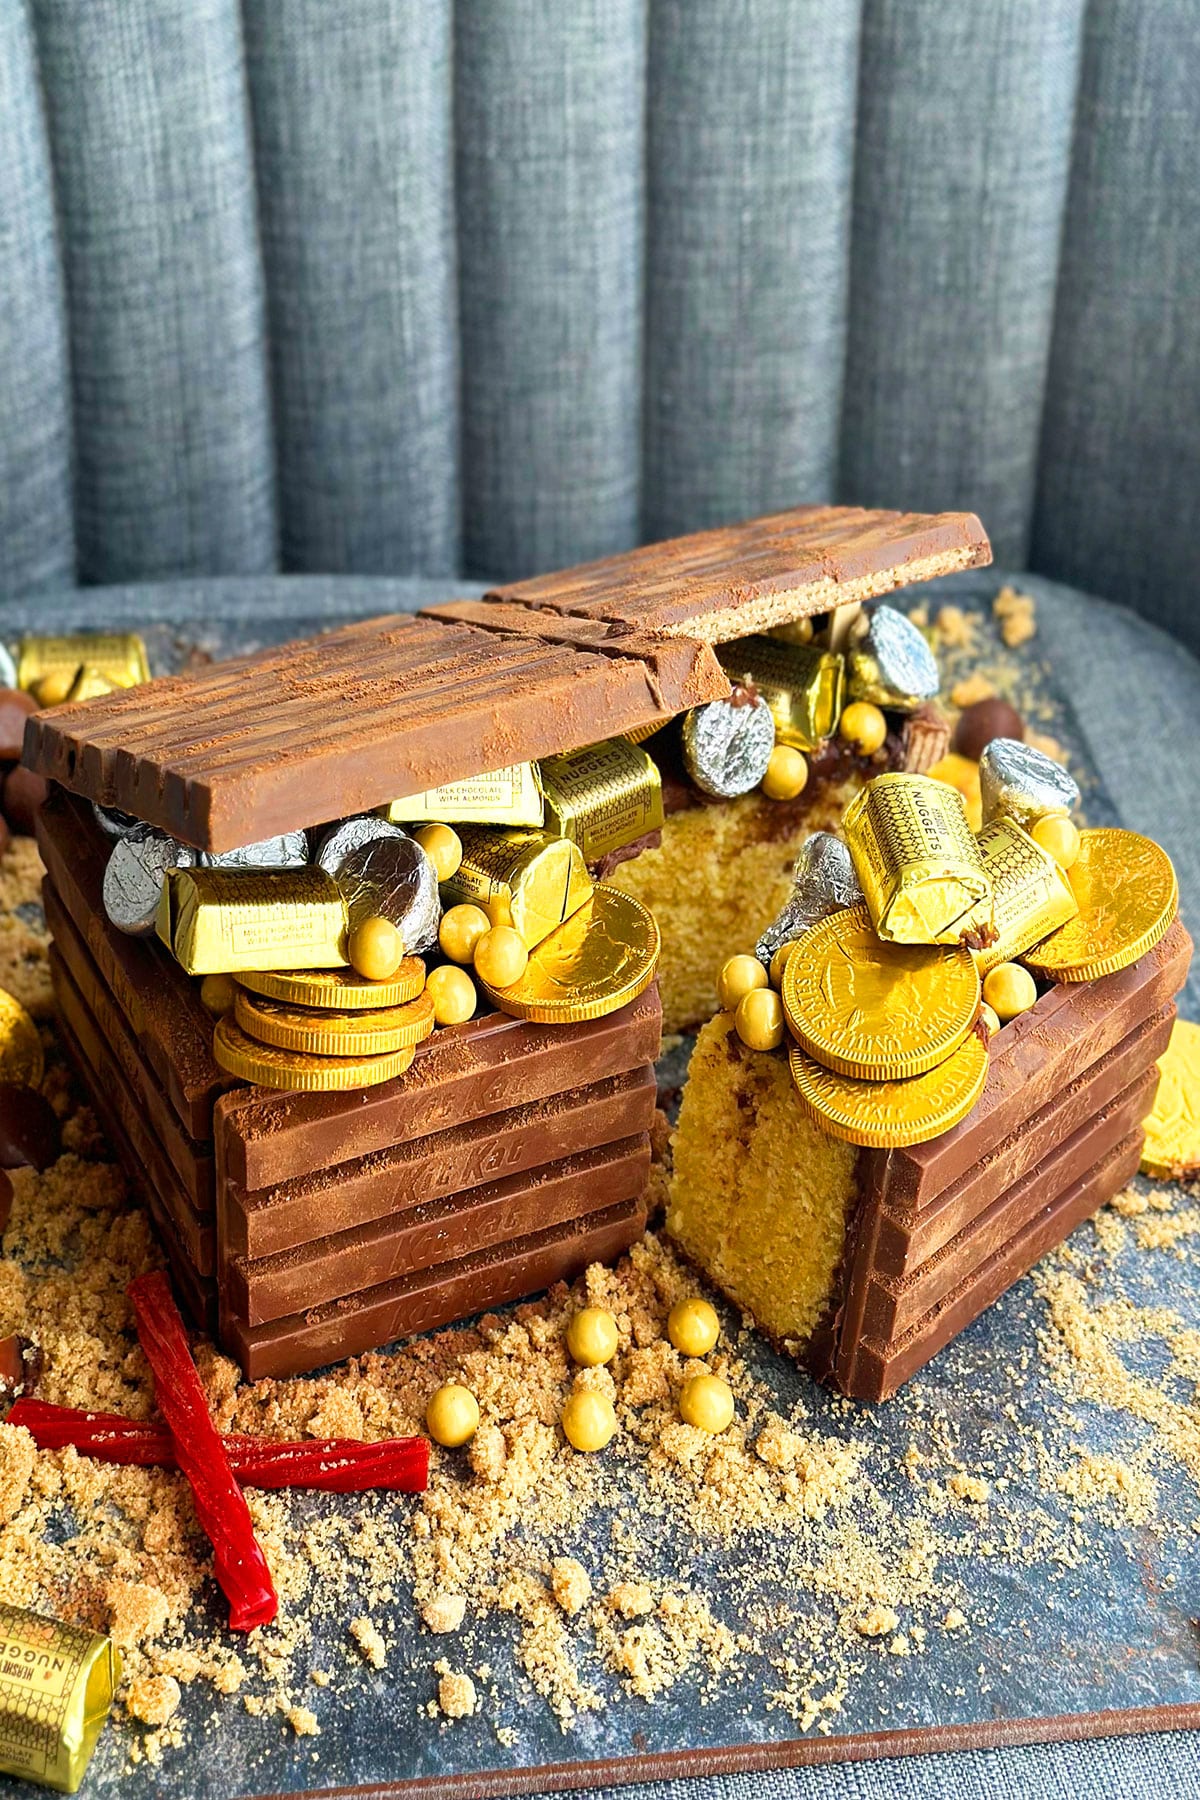
Storage of homemade decorated cake
Refrigerate- In a sealed container for up to 3 days.
Freeze- I do not recommend freezing this decorated cake because the chances of all of it thawing well are slim.
More easy decorated cakes
- Cookie Monster Cake {Sesame Street}
- Easy Penguin Cake {Buttercream Icing}
- Easy Lamb Cake {With Marshmallows}
- Easy Dinosaur Cake {Dino Cake}
- Easy Construction Cake {Excavator Cake}
Recipe
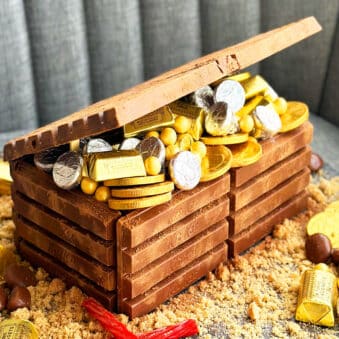
Easy Treasure Chest Cake (With Kit Kat)
Want to Save This Recipe?
Enter your email & I'll send it to your inbox. Plus, get great new recipes from me every week!
By submitting this form, you consent to receive emails from CakeWhiz
Ingredients
- 1 Cream cheese pound cake
- 2 cups Chocolate cream cheese frosting
- 11 Kit Kat bars Regular size
- ⅓ cup Melted chocolate Semisweet
- 2 cups Gold and silver candies Such as Rolos, chocolate coins, Hershey's Kisses, Hershey's chocolate nuggets
- 1 tablespoon Cocoa powder
- 1 cup Brown sugar
- 1 Twizzler Preferably red
- ½ cup Chocolate balls Such as Whoppers or Milk Duds
Instructions
- Bake cake and allow it to cool completely.
- While cake is baking and cooling, prepare the frosting.
- Place the cake on a serving dish.
- Use a serrated knife to trim the sides and dome.
- Use a spatula to ice cake smoothly in chocolate frosting.
- Stick Kit Kat bars around the cake. The frosting works like "edible glue."
- Arrange 4 Kit Kats close together on a sheet of wax paper to make the top lid of the box. I had to add a single Kit Kat piece to my arrangement because the size was not matching up with the cake.
- Use melted chocolate to stick all these Kit Kats together and let this lid set and harden.
- In the meantime, fill the top of the cake with gold and silver candies.
- Push a bamboo skewer into both sides of the cake. I used bamboo cocktail forks. The lid will rest on these skewers.
- Brush melted chocolate generously near the back of the box and stick the chocolate lid here. The lid should be partially open and resting on the skewers. You will have to hold the lid for about a minute to help keep it secure until the chocolate sets.
- Use a dry brush to randomly spread cocoa powder all over the box (top, sides, front, back). This will give it a rustic appearance.
- Fill the box with some more gold and silver candies to make it look like it's overflowing with treasure.
- Create the setting now. Spread brown sugar around the box to represent sand. Use scissors to cut a red Twizzler and place it in an "X" shape near the box. Spread gold and silver candies randomly around the board. Also, add some chocolate balls in the "edible sand" to represent stones and pebbles. Enjoy.
Notes
- Read all my tips above.
- Leftovers can be stored in a sealed container in the fridge for up to 3 days.
Nutrition
An automated tool is used to calculate the nutritional information. As such, I cannot guarantee the accuracy of the nutritional information provided for any recipe on this site.


Cindy
I’m making this next week and am really nervous about the lid - where exactly do you put the bamboo skewers to hold it up????
Abeer Rizvi
I put skewers in the middle and the sides. 2-3 in total.
Jessica
I am SO glad I made this! When I first saw it, I thought it would be too hard for me to make (I'm not the best at this stuff) but your tips and tutorial made it so easy! Thank you!
Erin
What a cute and clever cake idea! And so simple! I made it for my nephew's birthday celebration, and he loved that it had Kit Kats!!
Andie Thueson
Such a cute cake idea. I absolutely loved the creativity, and so did my kiddos! They could not get enough of this tasty treasure!