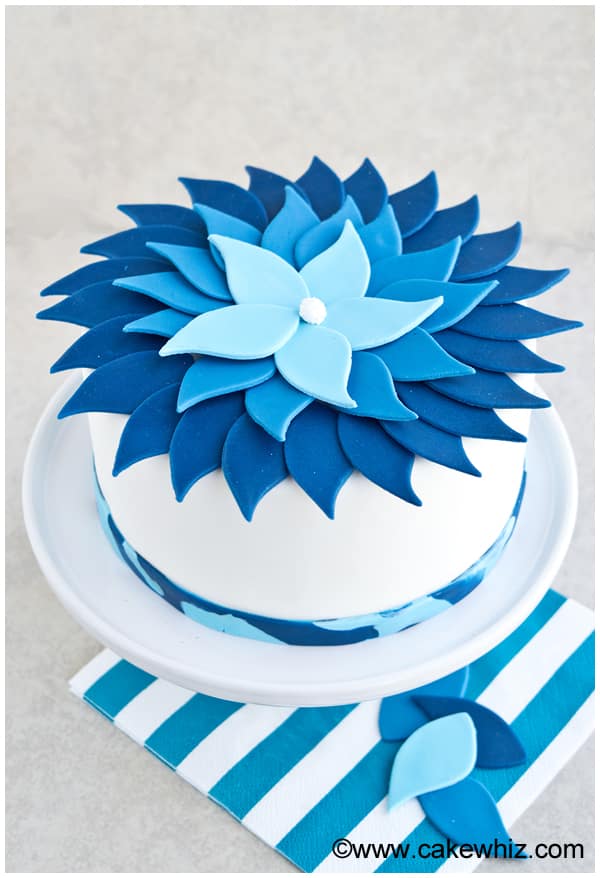
Learn how to make easy ombre cake recipe from scratch. This technique involves gradual change in color of frosting, fondant, cake batter from dark to light.
Want to Save This Recipe?
Enter your email & I'll send it to your inbox. Plus, get great new recipes from me every week!
By submitting this form, you consent to receive emails from CakeWhiz
This design has become such a hot cake decorating trend! They are still as popular today as they were when I first saw them 5 years ago and I don't see their popularity dying down anytime soon. You might this think is a difficult cake but in reality, it is very easy just like this tutorial on How to Marble Fondant.
Jump to:
What is an ombre cake?
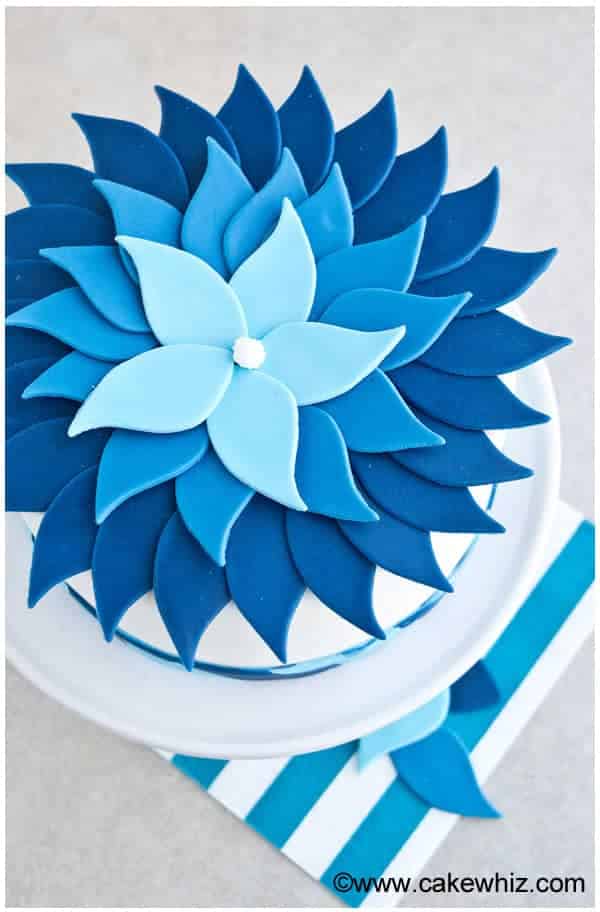
They are basically cakes which are decorated in varying shades of the same color, graduating from dark to light. The inside batter is also ombre colored to match the exterior decoration in frosting or fondant.
What does it mean to crumb coat a cake?
It's a thin layer of frosting done on the cake to seal all the stray crumbs. Then, it's chilled to hold all the crumbs together before it's covered in a final coat of frosting and fondant.
How to make ombre batter?
- Prepare regular vanilla cake batter and divide it into 3 mixing bowls.
- Color each batter a different shades of blue or whatever color you want.
- Pour batter into separate pans and bake.
- Allow the cakes to cool down completely and then fill, frost, assemble.
Ombre frosting
Typically, this is just white vanilla buttercream frosting that's tinted in varying shades of one color (from dark to light).
How to make Ombre cake recipe from scratch?
Frosting technique
- Frost and stack the cakes and crumb coat it in white buttercream.
- Use a toothpick to to divide the side of the cake into 3 parts.
- Frost the bottom portion in dark blue frosting.
- Frost the middle portion in a medium shade of blue frosting.
- Frost the top portion in a light shade of blue frosting. Basically, you start frosting your way up the sides of the cake from the darkest shade to the lightest shade.
- Similarly, use 3 varying shades of blue frosting to ice the top of the cake. Start from the outer edge of the cake with the light shade and frost your way inwards with the darker shades.
Fondant technique
- Frost and stack the cakes and crumb coat it in white buttercream.
- Cover the cake in white fondant.
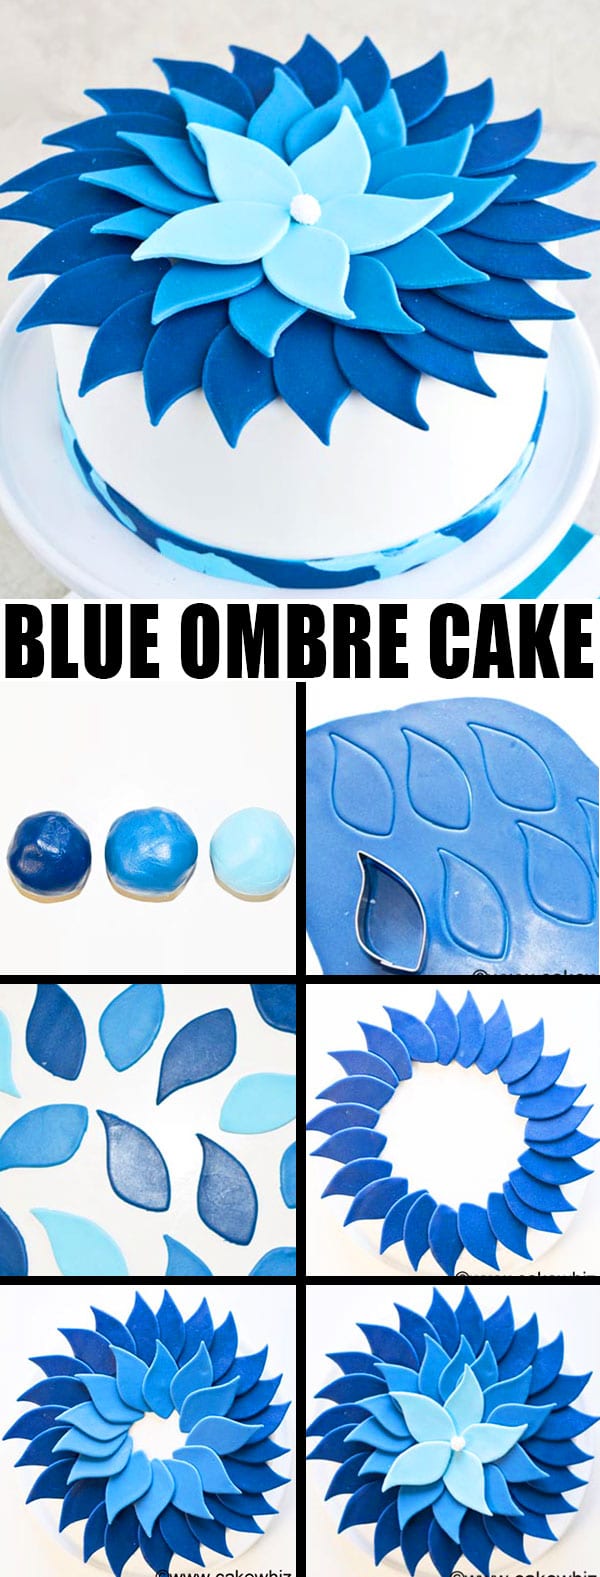
- Prepare 3 varying shades of blue fondant and use a cookie cutter to cut out pieces.
- Stick them on top of the cake or side of the cake with frosting, working your way from the darkest shade to the lightest shade.
Variations and tips for blue ombre cake
- Try different cake flavor– Such as Banana Chocolate Chip Cake.
- Consider a different frosting– Such as White Chocolate Buttercream Frosting.
- Make mini cakes- Do the same technique on smaller individual-sized cakes.
- Match the inside of the cake with the outside- Color the cake batter in varying shades and match those colors with the frosting and fondant decorations on the outside.
- Use other cutters- I used a petal cutter but try circle or oval or even square for a different design. The same instructions will be applied.
- Chocolate ombre cake- Prepare chocolate cake batter with varying amounts of cocoa powder to make a gradient of brown shades. Use varying shades of brown gel coloring in the frosting and/or fondant for decorations.
- Pink rosette cake- Use varying shades of pink fondant to make these Easy Fondant Roses (Ribbon Roses) and decorate them on the cake in a light to dark gradient. You can also use the star decorating tip (E.g. 1M) with icing instead of fondant.
- Try different colors- Pink purple, green seem to be popular choices. You can also try pastel shades or make a fun rainbow version.
- Decorate with buttercream icing- Make the same design on top of the cake using the petal tip or nozzle and 3 shades of blue icing.
- Use gel colors- Because they are more vibrant and concentrated. Also, they don't alter the consistency of fondant or icing.
- Don't decorate warm cake- Because the warmth will cause the icing and fondant to melt and become sticky.
Storage
- Refrigerate- Decorated cake can be stored in a cake box for 2-3 days. The fridge settings should not be too cold because that can make the decorations sticky.
- Freeze- Unfrosted cakes and frostings can be stored in sealed containers for up to 1 month. When you are ready to make this dessert, thaw everything in fridge overnight and then, decorate as per instructions below.
- Room temperature- This is not recommended since there is a cherry filling that can go bad at room temperature.
More cake decorating tutorials
- How to Make Naked Cake (Blue Velvet Cake)
- How to Make Pinata Cake (Easter Robin Egg Cake)
- How to Make Buttercream Ruffle Cake
- How to Make Buttercream Flowers (Russian Piping Tips)
- How to Make Easy Fondant Bows
Recipe
Easy Ombre Cake (Blue)
Want to Save This Recipe?
Enter your email & I'll send it to your inbox. Plus, get great new recipes from me every week!
By submitting this form, you consent to receive emails from CakeWhiz
Ingredients
- 1 Black forest cake
- 3 cups American buttercream icing
- 3 cups Marshmallow fondant White and 3 shades of blue (dark, medium and light)
Instructions
- Bake cakes and let them cool completely.
- Fill with icing and cherry filling and frost the entire cake in buttercream icing.
- Roll out white fondant.
- Spread it over the iced cake and cut off excess along the base with a pizza cutter. Keep aside.
- Roll out blue fondant and use a petal cutter to cut out lots of petal shapes in all three shades of blue fondant.
- Let the pieces air-dry and harden overnight.
- Stick the pieces on top of the prepared cake, using buttercream. Work your way from the outside to the inside with dark petals on the outside and lighter ones towards the center.
- Stick a big white edible pearl in the center. Enjoy!
Notes
- Read all my tips above.
- Leftovers can be stored in a sealed container in the fridge for up to 3 days.
Nutrition
An automated tool is used to calculate the nutritional information. As such, I cannot guarantee the accuracy of the nutritional information provided for any recipe on this site.

Anne
Omg this looks beautiful!!!! You're so talented!!!
Abeer Rizvi
Awww!Thanks.. it really is surprisingly easy to make