Learn how to make easy homemade brown butter recipe with 1 simple ingredient. It has a bold, nutty aroma that comes from cooking butter. It eventually becomes golden brown and amber in color with little brown flecks. It can be used in baking, sauces, dips and even savory recipes. The flavor is reminiscent of toasted hazelnuts, caramel, toffee and butterscotch. I love it in my Chocolate Chunk Cookies. Also known as beurre noisette in French.
Want to Save This Recipe?
Enter your email & I'll send it to your inbox. Plus, get great new recipes from me every week!
By submitting this form, you consent to receive emails from CakeWhiz
The first few times that I tried making this, I ended up burning batches but I learned from my mistakes and now I have a no fail dummy-proof recipe. If you find this post helpful, you are also going to appreciate these posts on How to Make Macerated Strawberries (2 Ingredients) and How to Marble Fondant (For Cakes) and How to Make Homemade Sugar Cubes.
Jump to:
Key ingredients
- Butter- It's best to use unsalted for best overall flavor and less foaming.

Varriations
- Honey- Stir in a tablespoon of honey and a pinch of sea salt once the butter has cooled slightly. This is a perfect biscuit topping.
- Savory flavor- Add fresh sage, rosemary or thyme leaves and smashed garlic cloves during the last minute of browning.
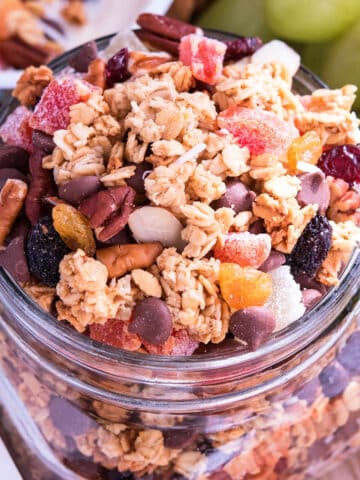
- Maple pecan- Stir in maple syrup and finely chopped toasted pecans for the ultimate Fluffy Buttermilk Pancake topping.
- Vanilla- Scrape and add the seeds of one vanilla bean at the end to create a rich base for Frosting and Fillings or Cookies.
- Cinnamon- Mix in ground cinnamon or a few teaspoons of Easy Homemade Cinnamon Sugar.
- Sweet and spicy- At the end, mix in some red chili flakes and brown sugar.
- Lemon- Add lemon zest once the butter is removed from the heat.
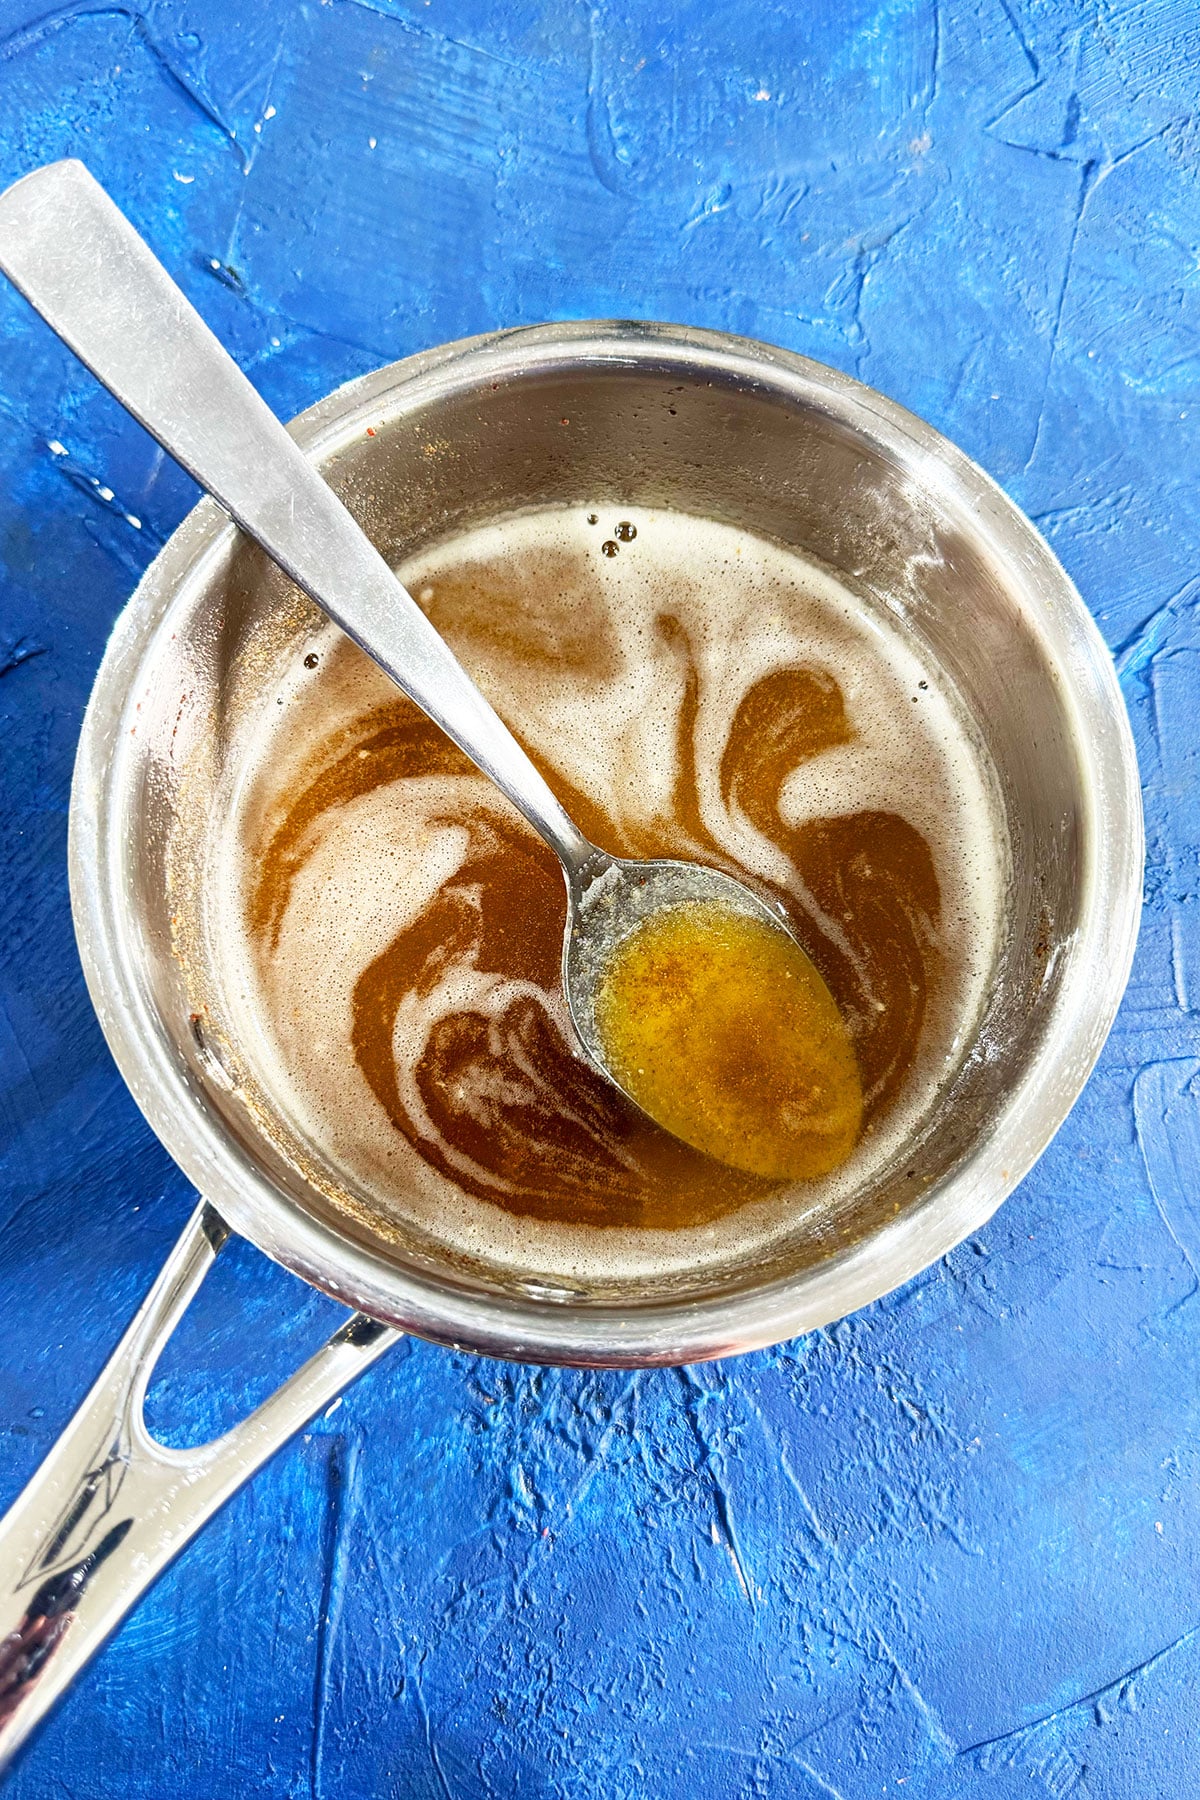
How to make easy brown butter recipe from scratch on stovetop?
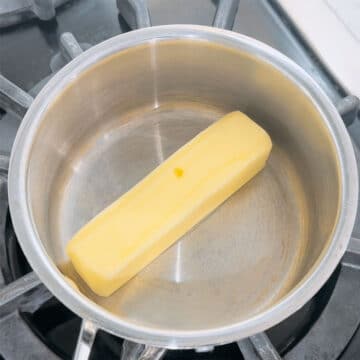
1. Heat butter- In light colored saucepan.
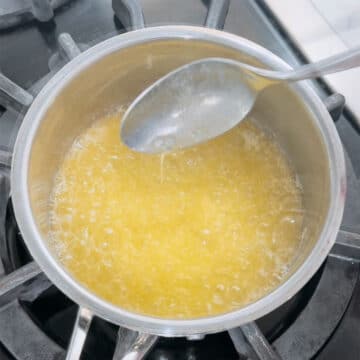
2. Mix with spoon often- When butter has melted and started bubbling.

3. Keep a close eye- When foam starts forming and mix often so that it doesn't burn.
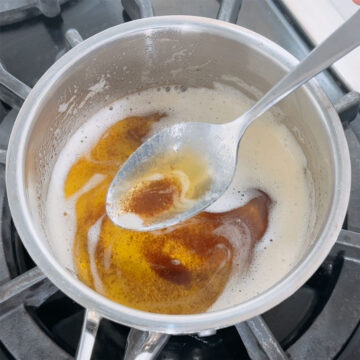
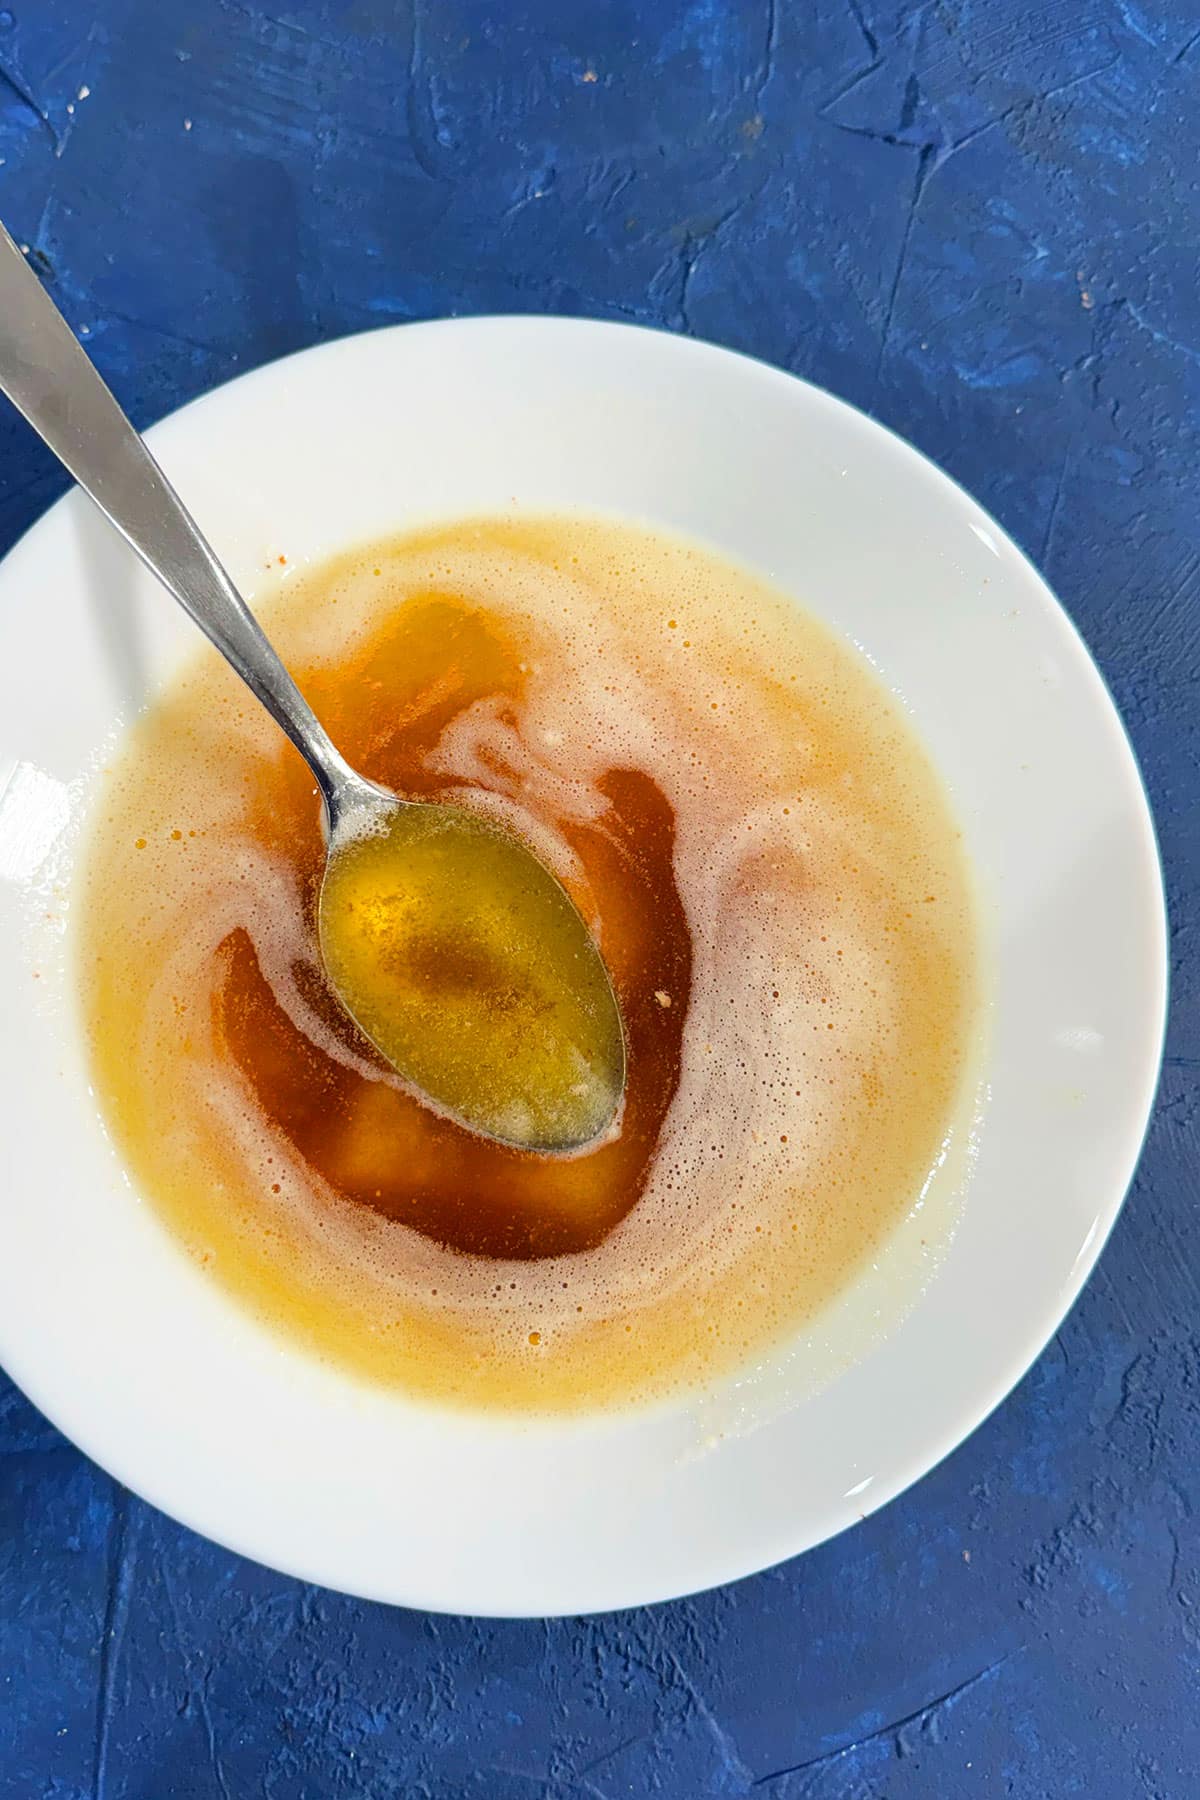
4. Continue cooking- Until you see little brown specks and the color becomes amber. Remove from heat immediately now.
How to use this?
- You can use it any recipe that calls for butter. Just make sure you read the instructions of your recipe properly so as to use it in the correct consistency (e.g. room temperature or chilled or melted).
- Once this cools and chills in the fridge, it develops a soft spreadably consistency that's perfect for spreading on toast, bagels, scones, rolls, sandwiches, pancakes, waffles.
- Use it as a swap for standard softened butter in many desserts. It's incredible in cookie doughs.
- In melted form, enjoy dipping your breadsticks, cinnamon twists or soft pretzels.
- Mix into my best rice krispie treats mixture. It elevates this childhood snack into a sophisticated dessert.
- In melted liquid form, you can also brush them on muffins like these Cinnamon Muffins and take them over the top!
- At room temperature, beat it into buttercream frosting for an additional layer of flavor.
- In chilled, solidified form, mix into pie crusts. Its awesome in my Flaky Butter Pie Crust crust.
- You can even whisk it with powdered sugar and a splash of milk to make a glaze topping for donuts and cakes.
Tips and techniques
- How long does this process take? This can take anywhere between 5-10 minutes, depending on the heat level, amount of butter.
- Cut the butter into small even sized cubes- I don't usually do this but some of my friends swear that this this ensures even and more uniform cooking and melting.
- Can I make a large batch at once? Yes! You can cook several sticks of butter at once, though it will take longer for the water to evaporate. Just ensure your pan is large enough to handle all that foam.
- Use a light colored pan- Avoid cast iron or dark nonstick pans. You need to see the milk particles becoming golden brown. In a dark pan, it’s nearly impossible to tell when it’s done.
- Don't walk away- Butter goes from perfect amber color to "burnt" in about 10 seconds. Stay at the stove the entire time.
- How to handle the foam? Move it to the side of the pan often with a spoon to check the color.
- Stop the carryover cooking- A hot pan will continue to cook the butter. It's very important that you transfer the amber butter to cool in a heat-safe bowl immediately.
- Scrape the bottom- Those little brown specks at the bottom of the pan contain all the concentrated flavor. Don't leave them behind!
- Use European style butters- They have a higher fat content and lower water content, often resulting in more milk solids and a richer flavor.
- Listen to the sound closely- When the loud crackling and popping sounds stop and turn into a quiet sizzle, you are seconds away from completion.
Recipe FAQs
Yes, you can, but I don't recommend it because it requires more attention plus the salt concentrates as water evaporates during the cooking process. This can make the final result too salty. Salted butter also foams more aggressively than unsalted butter. This makes it harder to see exactly when it reaches a golden brown state.
Yes. You can heat in 5-10 second intervals, mixing often, until it smells nutty and becomes golden brown but it splatters so much and makes a mess. I am personally not fond of this method and prefer the stovetop method.
Those are the toasted milk solids! They are the source of all the flavor. If they are dark brown, they are perfect. If they look like black charcoal, the butter is burnt and should be discarded.
Foaming occurs when water evaporates. Once the water is gone, the foaming stops and the cooked milk solids are left behind.
Storage
- Room temperature- You can leave this out in in a sealed jar for 3-5 hours.
- Refrigeration- In a sealed container or jar for up to 2 weeks. It will solidify into a soft, spreadable consistency.
- Freeze- Pour it into ice cube trays for easy portioning. Once frozen, transfer the cubes to a freezer bag for up to 3 months.
- Make ahead- You can brown it a week in advance and simply heat in microwave to melt, if necessary.
More baking tips
- How to Soften Brown Sugar
- How to Make Brown Sugar (2 Ingredients)
- How to Make Ombre Cake
- How to Blind Bake Pie Crust
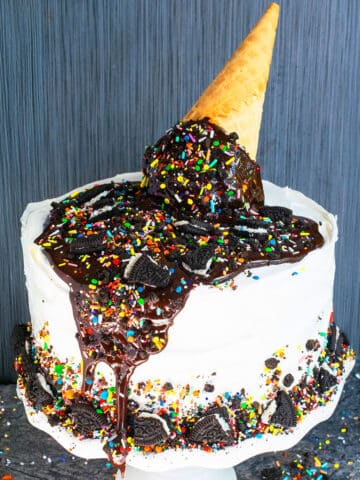
- How to Make Ice Cream Cake (Easy)
Recipe
How to Make Easy Brown Butter (1 Ingredient)
Video
Want to Save This Recipe?
Enter your email & I'll send it to your inbox. Plus, get great new recipes from me every week!
By submitting this form, you consent to receive emails from CakeWhiz
Ingredients
- ½ cup Butter Unsalted, Highly recommend using European butter
Instructions
- Add butter in a light colored saucepan and cook over medium heat.
- Mix with spoon often as the butter melts, sizzles, bubbles and becomes foamy.
- After about 5 minutes, the foam will start to subside and you will notice little brown specks at the bottom. The color will go from light brown to golden brown/ amber very quickly. The aroma will also change and you will be able to smell nuttiness.
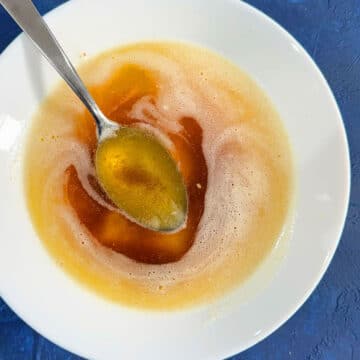
- As soon as you see the color change and brown specks, remove saucepan from the heat immediately and pour all of the butter and the brown milk solids into a heat-proof bowl or jar to stop the cooking process.
- Allow this to cool to room temperature and then chill in a sealed container in the fridge. Enjoy.
Notes
- Store in a sealed container or jar in the fridge for up to 2 weeks.
- Please use unsalted butter since salted butter becomes very foamy and too salty by the end of this process.
- Once the butter becomes amber in color and starts smelling nutty, you need to remove from heat immediately and transfer to another bowl or else the cooking process will continue and this will burn.
- Do not walk away while the butter is foaming and sizzling. It can burn in the blink of an eye and there is no way to fix black burnt butter.
- Use a light colored saucepan so that you can see the color change and go from yellow to golden brown/ amber. This change is impossible to see in a black saucepan.
- Read additional tips and variations above.
Nutrition
An automated tool is used to calculate the nutritional information. As such, I cannot guarantee the accuracy of the nutritional information provided for any recipe on this site.

Leave a Reply