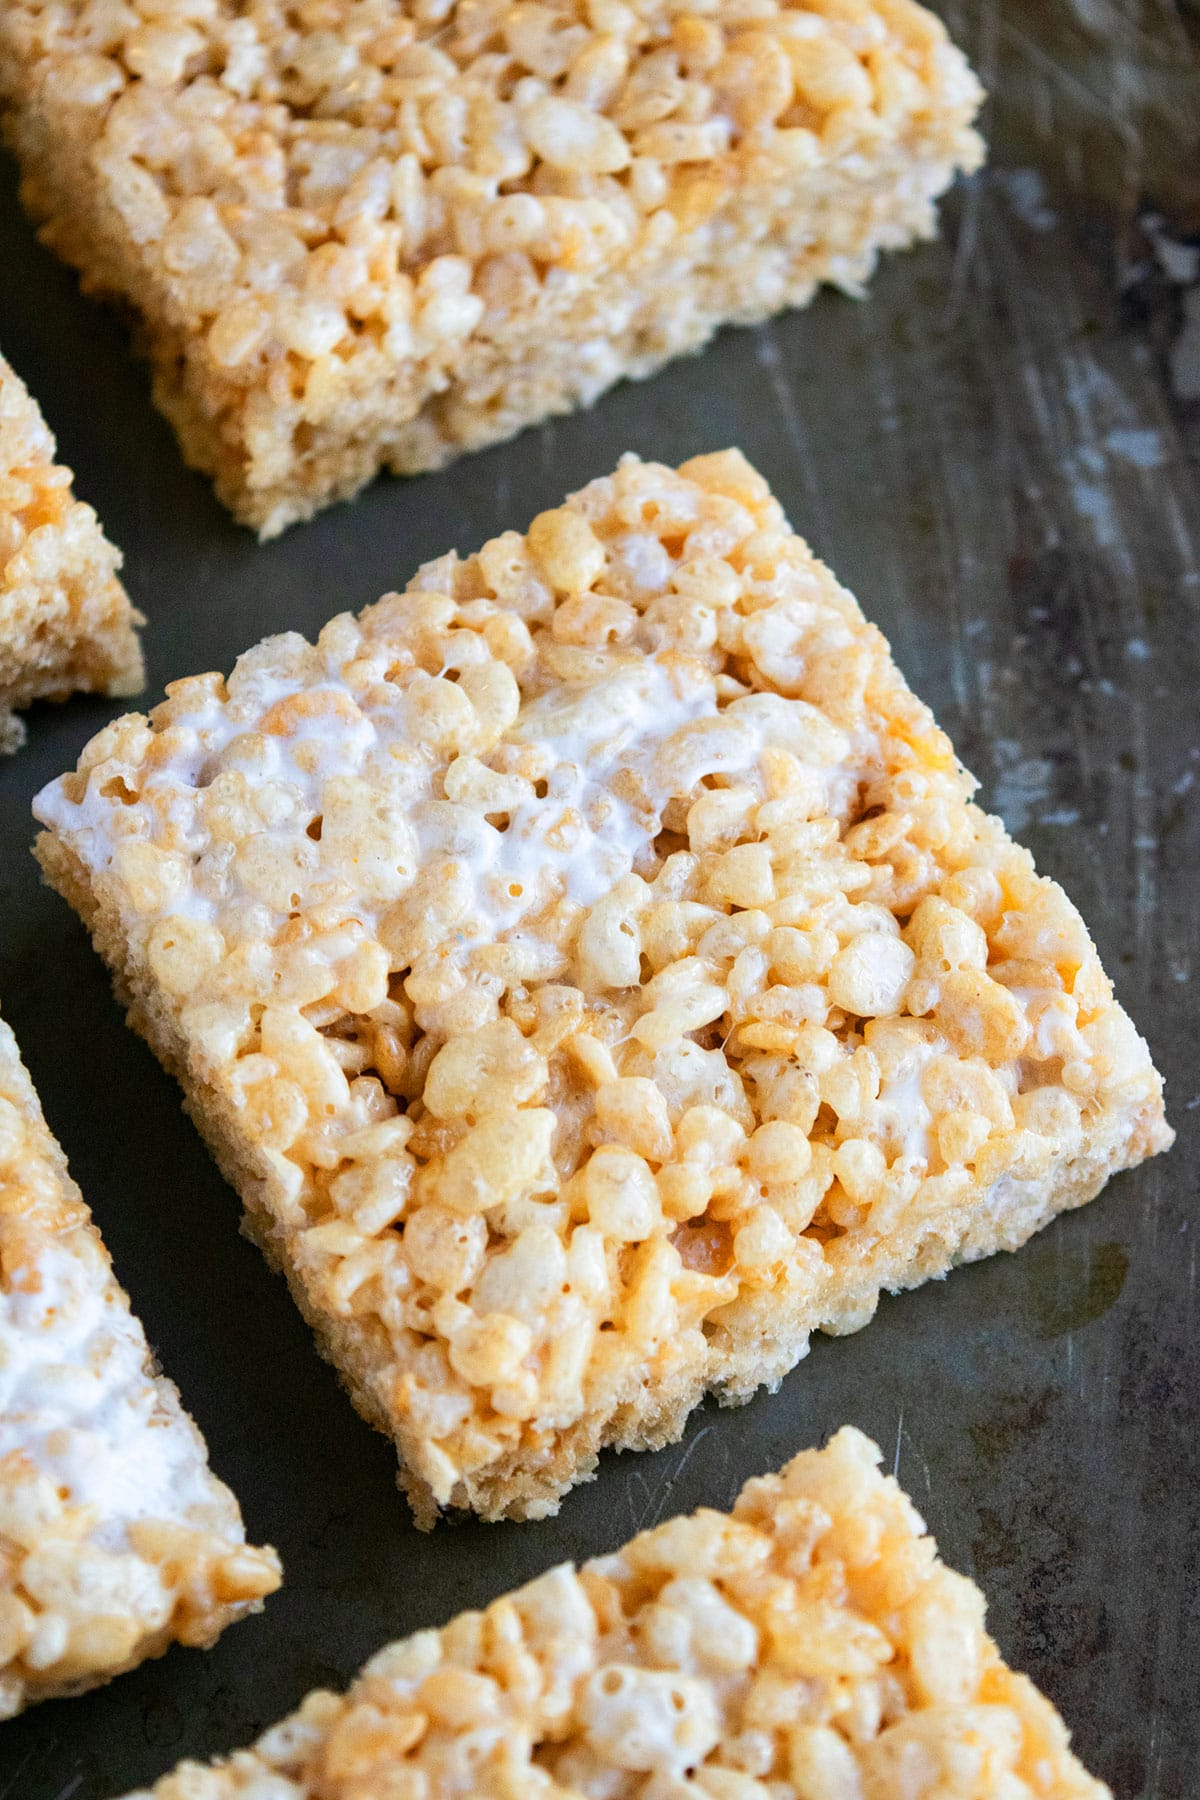
The best classic, easy rice krispie treats recipe, homemade with 4 simple ingredients. Ooey gooey, fluffy, airy, loaded with marshmallows, butter, vanilla and rice cereal.
Want to Save This Recipe?
Enter your email & I'll send it to your inbox. Plus, get great new recipes from me every week!
By submitting this form, you consent to receive emails from CakeWhiz
They are also known as "rice krispie bars" or "rice krispy treats." You can enjoy them as a dessert or snack. I also like to pack a small square in kiddo's school lunch box, for a sweet surprise. They are no bake and one of the most old-fashioned retro desserts out there. The recipe is very similar to my Rainbow Marshmallow Bars which are made with Froot Loops.
Jump to:
Key ingredients
- Butter- Make sure it's unsalted. If it's cut into cubes, it will melt faster.
- Marshmallows- Best to use mini size and vanilla flavored.
- Vanilla- This is the classic choice but you can use any flavor you like.
- Cereal- Rice Kripies is the obvious choice.
Variations
- Make a peanut butter version- Use half peanut butter and half unsalted butter in the recipe below. These will taste similar to my Easy Scotcheroos (No Corn Syrup).
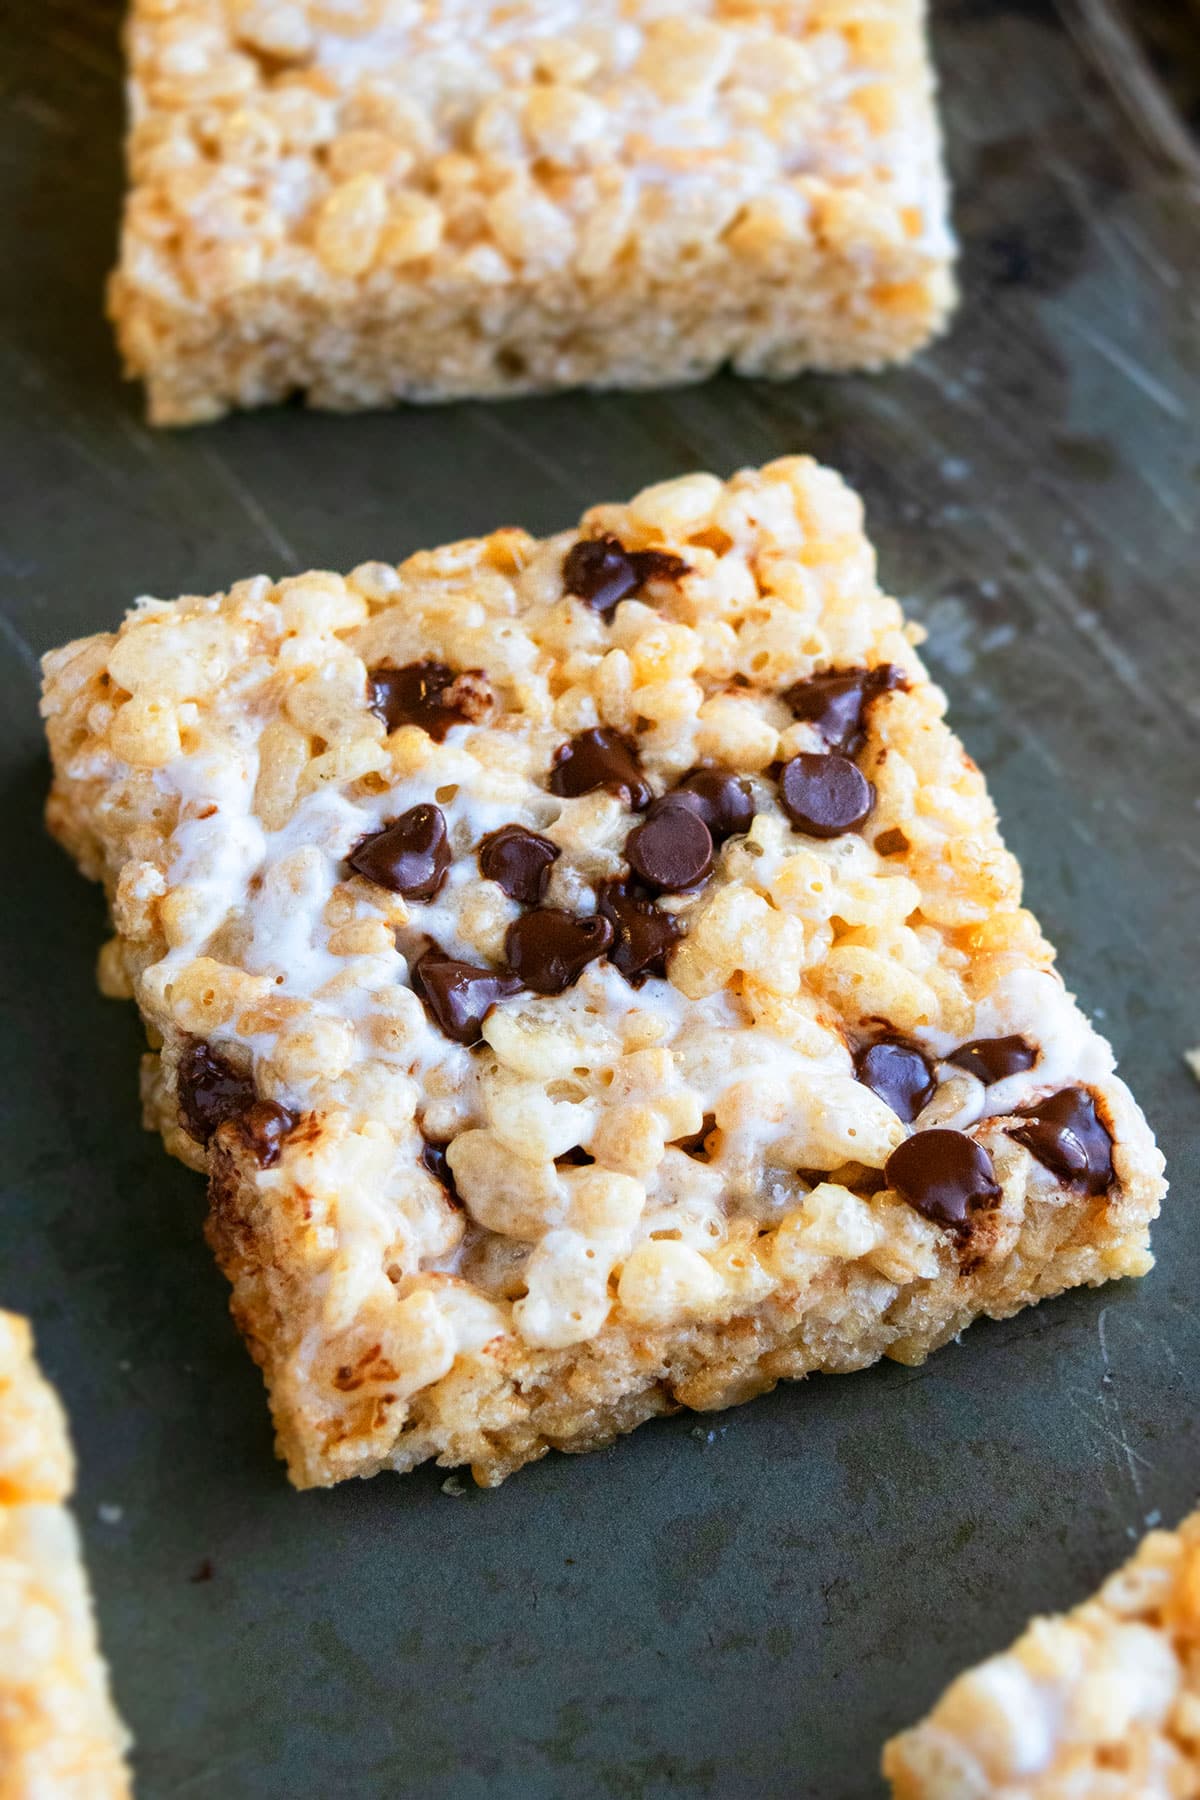
- For a chocolate version- You can mix in some cocoa powder or melted chocolate in the cereal mixture or use cocoa Rice Krispie cereal instead of the classic flavorless one.
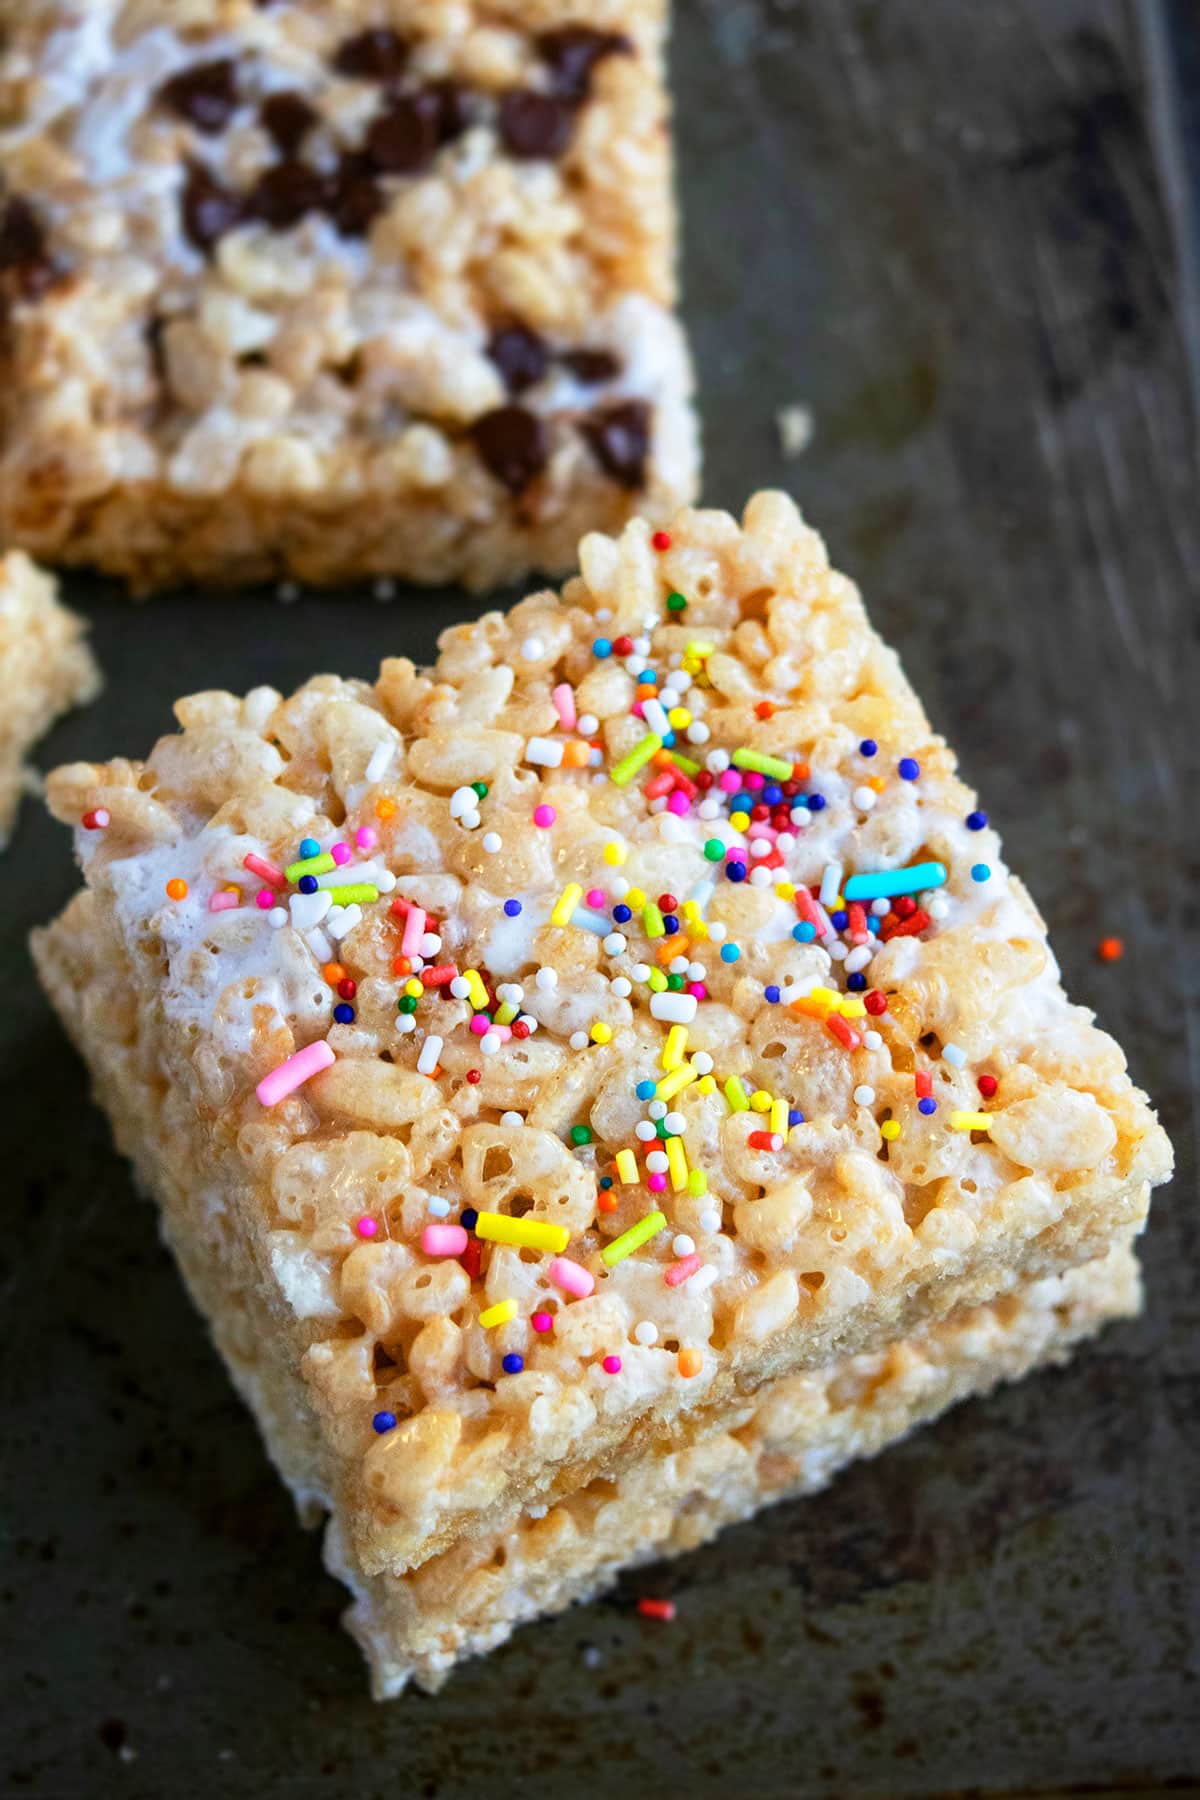
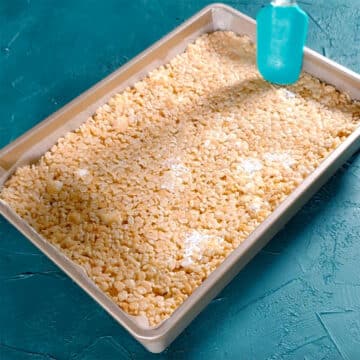
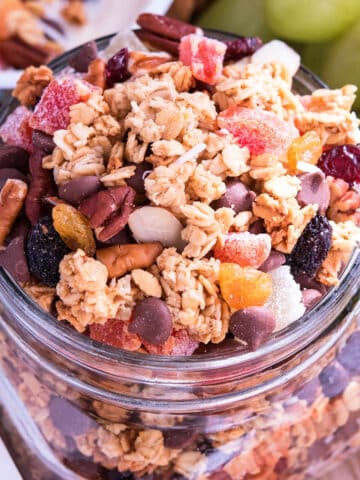
- Add toppings- Such as roughly chopped Oreos or candy bars, sprinkles, dried fruits and nuts, mini chocolate chips.
- Dip them in chocolate- Once you have cut slices, dip each piece completely in melted chocolate or you can just add a light chocolate drizzle. You can even drizzle Chocolate Ganache if you like.
- Try other extracts and zests- I used only vanilla extract but you can there are so many extracts to choose from. You can also add some fresh orange, lemon or lime zest for a Summer dessert.
- Spread icing on top- Try this Honey Frosting or Swiss Meringue Buttercream Frosting (SMBC).
- Add food coloring- To make them fun for kids.
- Modify them for Holidays- Such as Easter, Valentine, Halloween and Christmas. Add a little bit of food coloring that corresponds with the relevant holiday. E.g. Orange for Halloween, Pastel colors for Easter, Red and green for Christmas, Pink for Valentine's Day. Go a step further and use seasonal cutters to cut out holiday-inspired shapes instead of cutting slices. Just have fun with them!
- Make them in the microwave- Melt butter and marshmallows in a large microwave-safe mixing bowl. Then, add vanilla and cereal. Spread mixture in tray, let it cool, cut slices, enjoy!
How to make easy homemade rice krispie treats recipe from scratch?
Prepare marshmallow mixture by heating butter, mini marshmallows and vanilla until smooth. Add rice krispies cereal and more marshmallows. Mix until you have a sticky mixture. Spread in lined and greased pan. Add toppings if you like and let it set at room temperature. Cut slices and enjoy.
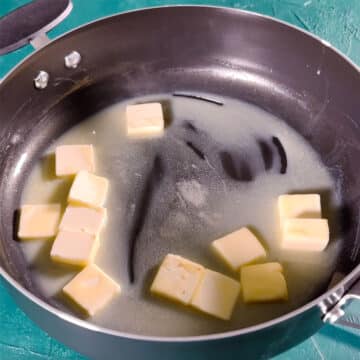
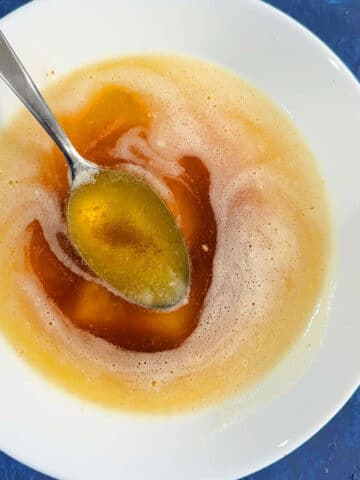
1. Heat butter- Until fully melted.
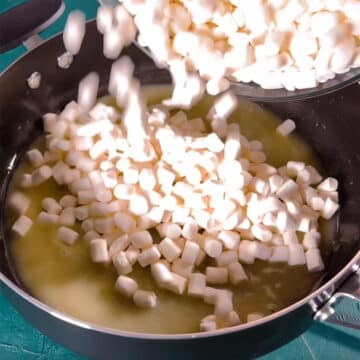
2. Add marshmallows- And mix over medium heat.
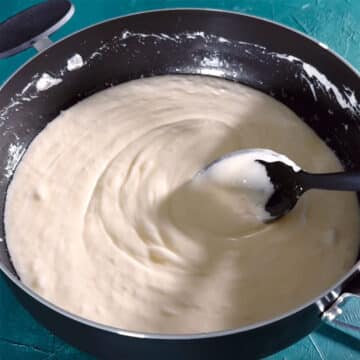
3. Mix marshmallows- Until fully melted.
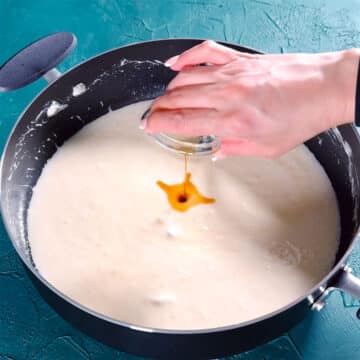
4. Add vanilla- And mix until combined.
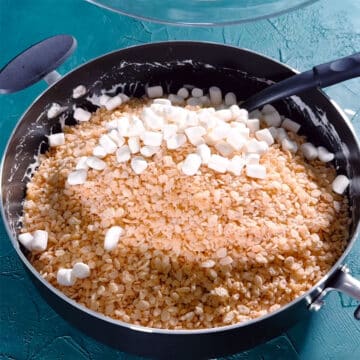
5. Add rice krispies and more marshmallows- Mix until you have a sticky mixture.
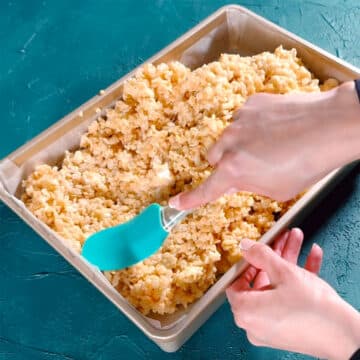
6. Spread mixture- In a lined and greased pan.
7. Flatten mixture- With a rubber spatula.
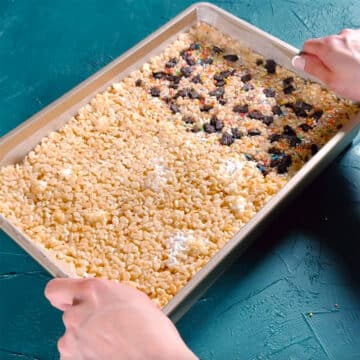
8. Add toppings if you like- Let it set and cut slices.
Tips and techniques
- Don't overheat marshmallows- Because that yields tough bars. The key to making truly perfect treats is to melt marshmallows until just about melted and then take it off the heat and let the residual heat melt the rest completely.
- Grease the spatula- With some butter or oil because this will prevent it from sticking to the cereal mixture when you are patting it down.
- Line and grease the baking tray- Line it with wax paper and give it a light misting of oil spray to prevent the mixture from sticking to the pan. That's exactly what I did when I made these No Bake Smores Bars too.
- Don't pack down the cereal mixture too tightly- That will make them thinner and harder and they will loose their airy texture. Be gentle! That is
- Use fresh marshmallows- Because they yield the best fluffy results. Stale marshmallows make harder bars.
- Use unsalted butter- Because this prevents these bars from becoming too salty.
- Remove 1 cup marshmallows for later- Adding them near the end adds some more chewiness to these delicious treats.
Recipe FAQs
Make sure they are separated from each other with a sheet of wax paper. Since these dessert bars are made with marshmallows, they have a tendency to be sticky.
Perhaps your marshmallows were old and stale, to begin with. Use fresh and fluffy marshmallows. Another reason could be that the marshmallows may have overheated, when you were melting them. One more reason could be that you may have packed down the mixture too tightly in the tray.
Storage
- Refrigerate- Store in a sealed container for up to 1 week. Make sure all bars are separated by sheets of wax paper. However, they become hard in the fridge and I prefer storing them room temperature instead.
- Freeze- These bars can be frozen for up to 1 month in sealed container, separated by small sheets of wax paper. When you are ready to enjoy them, let them thaw at room temperature for 20-30 minutes. That being said, I don't like to freeze them. They just don't taste as fresh or as ooey gooey as they did when they were made fresh. It's just a personal preference.
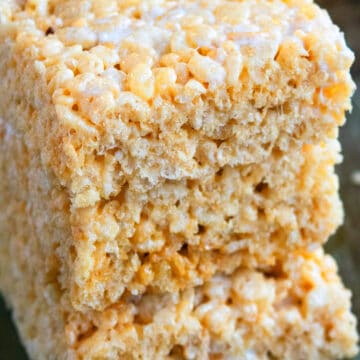
- Room temperature- This is the best way to enjoy. Store them in a sealed container for up to 3 days. They retain their perfect texture compared to refrigerating or freezing.
- Make ahead- You can make them 1 day before you are planning on serving them.
More no bake desserts with cereal
Recipe
Best Rice Krispie Treats
Video
Want to Save This Recipe?
Enter your email & I'll send it to your inbox. Plus, get great new recipes from me every week!
By submitting this form, you consent to receive emails from CakeWhiz
Ingredients
- ¾ cup Butter Unsalted
- 2 bags Mini marshmallows 10 oz. bags
- 1 teaspoon Vanilla extract
- 8.5-9 cups Rice Krispie cereal Or any other brand of crispy rice cereal
Instructions
- Heat a large nonstick pot over medium-low heat.
- Add butter and let it melt.
- Once it has fully melted, add marshmallows. Keep 1 cup marshmallows aside!
- Keep stirring gently until marshmallows are melted.
- Remove from heat and mix in vanilla extract.
- Then, add cereal and remaining marshmallows and mix gently until fully coated. You will have little chunks of partially melted marshmallows. That's perfectly normal!
- Dump this mixture on a baking tray (Dimensions: 9x13), lined with wax paper that's been lightly sprayed with oil.
- Spread the mixture evenly in the tray with a spatula. Gently press it down with the back of a spatula but don't use too much force. Also, be sure to grease the spatula so that it doesn't stick to the ooey gooey cereal mixture.
- Let it cool at room temperature for 45 minutes- 1 hour.
- Then, use a sharp knife to cut square pieces. Enjoy!
Notes
- Make sure you are using unsalted butter to keep them from becoming too salty.
- Don't slice until the mixture has become firm.
- If you add toppings, pat them down tightly with a rubber spatula.
- Topping options: sprinkles, roughly chopped nuts, Oreos, cookies, candy bars, mini chocolate chips.
- Use fresh marshmallows for the fluffiest texture.
- Use nonstick pot to prevent burning and sticking plus easy clean up.
- Read additional tips and variations above.
- Leftovers can be stored in a sealed container at room temperature for up to 3 days.
- Make sure the square pieces are layered between sheets of wax paper so they don't stick together.
Nutrition
An automated tool is used to calculate the nutritional information. As such, I cannot guarantee the accuracy of the nutritional information provided for any recipe on this site.
Until next time, tata my lovelies!

haley
I love this recipe!