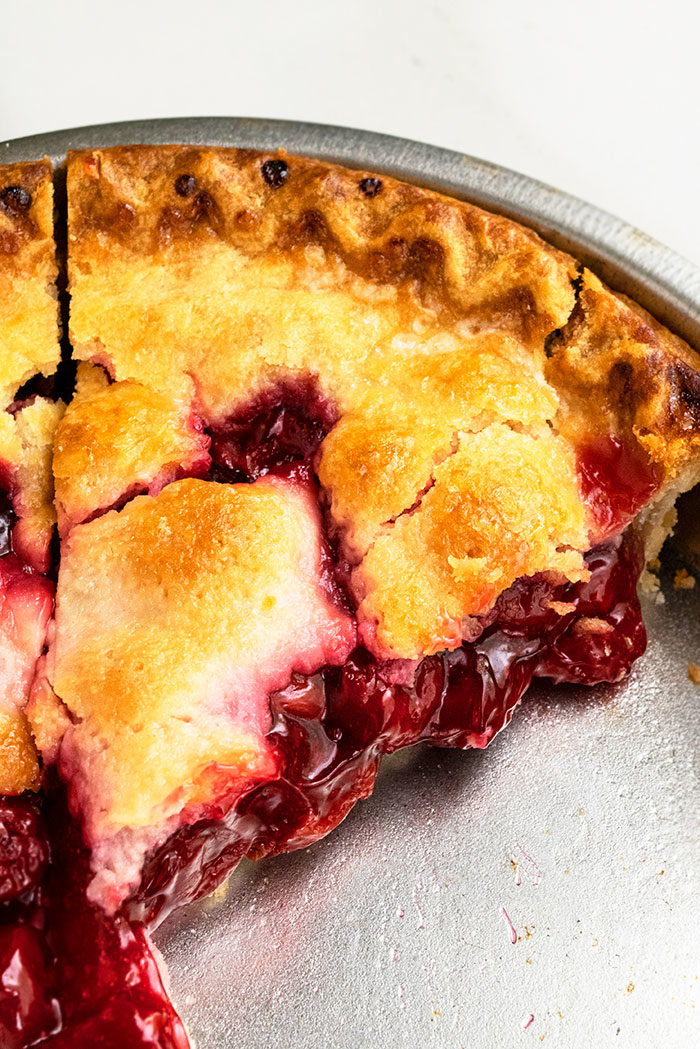
The best classic easy cherry pie recipe, homemade with simple ingredients. A delicious Summer pie with a buttery flaky pie crust that's filled with fresh or frozen cherry filling.
Want to Save This Recipe?
Enter your email & I'll send it to your inbox. Plus, get great new recipes from me every week!
By submitting this form, you consent to receive emails from CakeWhiz
Summer pies such as this Lemon Meringue Pie and this Easy Blueberry Pie are a must-make during the hot season! They are fresh, fruity and bursting with flavor and makes dessert time even sweeter. People are intimidated by making homemade Pies and Tarts but I make sure these recipes have been tested multiple times and they are packed with tips to make the whole process as simple as possible. This recipe is totally dummy-proof and even someone who has never made a pie in their life can pull it off!
Jump to:
How to make easy homemade cherry pie recipe from scratch?
- Buy or make pie crust- Home-made or store-bough crust can be used. My homemade recipe can be found in the printable card below.
- Make cherry filling– Mix together cherries, water, lemon juice, sugar, cornstarch, vanilla extract, red food coloring (optional) in a saucepan and cook until mixture thickens. Let it cool.
- Assemble- Spread crust in a pie dish. Add the fruit filling. Top it off with another crust layer. Seal edges. Make holes or slits for vents.
- Bake– Start off baking at a higher temperature and then lower it after 15 minutes for the remainder of the baking duration.
- Let it cool- Because it firms up the filling.
- Enjoy– You can add a topping (detailed list of options below) or enjoy as it.
What pie filling thickener to use?
The 2 popular choices are cornstarch and flour. I highly recommend using cornstarch because it doesn’t affect the flavor. It also does not become cloudy, which tends to happen with flour. Also, cornstarch thickens better and quicker than flour.
Why is my pie runny (runny pie soup)?
- Pie was not baked long enough.
- Not enough thickener (such as cornstarch or all-purpose flour or tapioca flour) was added to the filling.
- Filling was not cooked long enough to reduce excess liquid.
- Ingredients were not measured properly because baking is science!
Can you make pie ahead of time?
Yes, it can be made 1 day in advance. Once it cools down to room temperature, cover and chill in the fridge until you are ready to serve.
Can you freeze berry pies?
Freshly baked pies always taste better than frozen ones. However, yes, you can freeze this pie. Once it fully cools down, cover it in multiple layers of saran wrap and aluminum foil and freeze for up to 1 month. When you are ready to enjoy it, thaw overnight in the fridge and allow it to come to room temperature.
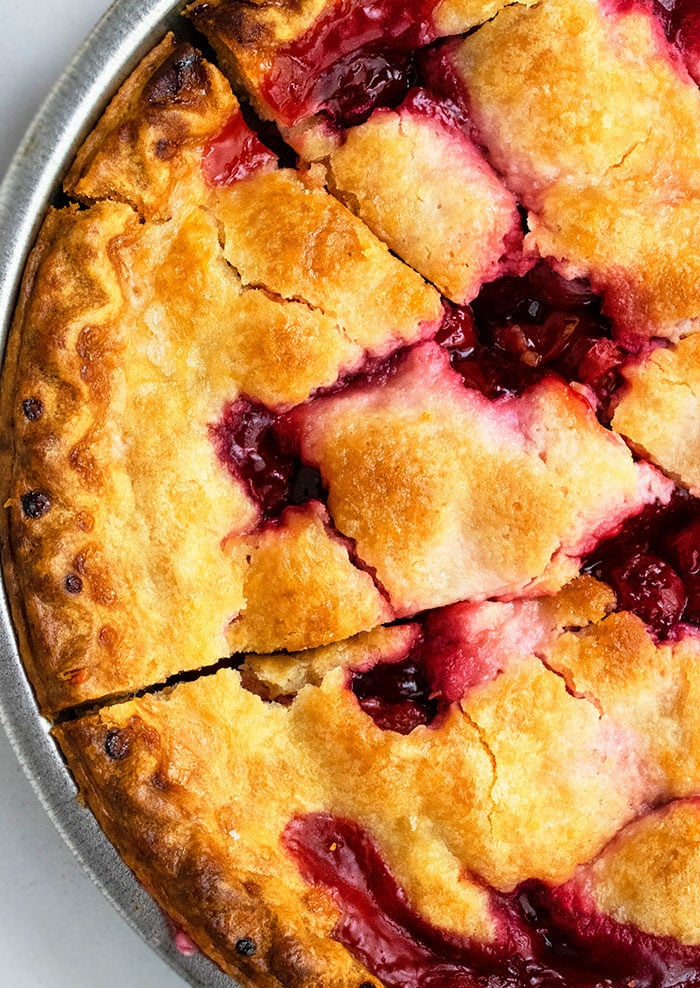
Fresh sweet cherry pie toppings
You can enjoy it, as is, without any toppings but you can also take it up to a whole new level of deliciousness by trying some of these toppings:
- Homemade Whipped Cream (my favorite!)
- Vanilla ice cream
- Vanilla frozen yogurt
- White chocolate ganache (syrup-like consistency)
- Shredded white chocolate
- Chopped nuts (especially pistachios!)
Variations
- Crumb pie or crumble pie– Instead of adding another crust layer on top, sprinkle a crumble topping and bake.
- Cherry cheesecake pie- Serve it with a swirl of Cream Cheese Frosting and you can also use a cream cheese crust, instead of a butter crust.
- Add zests- 1-2 teaspoon lemon, lime or orange zests are all great options.
- Add cinnamon- Add 1 teaspoon cinnamon powder to give this pie more flavor and character.
- Pie bars– Bake this pie in a rectangle pan and when it cools down, slice square bars.
- Make mini pies- Line individual holes of a cupcake pan with pie crust and fill it with the berry mixture. Top off with another layer of crust. Make a slit on each mini pie for venting. Bake. Cool and enjoy.
- Add a crunchy sugar topping– By brushing the top of the crust with egg wash and sprinkling sanding sugar, prior to baking.
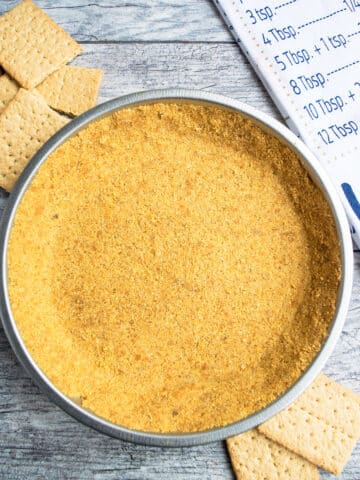
- Use a different pie crust- Such as an Oreo Pie Crust or Graham Cracker Crust. Please note that these will be no bake pies and won't require any baking.
Tips and techniques
- Don’t over-bake– Because that will over-brown and burn the crust.
- Protect the pie crust edges- The best way to do that is to use a pie crust shield to keep the edges from over-browning. You can also cover the edges of the pie with aluminum foil.
- Don’t under-bake– Because you will end up with a partially baked or unbaked crust. Also, it won't have that perfect crispy flaky texture.
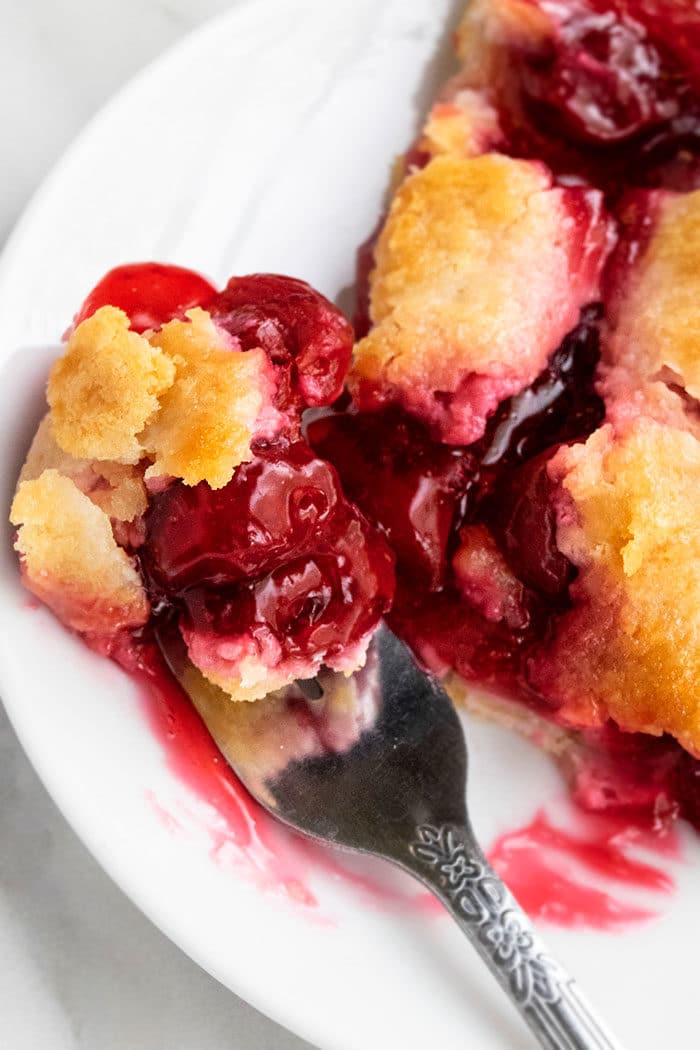
- Pie must cool dow completely before it’s served– If you slice too quickly, you will end up with very messy slices. This cooling period allows the filling to firm up and makes slicing easier.
- Venting is important- You much make slits on top of the crust because it allows the heat to vent during baking and prevents a soggy crust.
- Place pie dish on a baking tray– Because it will catch any spills (if any!) and prevent a messy oven.
- Fresh cherries vs. Frozen cherries- Fresh is always best but frozen cherries can be used. However, it will release more water. So, be sure to cool it for a bit longer to prevent the filling from being runny.
- There are two different temperatures- You are starting off with baking at a higher temperature and then lowering it for the remainder of the baking time for the perfect crust.
- Do you serve pies hot or cold? It can be either. I like it cold or at room temperature but everyone has their own preference.
- How to heat up pie? You can heat a slice in the oven at 350 degrees F for a few minutes. You can heat it the microwave too but it has tendency to become soggy.
Storage
- Room temperature- This can be kept out for 3-4 hours.
- Refrigerate- In a sealed container for up to 3 days.
- Freeze- You can do this but I don't like it. Freshly baked pies are the best with their crispy pie crust. When you freeze them, the moisture from the freezer causes the pie to lose that wonderful crispiness and becomes soggy. If you still want to do this, allow the pie to cool fully. Then, cover it in multiple layers of saran wrap and aluminum foil and freeze for up to 1 month. When you are ready to enjoy it, thaw overnight in the fridge.
More cherry desserts
- Easy Cherry Turnovers (With Puff Pastry)
- Chocolate Cherry Cookies (Black Forest Cookies)
- Maraschino Cherry Frosting
- Chocolate Cherry Cupcakes
- Gooey Brownies (Chocolate Cherry Brownies)
Recipe
Easy Homemade Cherry Pie
Want to Save This Recipe?
Enter your email & I'll send it to your inbox. Plus, get great new recipes from me every week!
By submitting this form, you consent to receive emails from CakeWhiz
Ingredients
- 1 batch Homemade cherry pie filling
- 1 package Refrigerated pie crust Contains 2 pie crusts, Or you can also use a prepared unbaked frozen pie crust for the base and a rolled out crust for the top
Instructions
- Prepare the cherry pie filling, as per my instructions, and let it cool down completely.
- Unfold one pie crust and spread it in a 9 inch pie dish. Trim and crimp the edges. Keep aside.
- Once the filling has cooled down, spread it evenly in the prepared pie crust.
- Unfold the other pie crust and place it on top of the filling. Trim and crimp the edges to make a double crust pie. Use a knife to make slits for venting. (Instead of this, you can also do a lattice top with strip of pie crusts).
- Cover the pie crust edges with aluminum foil and place the dish on a baking tray.
- Bake at 425 degrees F for 15 minutes on the middle rack.
- Then, reduce heat to 375 degrees F and then bake for another 30 minutes until pie crust is golden brown.
- Slice and enjoy!
Video
Notes
- Read all my tips above.
- If you want to make the crust at home, check out my Homemade Flaky Butter Pie Crust Recipe.
- Leftovers can be stored in a sealed container in the fridge for 3-5 days.
Nutrition
An automated tool is used to calculate the nutritional information. As such, I cannot guarantee the accuracy of the nutritional information provided for any recipe on this site.

Leave a Reply