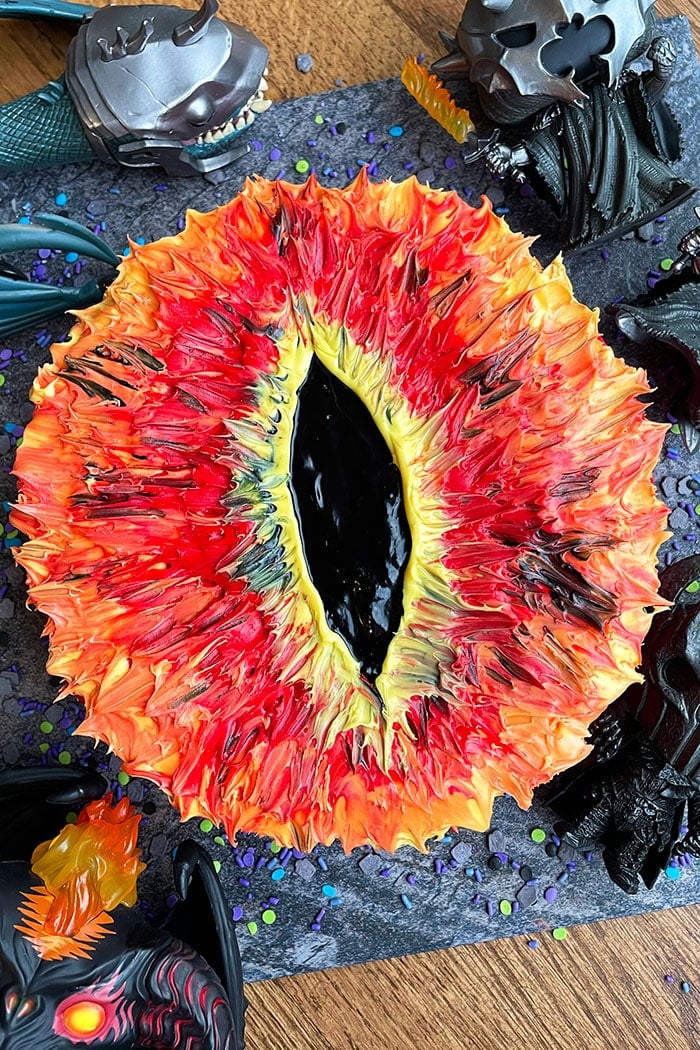
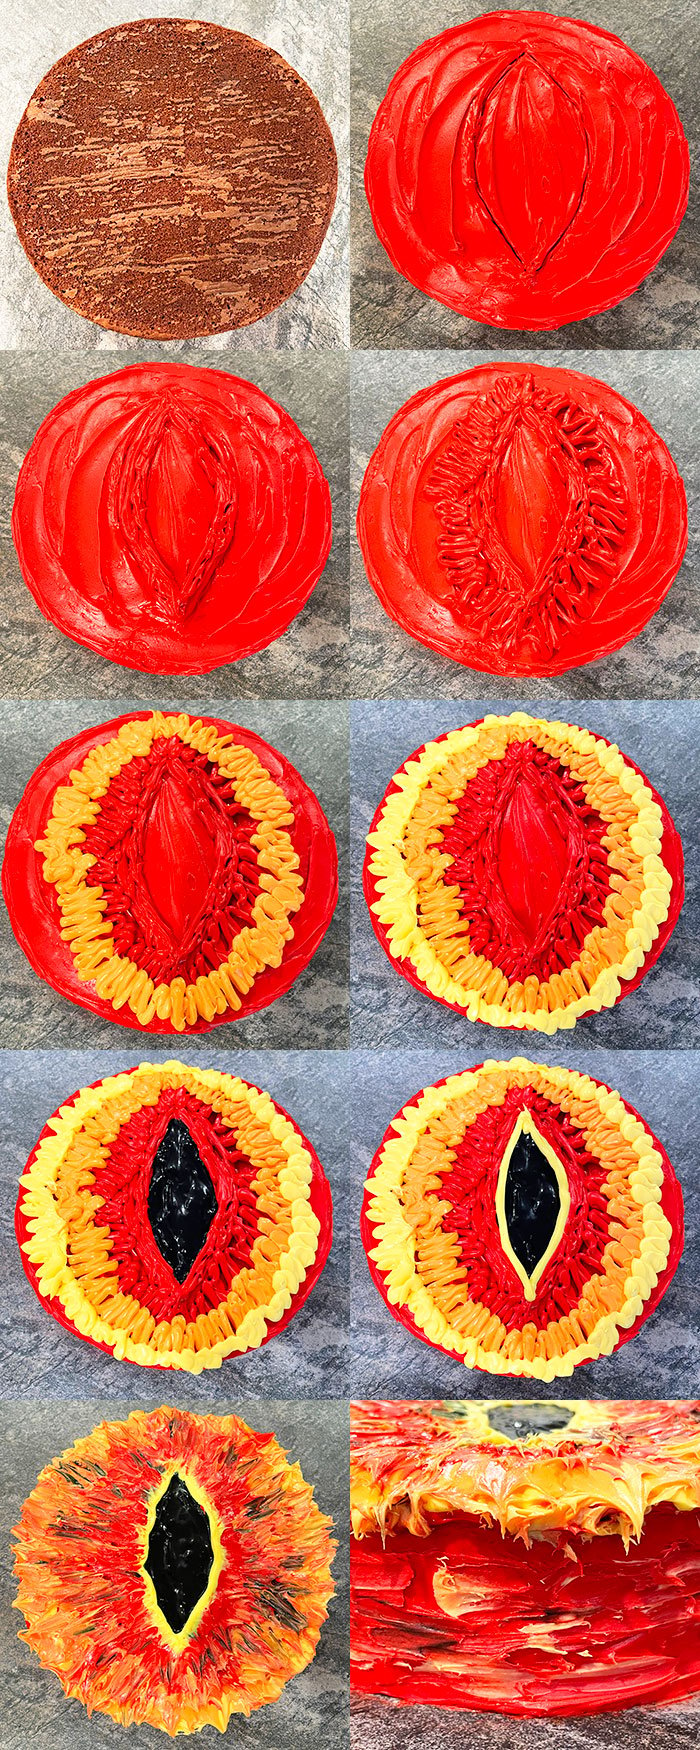
Easy Lord of the Rings cake (LOTR cake), homemade with simple ingredients. This Sauron Eye cake is chocolate flavored and decorated with colored buttercream frosting. No fondant necessary!
When it comes to LOTR movies and books, the most popular cake designs I have seen are the ring or shire. However, I wanted to make something different and settled on Sauron's character. This cake is decorated entirely with icing and there is no use of fondant at all. You also need no fancy tools- just a simple paintbrush! Even beginners who have never decorated a cake can make this one. For more inspiration, be sure to check out this huge collection of Birthday Cake Ideas.
Want to Save This Recipe?
Enter your email & I'll send it to your inbox. Plus, get great new recipes from me every week!
By submitting this form, you consent to receive emails from CakeWhiz
How to make Lord of the Rings Cake?
- Bake cake- And allow it to cool completely.
- Make buttercream frosting- And color it red, yellow, orange, black.
- Ice cake completely- With red frosting.
- Outline the center eyeball- With toothpick.
- Pipe frosting around the outline- First, pipe red. Then, orange, yellow.
- Fill center- With black frosting.
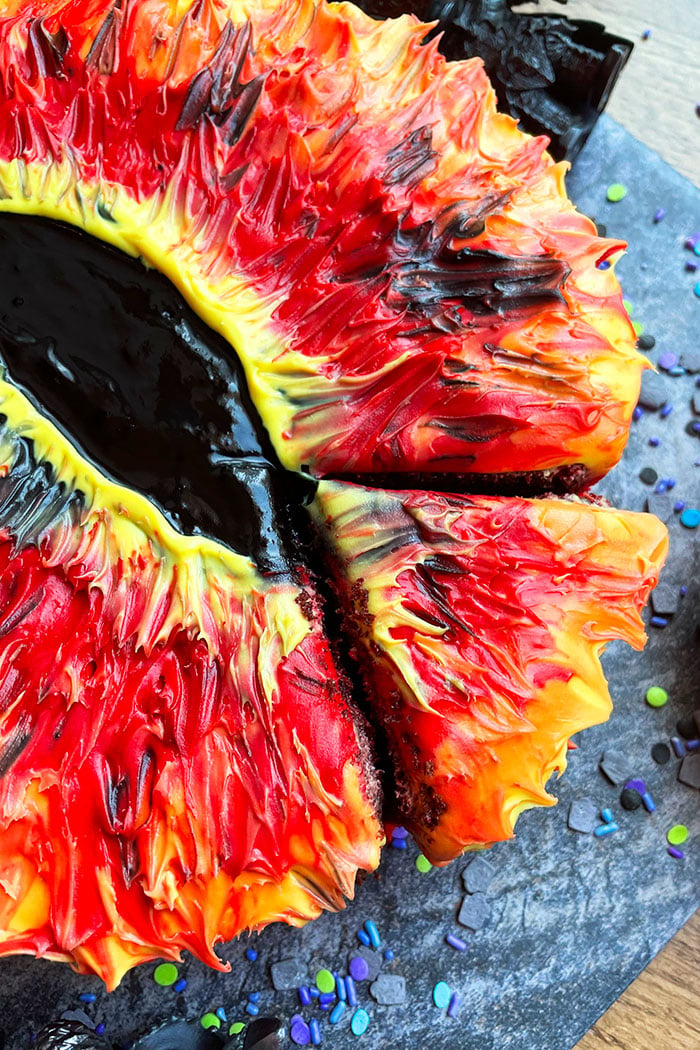
- Paint buttercream- With a small paintbrush until all the colors are blended except the black center.
Variations for Sauron Eye cake
Make mini cakes- Bake smaller cakes and decorate according to instructions below.
Fill cake– I skipped it this time but you can cut the cake in half and spread jams/ preserves, fresh berries, caramel sauce or even ganache.
Decorate with fondant- Cover the cake in red fondant and then paint with icing on top or you can paint with a mixture of gel colors and clear extract.
Make larger cake- This was an 8 inch cake but you can make a 9 inch or 10 cake to feed more people.
Try different cake flavor– Such as Chocolate Pound Cake or Banana Chocolate Chip Cake.
Consider a different frosting– Such as Chocolate Cream Cheese Frosting or Chocolate Ganache Frosting.
Tips and Techniques for LOTR birthday cake
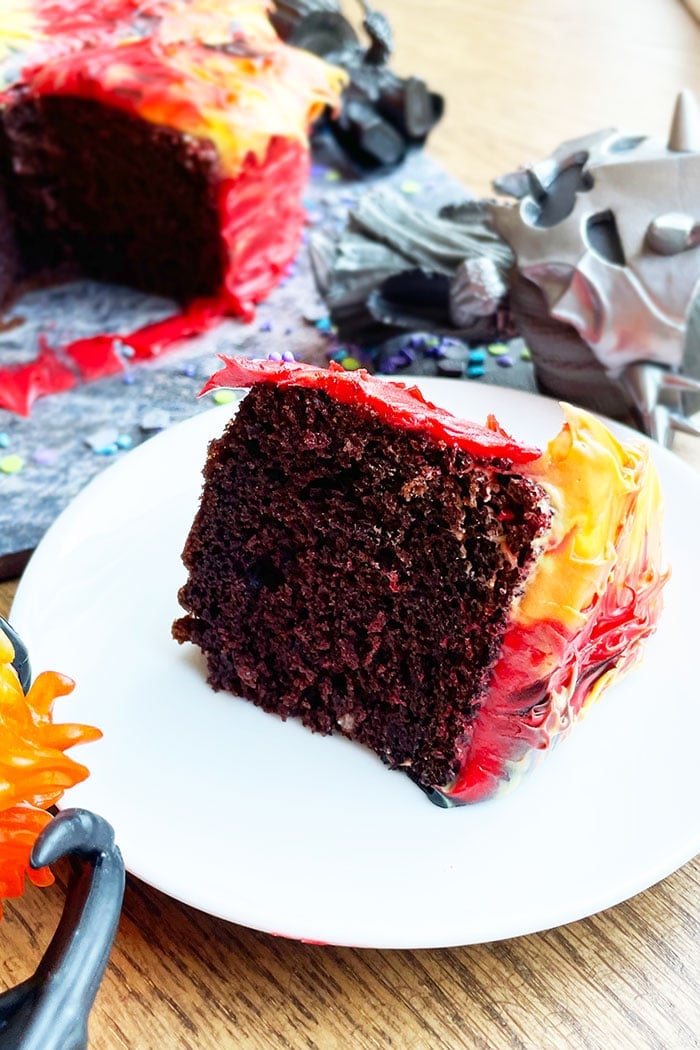
Don’t decorate a warm cake– Because the heat will cause the icing to melt and make a mess.
Homemade frosting vs. Store-bought frosting- Either can be used. Store bought is obviously more convenient when you are short on time.
Buy black icing and red icing- I highly recommend this because they are both really hard to make at home and the color never ends up being as deep and vibrant as the store-bought versions.
Use gel colors for coloring icing- Because this works much better than liquid colors since they are thicker and more concentrated and will not affect the frosting consistency.
Storage
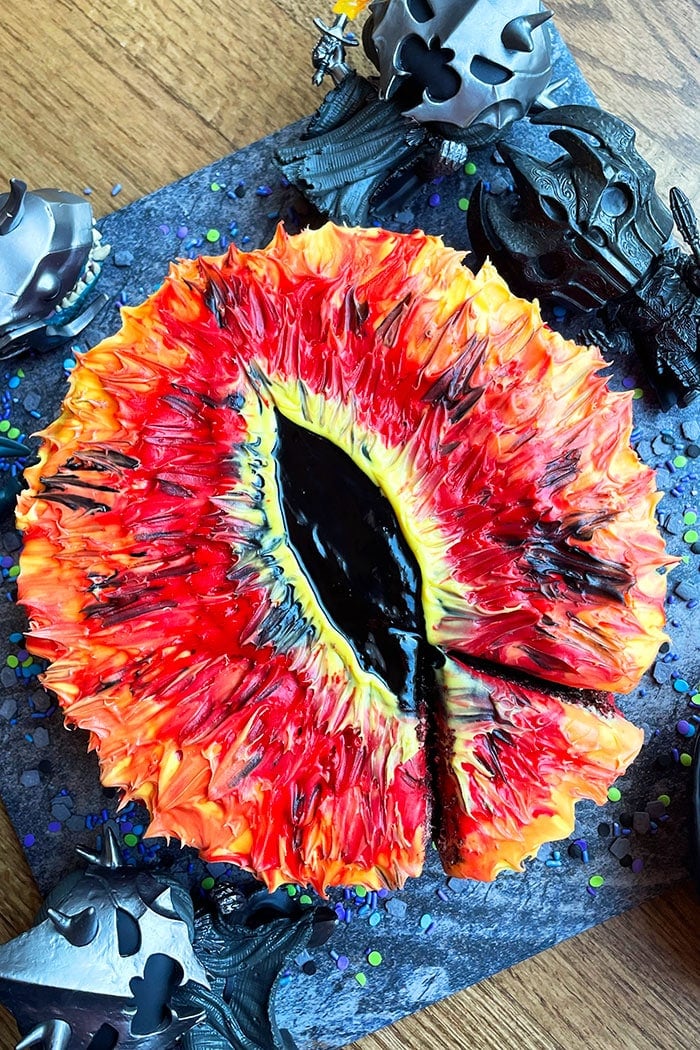
Room temperature- Once the cake is ready, store it at room temperature away for up to 24 hours as long as there are no perishable fillings. These would also be my “make ahead” instructions.
Refrigerate– Decorated cake can be stored in a cake box for up to 2 days.
Freeze– Unfrosted cakes and frostings can be stored in sealed containers for up to 1 month. When you are ready to make this dessert, thaw everything in fridge overnight and then, decorate as per instructions below.
More Decorated Cakes (Birthday Cakes)
- Easy Emoji Cake (Poop Cake)
- Erupting Volcano Cake (With Dry Ice Smoke)
- Galaxy Cake
- Tie Dye Cake
- Easy Shoe Cake (Sneaker Cake)
Recipe
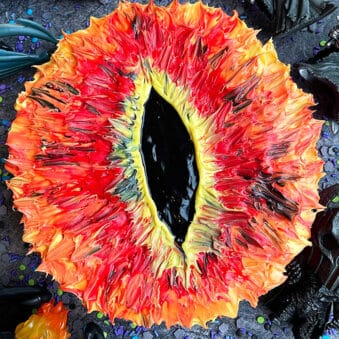
Easy Lord of the Rings Cake (Sauron Eye Cake)
Want to Save This Recipe?
Enter your email & I'll send it to your inbox. Plus, get great new recipes from me every week!
By submitting this form, you consent to receive emails from CakeWhiz
Ingredients
- 1 Chocolate cake Round, 8x3
- 4-6 cups American buttercream frosting Colored red, yellow, orange, black
Instructions
- Bake cake and allow it to cool completely.
- While the cake is baking and cooling, prepare frosting.
- Divide frosting in separate bowls and tint them red, yellow, orange and black, using gel colors.
- Place cake on serving dish.
- Ice the cake completely in red frosting.
- Use a toothpick to make an eyeball outline in the center.
- Fill a piping bag with red icing and cut out a small opening with scissors.
- Pipe in a zig-zag motion around the outline.
- Fill another piping bag with orange icing and pipe roughly around the red icing.
- Fill another piping bag with yellow icing and pipe roughly around the orange icing.
- Fill another piping bag with black icing and fill the center.
- Use a paintbrush to blend all the colors roughly, leaving out the black center. Don't blend the center.
- Also, brush some black icing randomly on top of the cake.
- For the side of the cake, brush red, yellow, orange and black icing randomly. Enjoy!
Notes
- Read all my tips above.
- Leftovers can be stored in a sealed container in the fridge for up to 3 days.
An automated tool is used to calculate the nutritional information. As such, I cannot guarantee the accuracy of the nutritional information provided for any recipe on this site.

Melissa
Perfect - I was looking for a cake like this when I came across your recipe. Turned out great!
Jamie
My son is a huge Lord of the Rings fan. He absolutely loved this cake!
Sharron H
SO happy I found this!! My kids loved it and I must say, mine came out pretty awesome like yours. Thank you!