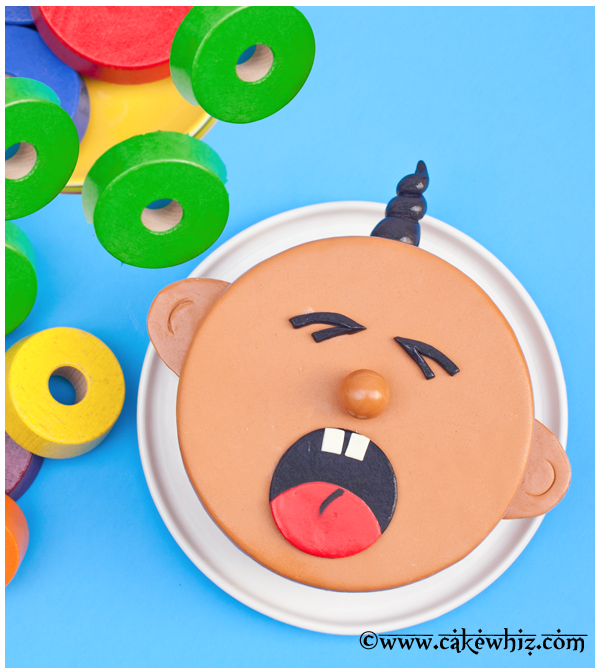
Use this cake decorating tutorial to make a crying baby cake. All you need is fondant and few basic tools. Great for baby showers or kids birthday parties!
Hello everyone! I am so excited to be back to blogging with this crying baby cake tutorial! It's just as cute as my Gender Reveal Cake (Baby Shower).
Want to Save This Recipe?
Enter your email & I'll send it to your inbox. Plus, get great new recipes from me every week!
By submitting this form, you consent to receive emails from CakeWhiz
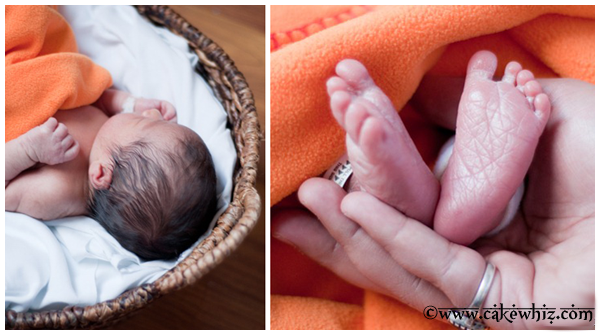
My absence from the blogosphere was valid though coz Hubby and I welcomed our first child into the family.... A beautiful baby boy!
I can't get over how tiny he is with his little hands and feet...hehe.
For this posting, I wanted to make a baby- themed cake but I wasn't sure what to make and then, it finally hit me... Babies cry ALOT!
When they are hungry... they cry!
When they poop... they cry!
Even when they are bored... they cry!
So, why not make a crybaby cake???
It seems like the perfect choice.
I think it turned out pretty cute... What do you think?
And best of all, this crying baby cake is not that complicated to make either.
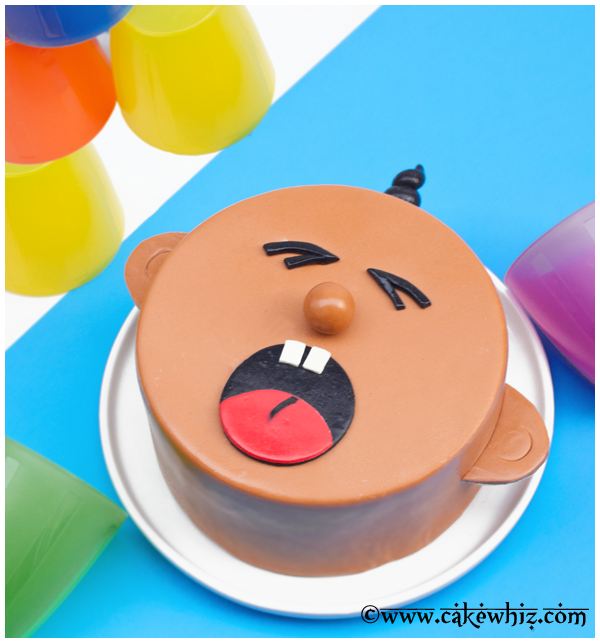
You can always change things a little.
For instance, you can change the expressions and make a happy baby cake.
Or you can omit the hair and make a bald baby or even add a hat or bonnet piece.
Just let you imagination run wild!
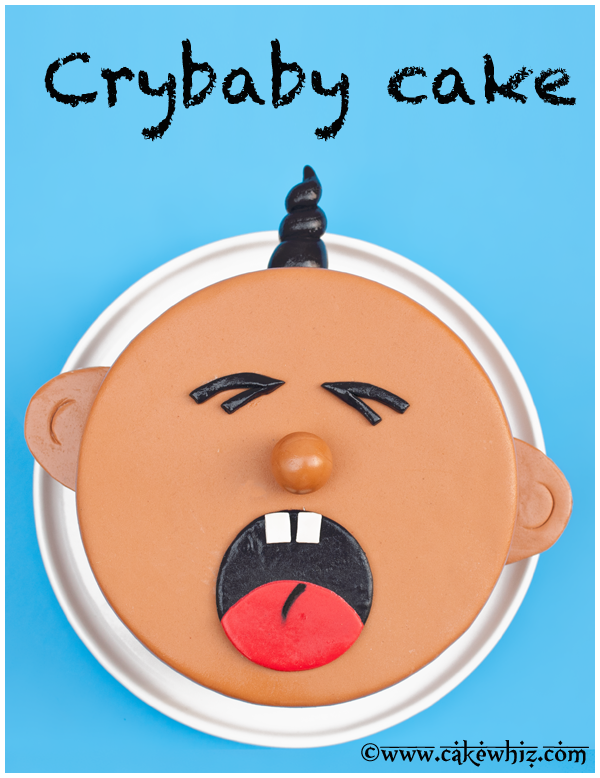
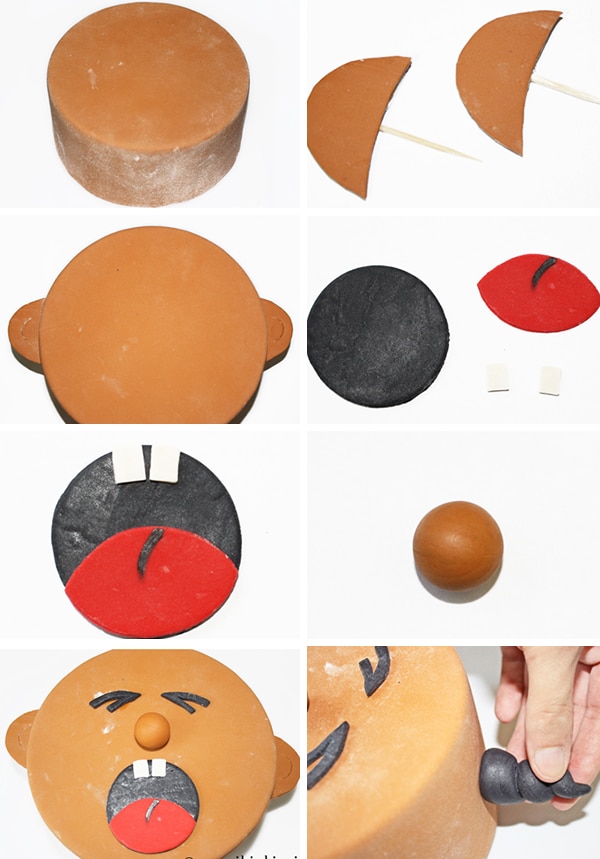
For this crying baby cake tutorial, you will need the following SUPPLIES:
Round mango cherry cake
White chocolate buttercream frosting
Red marshmallow fondant
Brown marshmallow fondant
White marshmallow fondant
Toothpicks
Circle cutter
Knife
Small cardboard piece
Tape or glue
Scissors
Royal icing or corn syrup
Black edible marker
These are the INSTRUCTIONS:
Step 1:
Bake a cake and let it cool.
Then, cover it in frosting and brown fondant.
This will be the face of the baby.
Step 2:
For the ears, cut out two “moon-like” cardboard pieces.
Make sure they are about the same size.
Step 3:
Brush a thin layer of royal icing or corn syrup on these cardboard pieces and then cover them in brown fondant.
Use tape or a glue gun to attach a toothpick behind each cardboard ear.
Step 4:
Press these toothpicks on either sides of your cake.
Now, your baby has ears!
Step 5:
Our baby had lots of hair when he was born and I wanted this baby cake to have some hair too…lol.
For this, roll out black fondant into a “snake” form and then arrange it in a spiral shape.
Stick a toothpick at the base.
Step 6:
For the nose, make a ball using some brown fondant.
Step 7:
For the mouth, cut out a black circle, a red leaf and two small white squares.
Use an edible marker to draw a line on the red leaf like I did.
Step 8:
Now, brush some water behind each fondant piece and assemble it the way I did.
Your baby’s mouth is now complete!
Step 9:
I forgot to take a picture when I made the eyes. But to make those, just cut out a “V” shape using black fondant and bend the ends downward.
To put everything together, brush some water behind the mouth, nose and eye pieces and stick them onto the cake.
NOTE: Don’t worry about all the white powdered sugar on the cake. Once you are done, you can steam the cake and the white marks will disappear.
Step 10:
Push the hair piece on the top of the cake and you are done!
Note:
Don’t worry about all the white powdered sugar on the cake. Once you are done, you can steam the cake and the white marks will disappear.
Next time you need a fun baby shower cake, give this a shot.
I am sure your friends will have a good laugh.
Until next time, tata my lovelies!

SW
Oh, this cake is so cute! Congratulations on the birth of your baby!