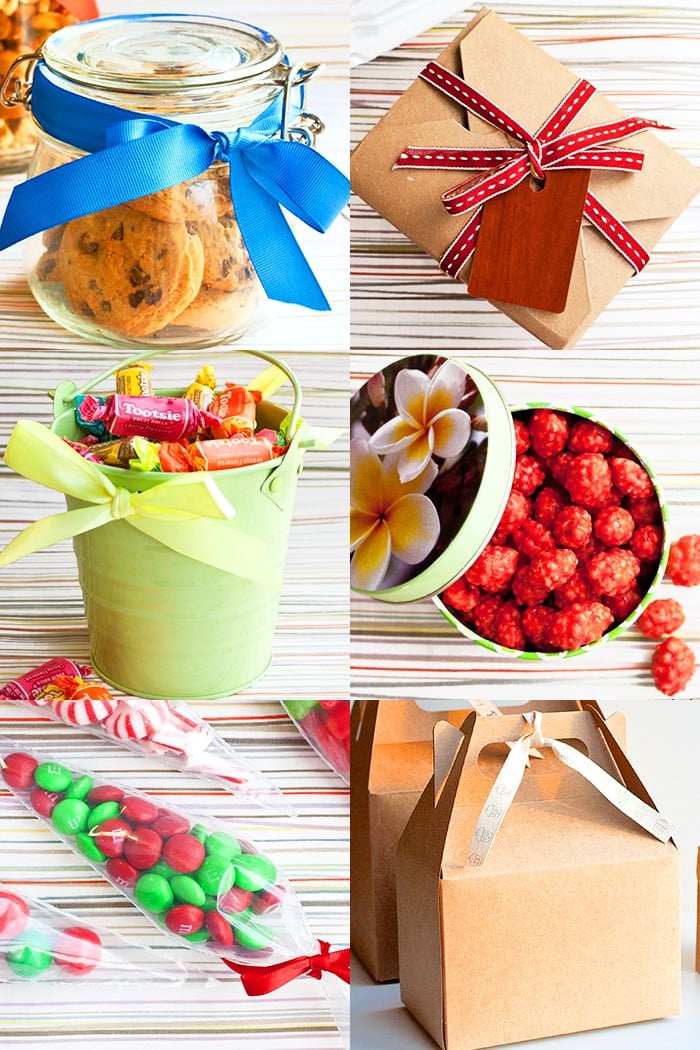
Check out these super easy food and cookie packaging ideas. You can find most of these items at home or at local grocery stores or craft stores. This adds a nice personal touch to edible homemade gifts!
I am sharing some easy ways to package edible gifts because this year, my family and friends will be receiving both, homemade and store-bought gifts from me. Contrary to what most people think, homemade gifts are not that simple or cheap to make. Depending on what you are making, you will be paying for ingredients and supplies, boxes, fancy tissue paper, ribbons, tags and cards. Not to mention, the time and energy you will spend on baking and packaging. Try doing that with a very active toddler running around and it's enough to make you go insane but it's all worth it at the end when someone appreciates the gifts that you made for them out of love. Today, I am sharing some easy ways to package edible gifts, which won't break your budget.
Want to Save This Recipe?
Enter your email & I'll send it to your inbox. Plus, get great new recipes from me every week!
By submitting this form, you consent to receive emails from CakeWhiz
Table of contents
Buckets
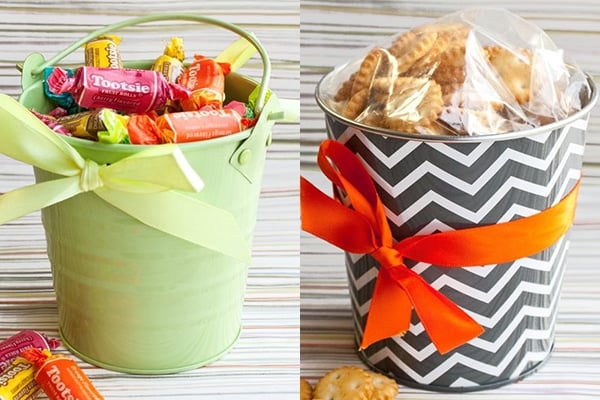
These little buckets only cost a $1 and can be found at dollar stores, Target, Jewel-Osco and most grocery stores. They comes in various colors, patterns and sizes. Some of them even have their own pretty ribbons attached to them. I think these are great for packaging cookies, chocolate barks and other homemade candies. If you can't find buckets with ribbons, you can always tie a ribbon around the bucket yourself. Remember if you are packing anything that may be greasy, pack it in a plastic sheet or a Ziploc bag first.
Candle jars
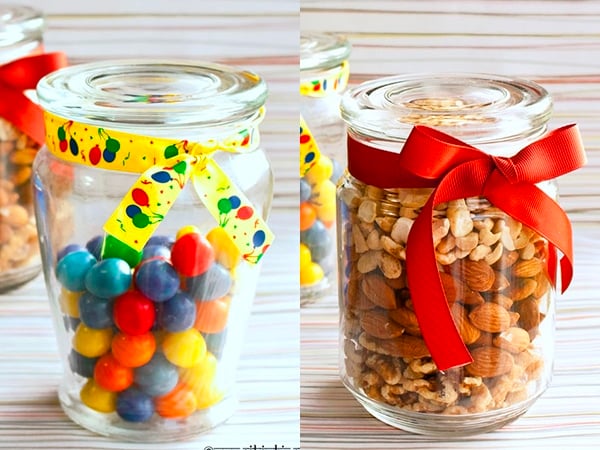
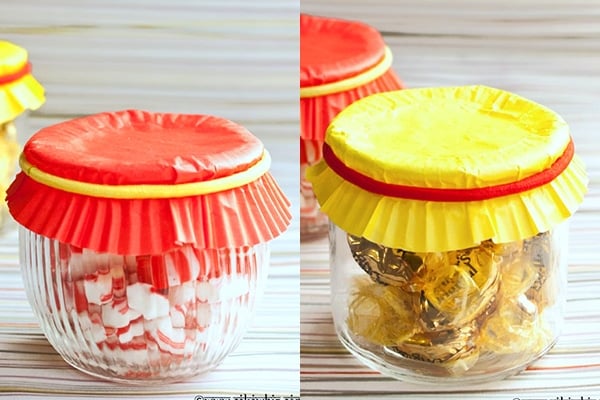
This was an old candle jar. It's about 7 inches high and 4 inches wide. I remember buying that candle for $5. The candle served its purpose, making my house fragrant. But after the candle was done, I washed the jar thoroughly with soap and water, removed the labels and let it air dry. Then, I filled it with nuts, wrapped a pretty ribbon around it and had a beautiful packaged gift. You can also attach name tags and small cards if you like. Here's another old candle jar, about the same size as above. But, this one has a different shape...it's a little tapered at the bottom and I find it more elegant. I filled it with colorful round candies, wrapped a colorful ribbon around it and had another packaged gift. For smaller candle jars that are about 3 inches high, I have been using them to package homemade seasonings, flavored salts and sugars. An issue with small candle jars is that they don't come with a lid. So, I have been using a cupcake liner to cover the top and securing it in place with a colorful hair tie or a ribbon. Seems to be working very well.
Sealed jars/ Mason Jars
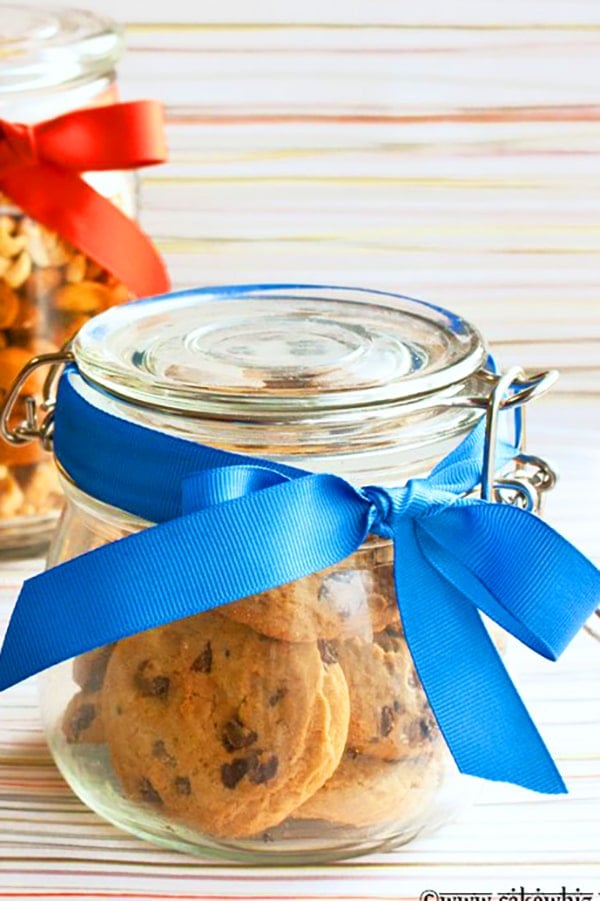
Another easy way to package edible gifts is in jars! I think jars are my absolute favorite way of packaging nuts, candies and cookies. And there is a huge range of sizes and shapes available out there. You can buy them at stores like Wal Mart, Michaels and Hobby Lobby. Depending on the size of jars, the prices can vary dramatically. But, I have a cheaper alternative for you...Use old candy jars. If you don't have old candle jars, here's a cheap jar I bought from Ikea for $2.50. It's about 4 inches high and about 5 inches wide. The good thing about these jars is that they have an AIRTIGHT SEAL. So, they are great for packaging homemade jams, preserves and jellies. The seal ensures that your edible gifts stays fresh for longer.
Baby food jars
Believe it or not but this is a baby food jar. My little one eats baby food and after he is done eating, I wash the jars thoroughly and let them air dry. Then, I fill them up with whatever I like, place a cupcake liner on top and secure it in place with a colorful hair tie. Instead of a cupcake liner, you can just stick a label on the top to cover and tie a ribbon around it. Since these jars are fairly small, I recommend using them for flavored sugars and flavored salts. This is one of those super cheap and super easy ways to package edible gifts!
Glass bottles and vials
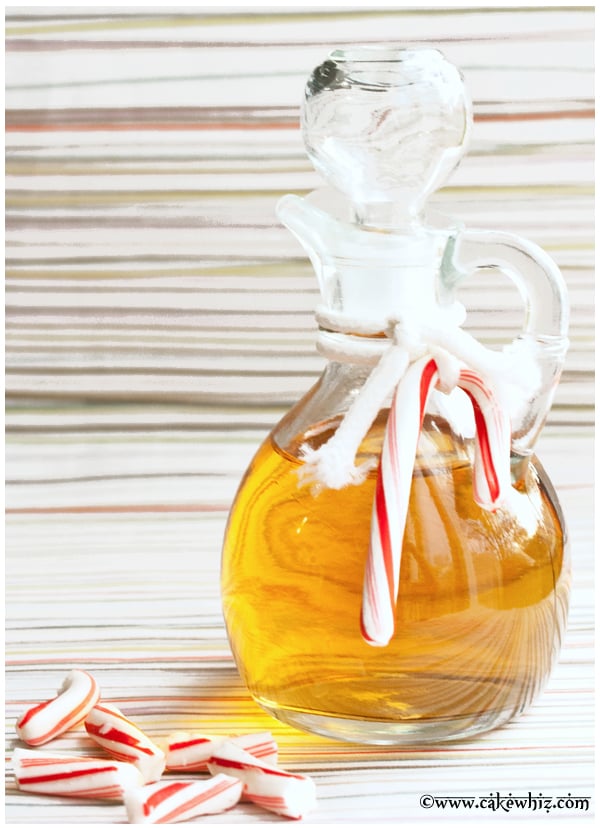
If you are giving your loved ones flavored oils, syrups and homemade extracts, you need to use bottles and vials. I bought this one from Meijer for about $2. I filled it with vanilla extract with a slight hint of candy cane flavor. Then, I wrapped a simple white ribbon and a mini candy cane around it.
Metal tins
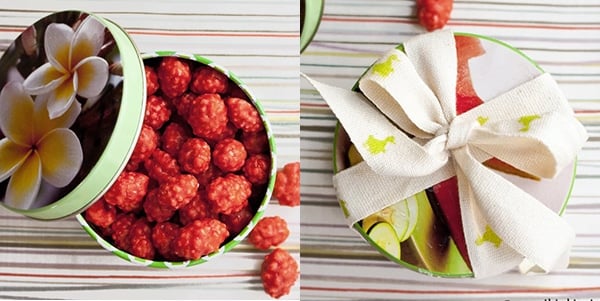
If you are packaging candied nuts or popcorns, I think using tins is a great choice. These tins were actually candle tins (YES! I am obsessed with candles...lol). I remember they were on sale 6 months ago at Target (I think?) and I bought 10 coz they were only a $2 each and I loved how each of them a pretty floral design. Once the candles were done, I washed them properly and packed them with my homemade gift items. If you don't have old candle tins, you can also use old mint candy tins. Those work great too! I think these tins are pretty on their own. But, if you like... you can even wrap a nice ribbon around them.
Treat bags/ Cellophane bags
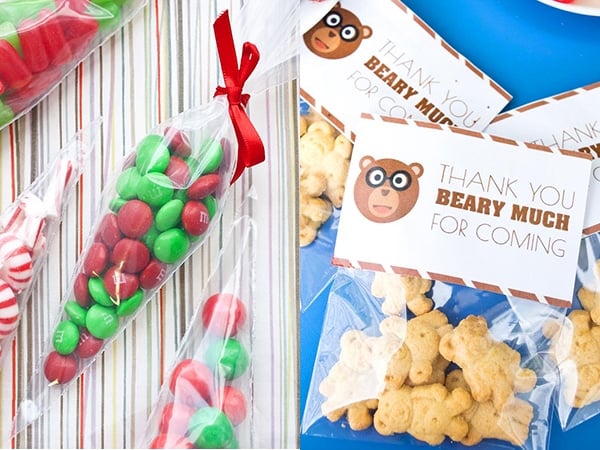
There is a huge variety of treats bags available online and even at Michaels and Hobby Lobby. They also come in various sizes and the prices are pretty reasonable. However, I have been using piping bags or decorating bags. And it's working wonderdfully and is quite cheap too. Just fill the bags with whatever you like and tie up the end with a pretty ribbon. These are some festive holiday candy cones.
Gift boxes
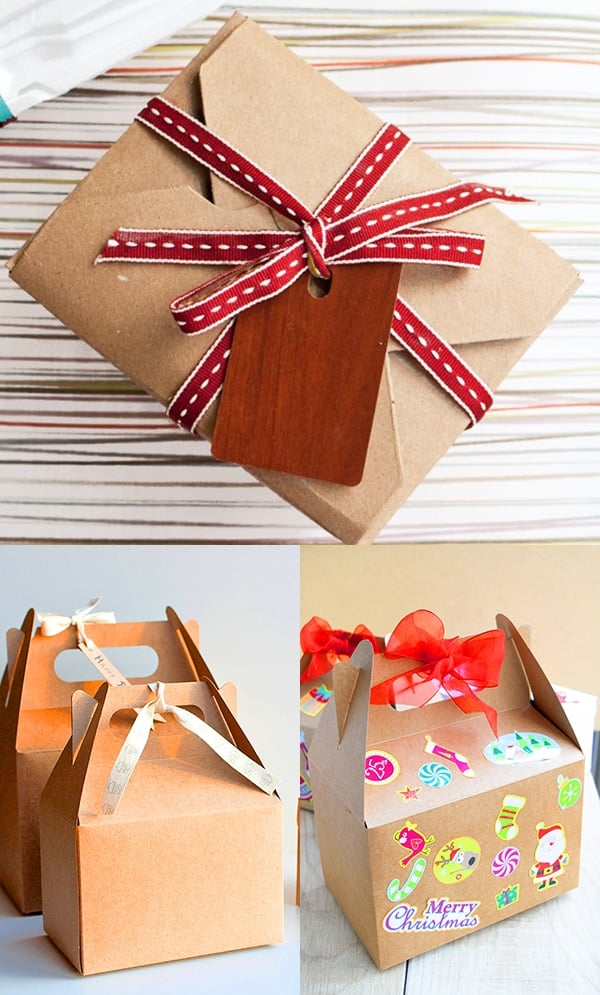
Boxes are available online and also at Michaels, Hobby Lobby and even Walmart. You can even find some at dollar stores for $1 but they are not going to be too big. They also come in different sizes, shapes and colors.
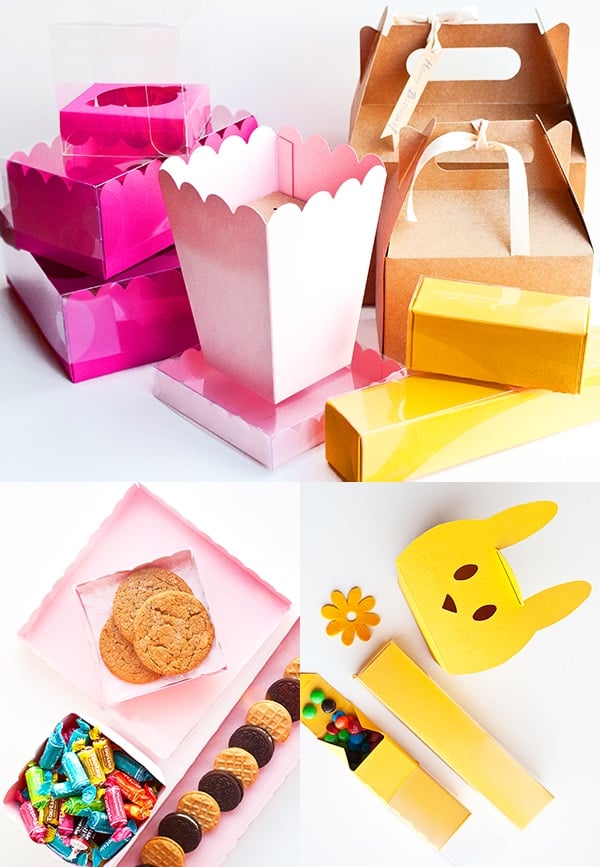
Some of the pricier ones even have a grease-proof lining inside. So, you can just place your baked goods inside without worrying about grease marks. If you can't find grease-proof boxes, make sure to wrap your baked goods in wax paper or plastic sheets and then arrange them inside the boxes.
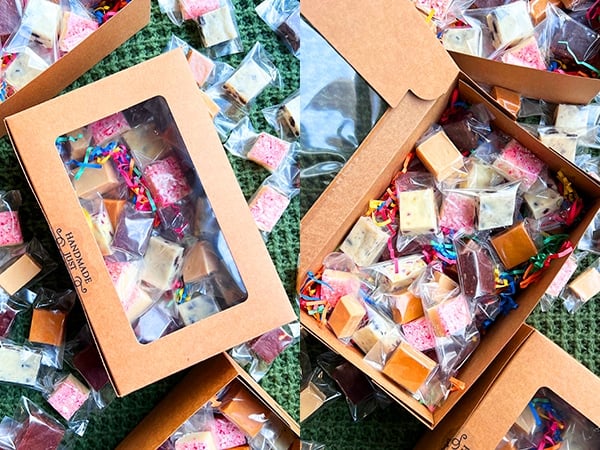
Take out boxes
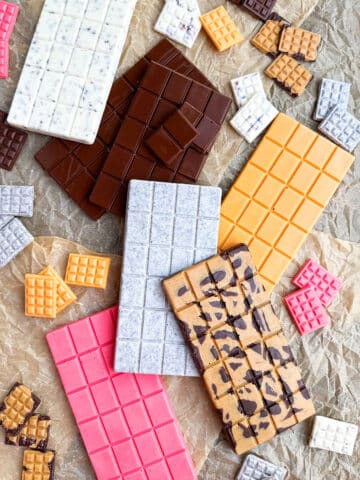
This idea came to me quite randomly. I was looking for rectangular boxes to package chocolate barks coz I didn't want to break the bark into really small pieces. I couldn't find any that I liked and those that I liked were quite pricey. But anyways, I was picking up lunch from my favorite bistro and the lady packed everything in this box. This box was perfect for what I was looking for! I asked her where she got her boxes and she just gave me 10 boxes to take home with me coz I eat there so often...lol. What a sweetheart. I came home and quickly packed them with my homemade chocolate bark, wrapped a pretty ribbon around it and had one more pretty gift package. So, if you have a favorite restaurant or bistro, they may be willing to give you some free take out boxes.
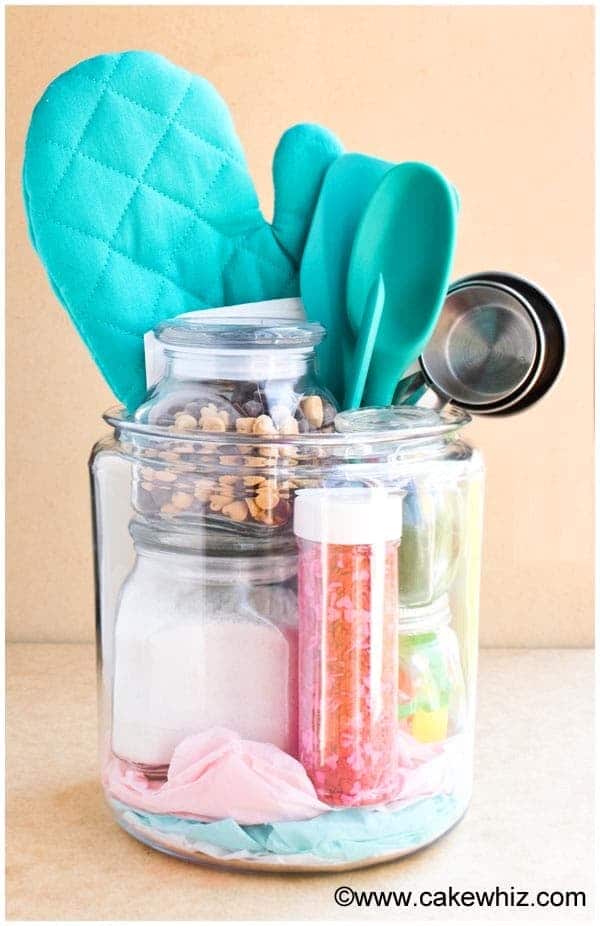
Large cookie jars
These are great for simply filling up with cookies, candies or anything else you like. However, my favorite way to use them is to make a "kit" out of them. This is a Homemade Baking Kit with all the supplies one would need as well as a recipe. Obviously for the purpose of this picture and to show all the components, some of the items are sticking out but you can easily push everything in and seal with the lid that comes with it. There are different sizes of jars in the market these days.
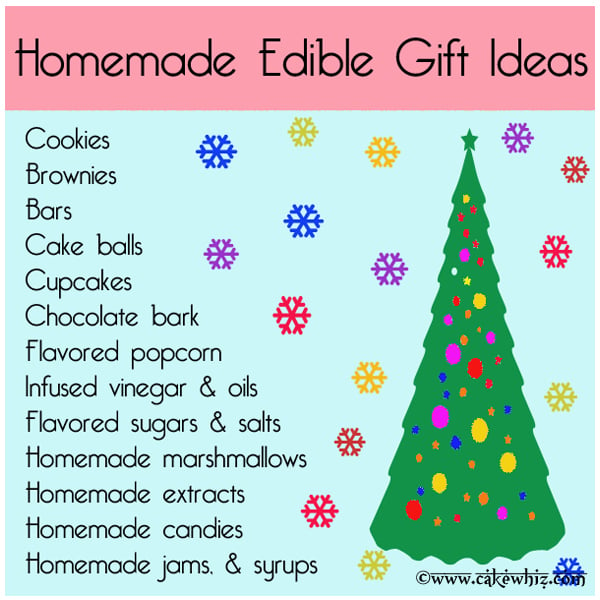
Homemade food gifts and ideas for Christmas holidays
- Jams
- Cookies
- Biscotti
- Bars
- Brownies
- Cake balls
- Cupcakes (regular sized or mini)
- Muffins
- Homemade mixes (pancake mix, cake mix, muffin mix, cookie mix, hot cocoa mix e.t.c)
- Chocolate bark
- Flavored popcorn
- Popcorn balls
- Caramel corn
- Cereal balls
- Homemade bread
- Loaf cakes (mini or regular sized)
- Fudge
- Truffles
- Nougat
- Homemade marshmallows
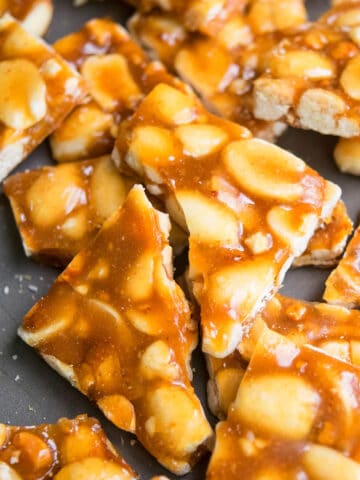
- Peanut brittle
- Candies orange peel and slices
- Chocolate covered Oreos
- Chocolate covered strawberries
- Chocolate covered graham crackers
- Chocolate covered cherries
- Chocolate covered raspberries
- Chocolate covered potato chips
- Chocolate covered blueberries
- Rudolph chocolate bars
- Sugared cranberries
- Candied nuts (walnuts, pecans, almonds e.t.c.)
- Seasoned nuts
- Infused vinegars and oils
- Flavored sugars and salts
- Homemade extracts
- Pie fillings
- Seasoning blends
- Flavored syrups
- Chocolate covered pretzels
- Hot chocolate bombs
- Caramel apples
- Marinated olives and cheeses
- Homemade caramel sauce
- Chocolate caramels
- Hot fudge sauce
- Herb butter
- Homemade sugar cubes
- Cake pops
- Cake balls
Tips for wrapping edible gifts
- Always take into account what that person likes. For instance, I don't like mint (Yuck!) and it would really bum me out to receive a gift package of homemade mint candies, especially when the person who gave it to me knows I detest mint. *HINT HINT* for anyone giving me edible gifts this year!
- Like I said earlier, make sure to wrap your greasy food items like brownies and bars in wax/parchment paper or plastic sheets so that your packages don't get greasy.
- always attach a note/card with a personal message to your edible gifts. I mean you have gone through the effort of making a personal gift for this special person. So naturally, the message should come from your heart and be personal as well. In my opinion, a good note or card really completes the gift. So, don't write something very simple and generic like "Merry Christmas" or "Happy Holidays."
- Don't leave your baking and packaging till the last minute. It just gets very stressful!
- If you are going to be mailing out your edible gifts to different cities and countries, be sure to look over the shipping policies and regulations online or ask someone at the post office for details. Well, I hope you found these tips for easy ways to package edible gifts useful. If you have some more TIPS... be sure to let me know in the comments. Anyways, here's a handy collage of all the easy ways to package edible gifts.
- A few more packaging ideas are: brown paper bags, baskets, envelopes, parchment paper/ wax paper

Belinda
These are lovely!! Everything you make looks like a lovely package.
Wendy Irene
Love all the great ideas! They look so beautiful!
Kayle
pinnninnnngggg-so helpful!
Anne
I love those little buckets! They would work so well for repurposing afterward as well. They would be good for organizing craft supplies, or as a pencil holder. I could use a pop of colour on my desk at work!
Alex
Well its been a while since this was posted and I found it in 2022 but still tried it out! Not gonna lie they looked pretty cute. Specially the bucket. My niece was on her toe when she found a new bucket to destroy lol.
It was fun making these tho!
Abeer Rizvi
Awww! Thanks.