Quick and easy DIY galaxy cake with lots of sprinkles. This galaxy birthday cake is fun, colorful and perfect for kids' space themed parties.
*Thank you Pillsbury™ for sponsoring today's post. As always, all opinions and text are mine.*
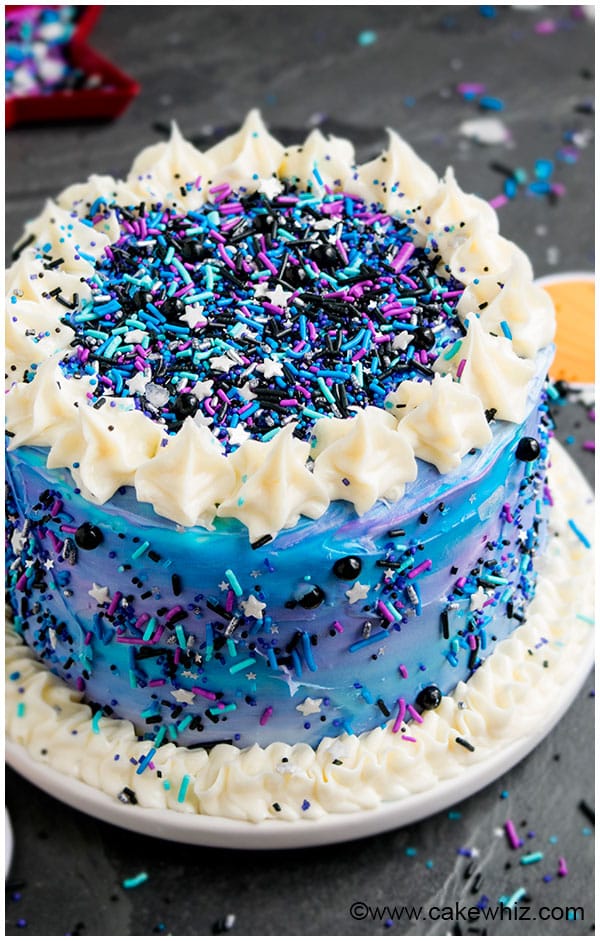
With Space Exploration Day coming up soon on July 20, I wanted to get into the spirit and celebrate like an astronaut with this gorgeous cake. This is just as breathtaking as my Galaxy Cupcakes (With Buttercream Icing) and Galaxy Cookies (Buttercream Icing). Now, please note this is not a mirror cake recipe nor is it a fondant cake, which you have probably been seeing everywhere. Both of those cakes require so many steps. Instead of using fondant or galaxy mirror glaze, I made this one with regular frosting or buttercream icing. It's faster and easier and not as intimidating either. This simple version is great for kids’ birthday parties, especially space themed parties. Even if you have never frosted a cake in your life, you can make this cake! Look closely at this galaxy frosting and you will see swirls of purple, blue and white. I used a combination of white, aqua blue and purple frostings to create this cool color effect. It also reminds me of the beautiful Northern lights. By the way, the inside of this cake is just as pretty as the outside. It's a Funfetti cake and just so much fun to slice into. This cake is soft and moist and has the perfect amount of candy bits.
Jump to:

Key ingredients for space cake
- Cake- Funfetti cake is best for this theme.
- Frosting- Use homemade or store-bought. You will need white, aqua blue and purple shades.
- Sprinkles- A pre-made space themed blend is best.
How to make easy DIY galaxy cake recipe with buttercream icing or frosting?
- Start off by baking the cakes.
- Once they cool down, stack them on top of each other with icing.
- Then, frost the entire cake with white icing.
- Spread purple and blue frosting randomly all over the cake.
- Use a spatula to blend it all together.
- Decorate the top and sides with sprinkles.
- Finally, pipe stars on top of the cake and ruffles along the base of the cake.
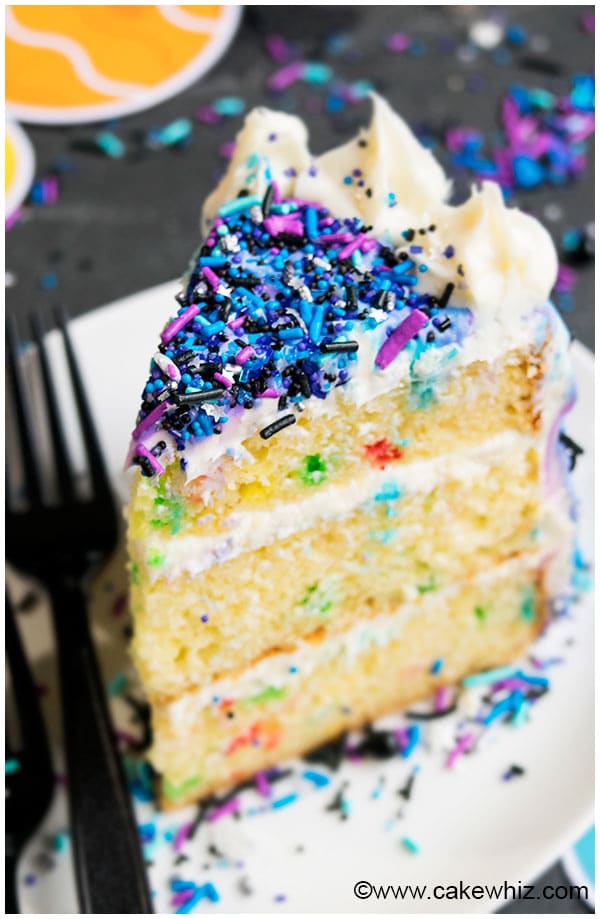
Two main components of a Milky Way cake
- Frosting: The colors need to be vibrant. You can use gel coloring to make your own shades or buy icing that's pre-colored.
- Sprinkles: You need to use a combination of sprinkles with different textures, shapes, sizes and lots of blue and purple hues. They should be similar to the real galaxy, which is composed of different features like planets, comets, stars.
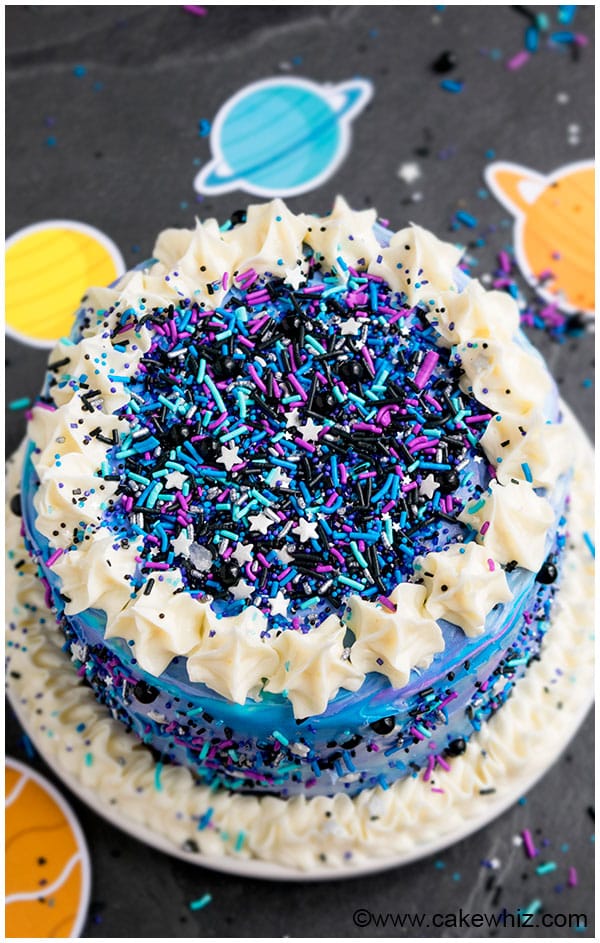
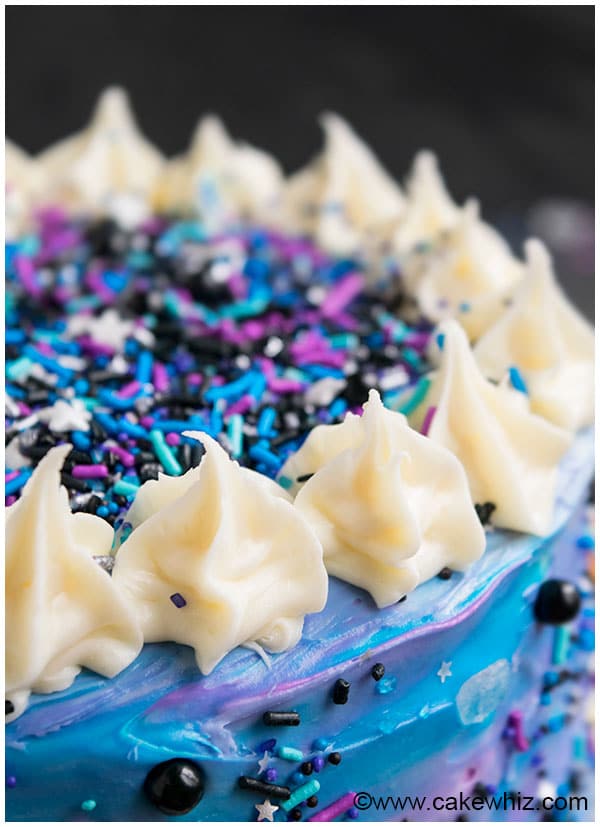
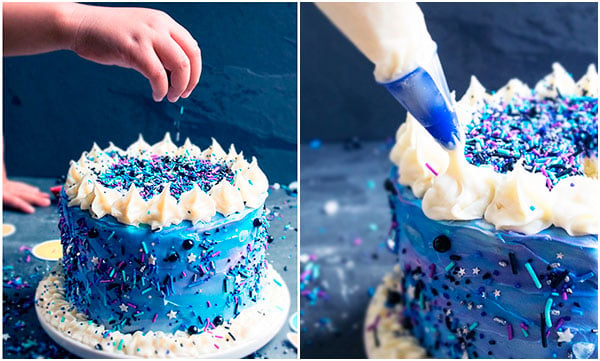
Do you see that piped frosting around the top of the cake? Now, I used to typically do that by filling a piping bag with icing and attaching a star tip. However this time, I used a new product: Pillsbury Filled Pastry Bags. The frosting comes in a bag with an attached star tip. They are so fast and easy to use.Since the bags are disposable, there is also very little clean up. Yay! Currently, they are available in three flavors- Vanilla, Chocolate Fudge and Cream Cheese.
Tips and techniques
- For best piping results, chill the pastry bag in the fridge for at least 20 minutes.
- Make sure the cakes cool down completely before you start frosting them.
- When using a spatula to spread the colored frosting around the cake, be careful not to go overboard or else you will end up with a purple cake instead of a cake with colorful swirls.
- Use galaxy themed sprinkles for the best overall look.
- You can also make a solar system cake with planets. Just cut out pictures of planets on thick paper. Attach a toothpick behind them and push them on top of the cake.
- I used Pillsbury products to make this cake (Funfetti® Cake Mix, Pillsbury Filled Pastry Bag), which made the entire process absolutely hassle-free! The wonderful people at Pillsbury also sent me an awesome package of space themed goodies (galaxy sprinkles, viewfinder, NASA oven mitts, solar system map). My son loved the viewfinder and those adorable gloves!
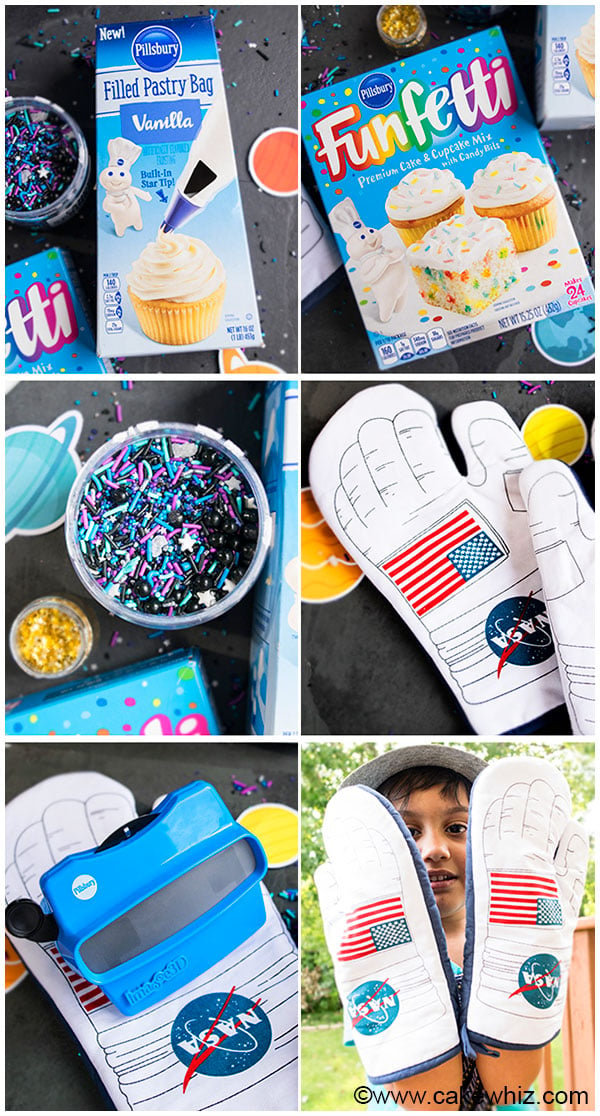
Speaking of kids, this is one of those easy cakes, where even kids can help out. It's such a great way to make memories with your family. My kiddo was a very cute little helper and had so much fun assisting me. He added sprinkles to the cake and even tried a little piping...hehe. His favorite part was playing with the sprinkles and eating frosting by the spoonful.
Storage
- Room temperature- The cake can be safely left out for 3-5 hours.
- Refrigerate- Leftovers can be stored in a sealed container for up to 3 days.
- Freeze- Cake and frosting can be frozen in sealed containers separately for up to 1 month. When you are ready to enjoy this cake, thaw to room temperature and assemble, as per instructions below in the recipe card.
- Make ahead- This cake can be made 1-2 days in advance and stored in a covered box in the refrigerator until you are ready to serve.
More easy cake decorating tutorials
- How to Make Easy Fondant Bows
- Easy Beach Cake
- How to Make Ombre Cake (Blue)
- How to Make Naked Cake
- Easy Tie Dye Cake (Shirt Cake)
- Chocolate Pretzel cake
- Chocolate Bark Cake
- Peacock cake (And Cupcakes)
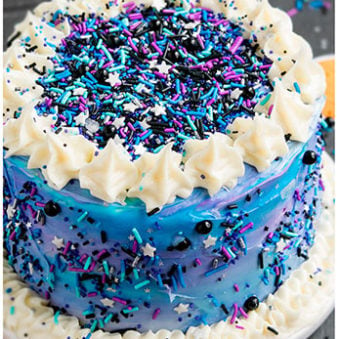
Easy Galaxy Cake
Want to Save This Recipe?
Enter your email & I'll send it to your inbox. Plus, get great new recipes from me every week!
By submitting this form, you consent to receive emails from CakeWhiz
Ingredients
- 1 box Pillsbury Funfetti® Cake Mix
- 2 cans Pillsbury white frosting
- 1 can Pillsbury aqua blue frosting
- 1 can Pillsbury purple frosting
- ¾ cup Sprinkles Galaxy themed
- 1 box Pillsbury Filled Pastry Bag
Instructions
- Prepare the cake, as per box instructions (I made 3 cakes).
- Allow the cakes to cool down.
- Use a sharp knife to cut domes on top of the cake (if any).
- Place one cake on a cake stand and frost the top with white icing.
- Place another cake on top of the icing. Gently press it down and spread white frosting again.
- Place the third cake on top of the icing. Gently press it down and spread white frosting again.
- Frost the entire cake in white icing.
- Use a spatula to spread purple and blue frosting randomly all over the cake.
- Use a clean spatula to spread frosting smoothly all over the cake until you have a swirled pattern of beautiful colors.
- Toss some sprinkles around the sides of the cake.
- Use piping bag to pipe stars around the top of the cake in a circle formation.
- Toss some sprinkles in the center of the cake.
- Use piping bag to pipe ruffles around the base of the cake. Enjoy!
Video
Notes
- Read all my tips above.
- Leftovers can be stored in a sealed container in the fridge for up to 3 days.

Leave a Reply